Competition-Worthy Barbecue: One of America's Perfect Foods
My wife was eating a sandwich made of leftover barbecue for lunch today and started pounding her fist on the table. Surprised, concerned, and a little fearful, I gave her a look. She broke out in an abashed smile and said she just loves my pork butt. Loves it so much that she has to punch the table, apparently.
Let me say this clearly, simply, and as humbly as I can. Pork butt is one of America’s truly perfect foods, and I make a mean butt.
If you want to get into true, old-fashioned barbecue—or if you’re already into it and just want to improve your craft—pork butt is a perfect place to start. It is outrageously cheap compared to other cuts of meat (say, $2.50 per pound of pork butt versus $16 per pound of ribeye). On top of that, as far as barbecue goes, it is forgiving. Roast chicken or brisket require a highly stable temperature, but a pork butt can flare between 225℉ and 300℉ throughout your cooking time, and it will still turn out just fine (though 225℉ is ideal, so it’s in your best interest to learn how to hold that temperature).
On top of that, pork butt is delicious. It’s one of those foods I make that gets audible reactions from people who try it. This ain’t your mama’s slow-cooker pulled pork. It ain’t that overpriced, sugary swill that the caterer at your niece’s wedding bragged about. This is the type of cooking that is done only at home or, if done correctly, costs $50 per plate at a good restaurant. My recipe is still far from perfect, but even at this stage it makes a phenomenal meal. Plus—and this is a big deal—it’s gratifying to tell your dinner guests to come admire your butt when they show up.
So let’s dig into how to make an incredible pork butt!
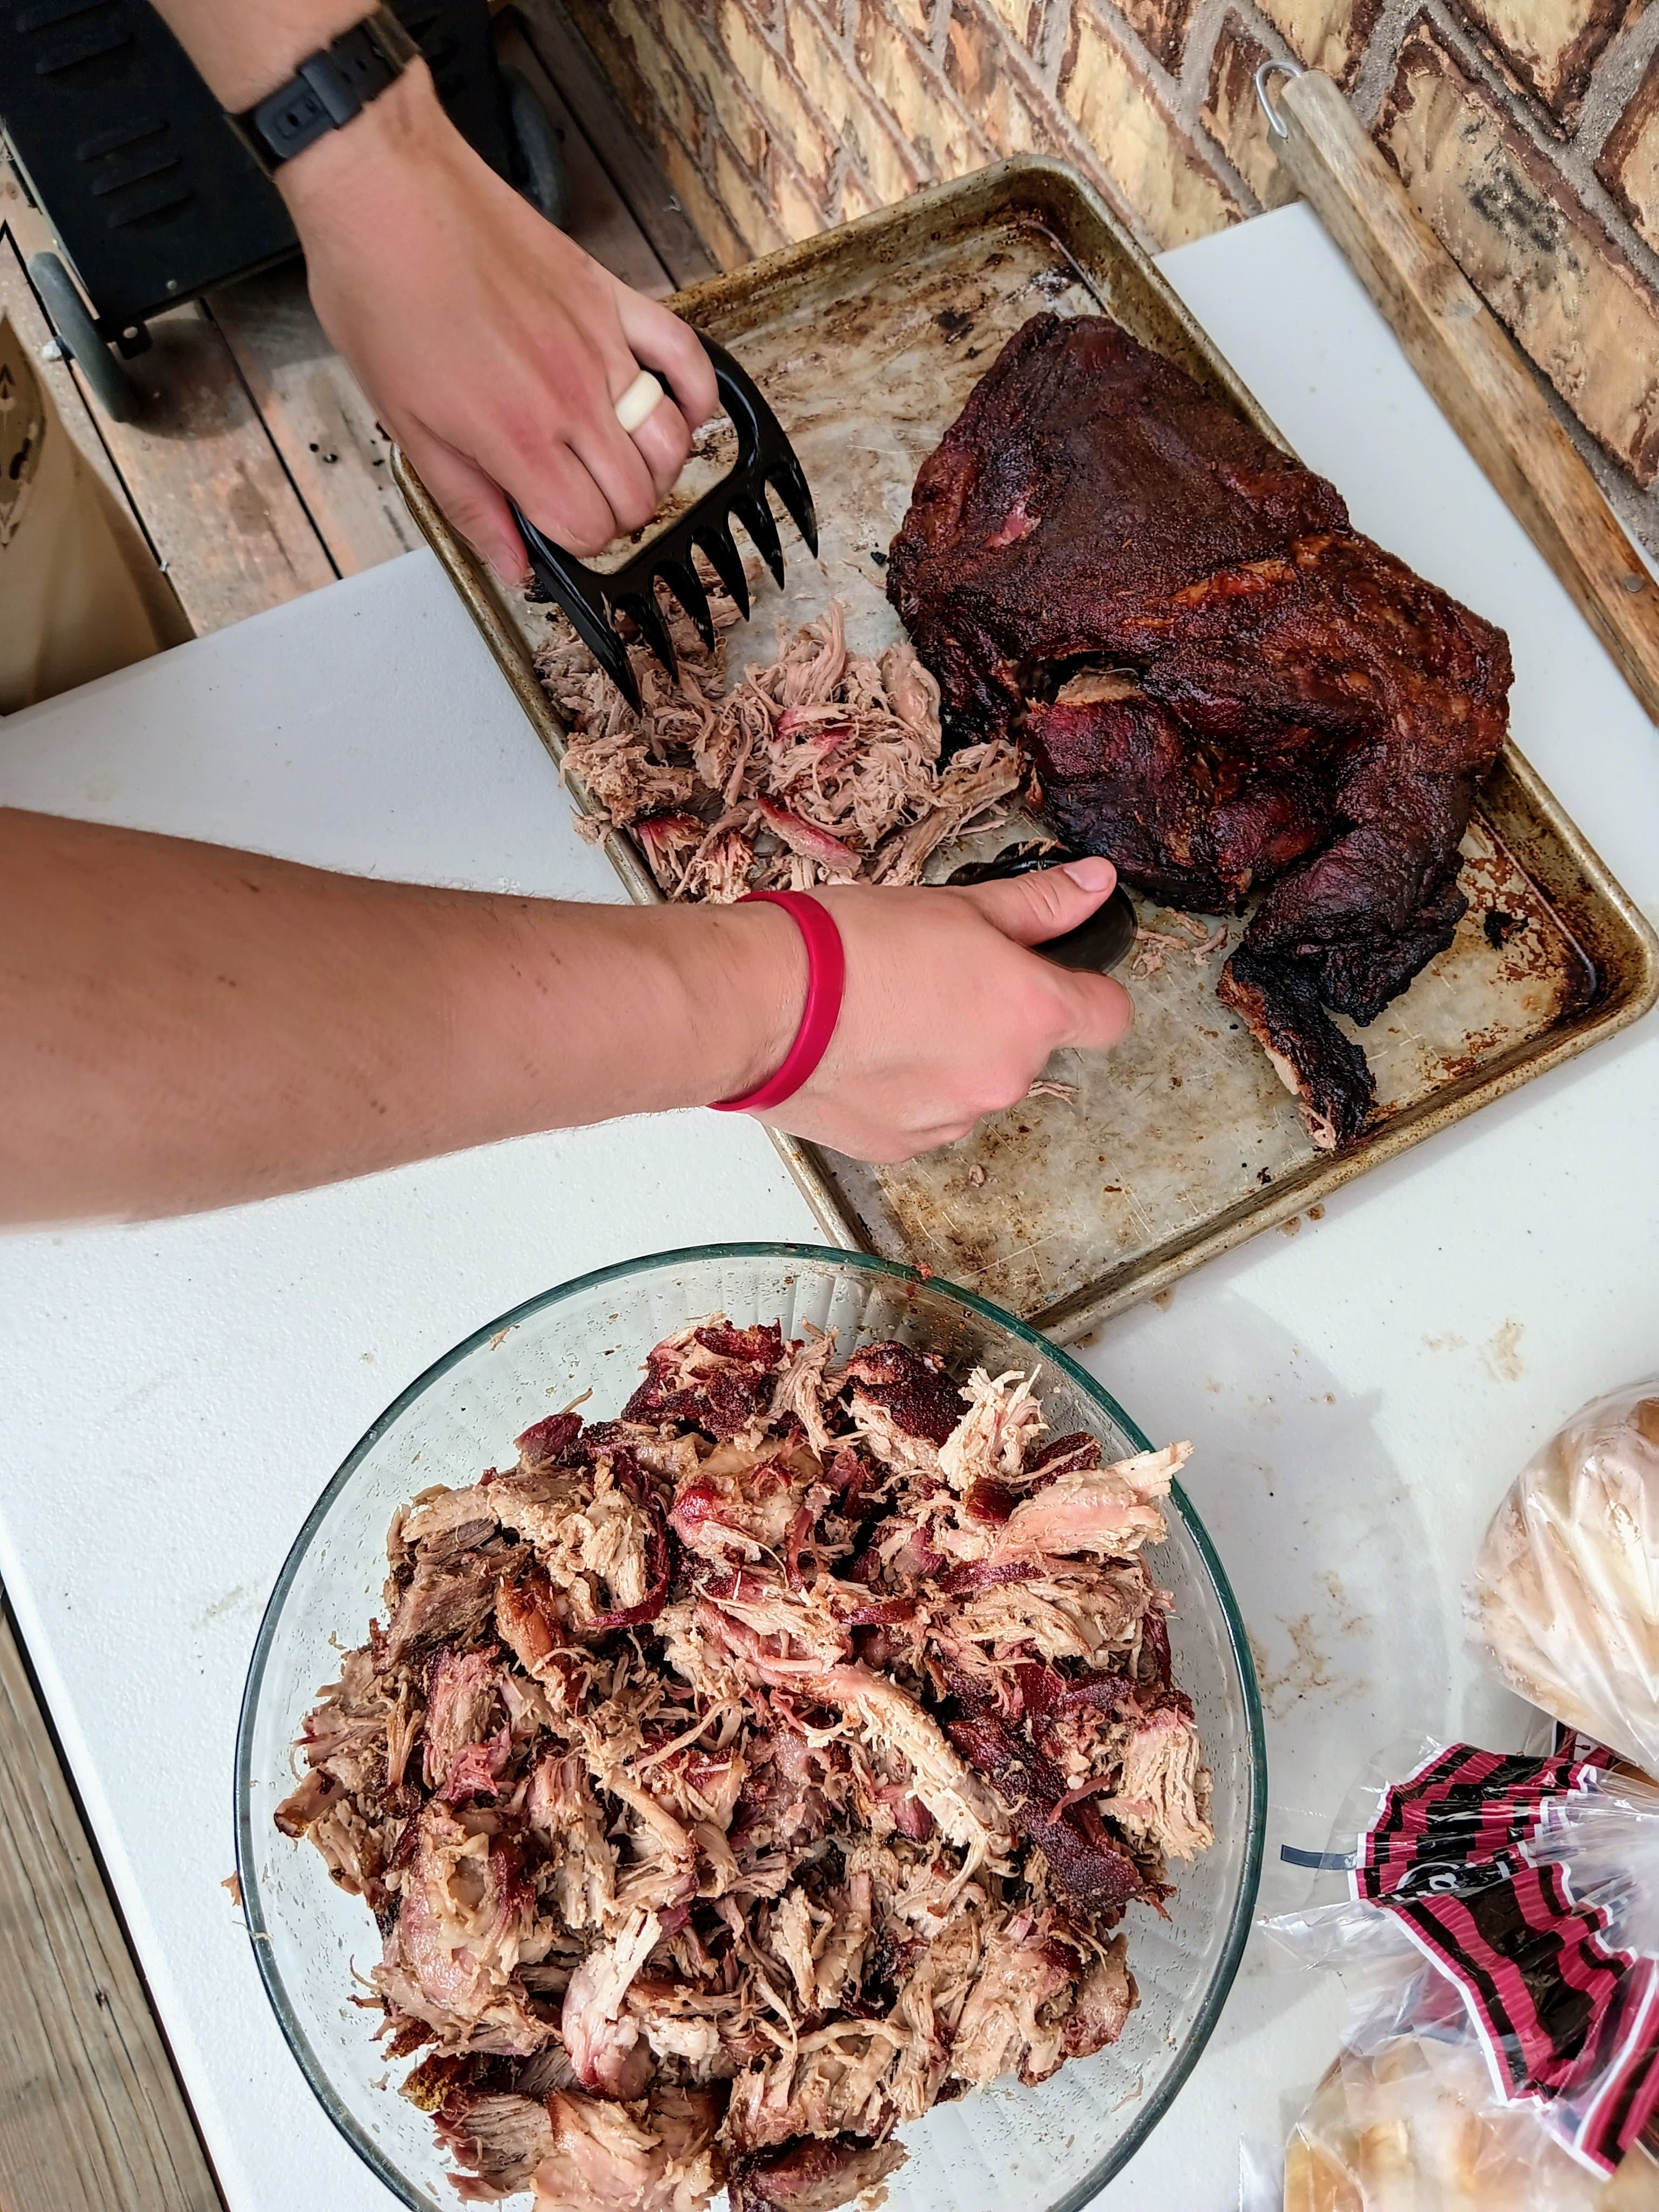
One warning: this article is not for the faint of heart. It takes prep, it takes a constant source of heat, and it takes a lot of babysitting. It’s not a high-effort recipe, but it’s a time-intensive recipe. It takes somewhere between eight and twelve hours on the grill, and it requires constant supervision. Yesterday, I set this thing on the grill at five in the morning. I then spent the day at home watching my daughter, playing games, reading, having lunch, prepping for my daughter’s birthday party, and checking on the grill every hour to make sure the temperature was stable and to refill the wood pellets.
In other words, read on if you want a good slice of Americana, or if you want to cut your teeth on some hardcore cooking.
Trimming your Butt
This first step of prepping your pork butt is to trim off the excess fat and gristle.But wait! says your favorite slow-cooked pork recipe. You should leave the fat cap on because it will melt all pretty and enhance the flavor!
Not true. That’s a myth. I won’t get into it here, but I wrote a whole article about this once.
Cut the thing off. It gets in the way of your salt and will make your meat underseasoned.
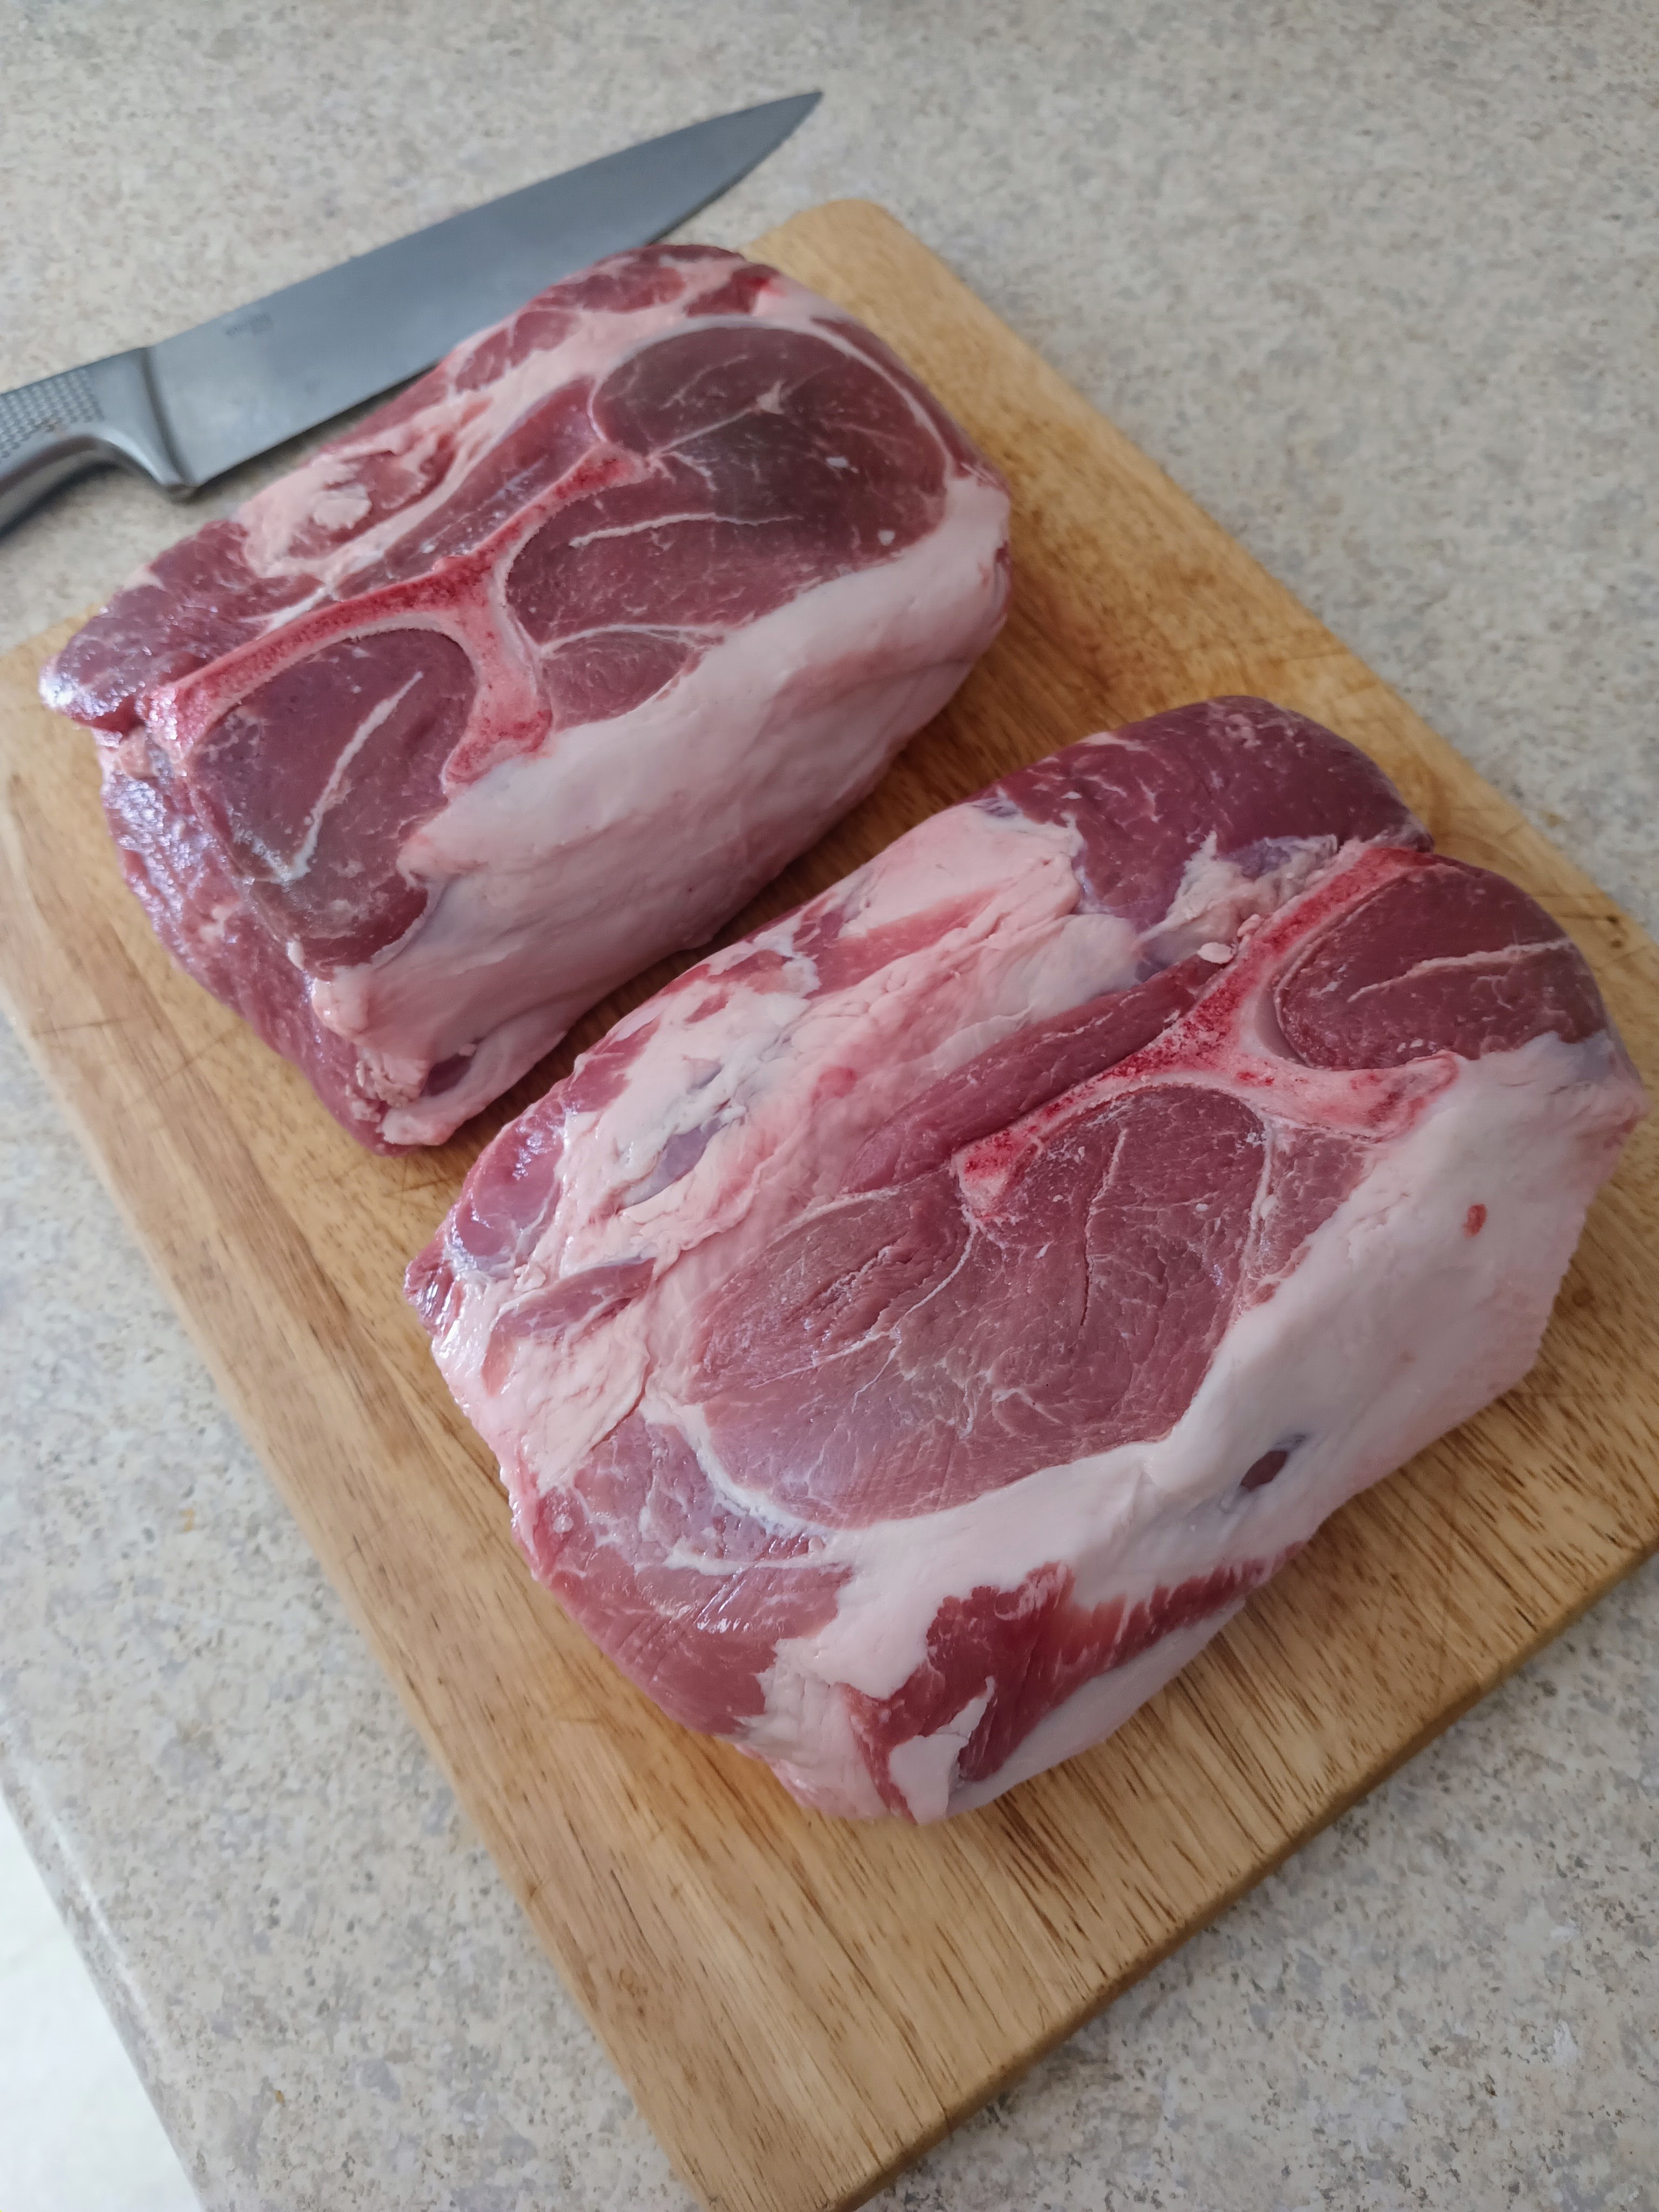
Just lay out your meat on a pan and carefully cut off that big fat cap on the end, as well as any other really fatty bits on the outside of the cut. The bits that melt and make your meat juicy are the fat deposits scattered among the muscle fibers. The fat hanging out outside the cut of meat or between major portions of the cut will just melt and drip off the meat, or worse, take too long to melt and then hang out there on the meat when it’s done cooking.
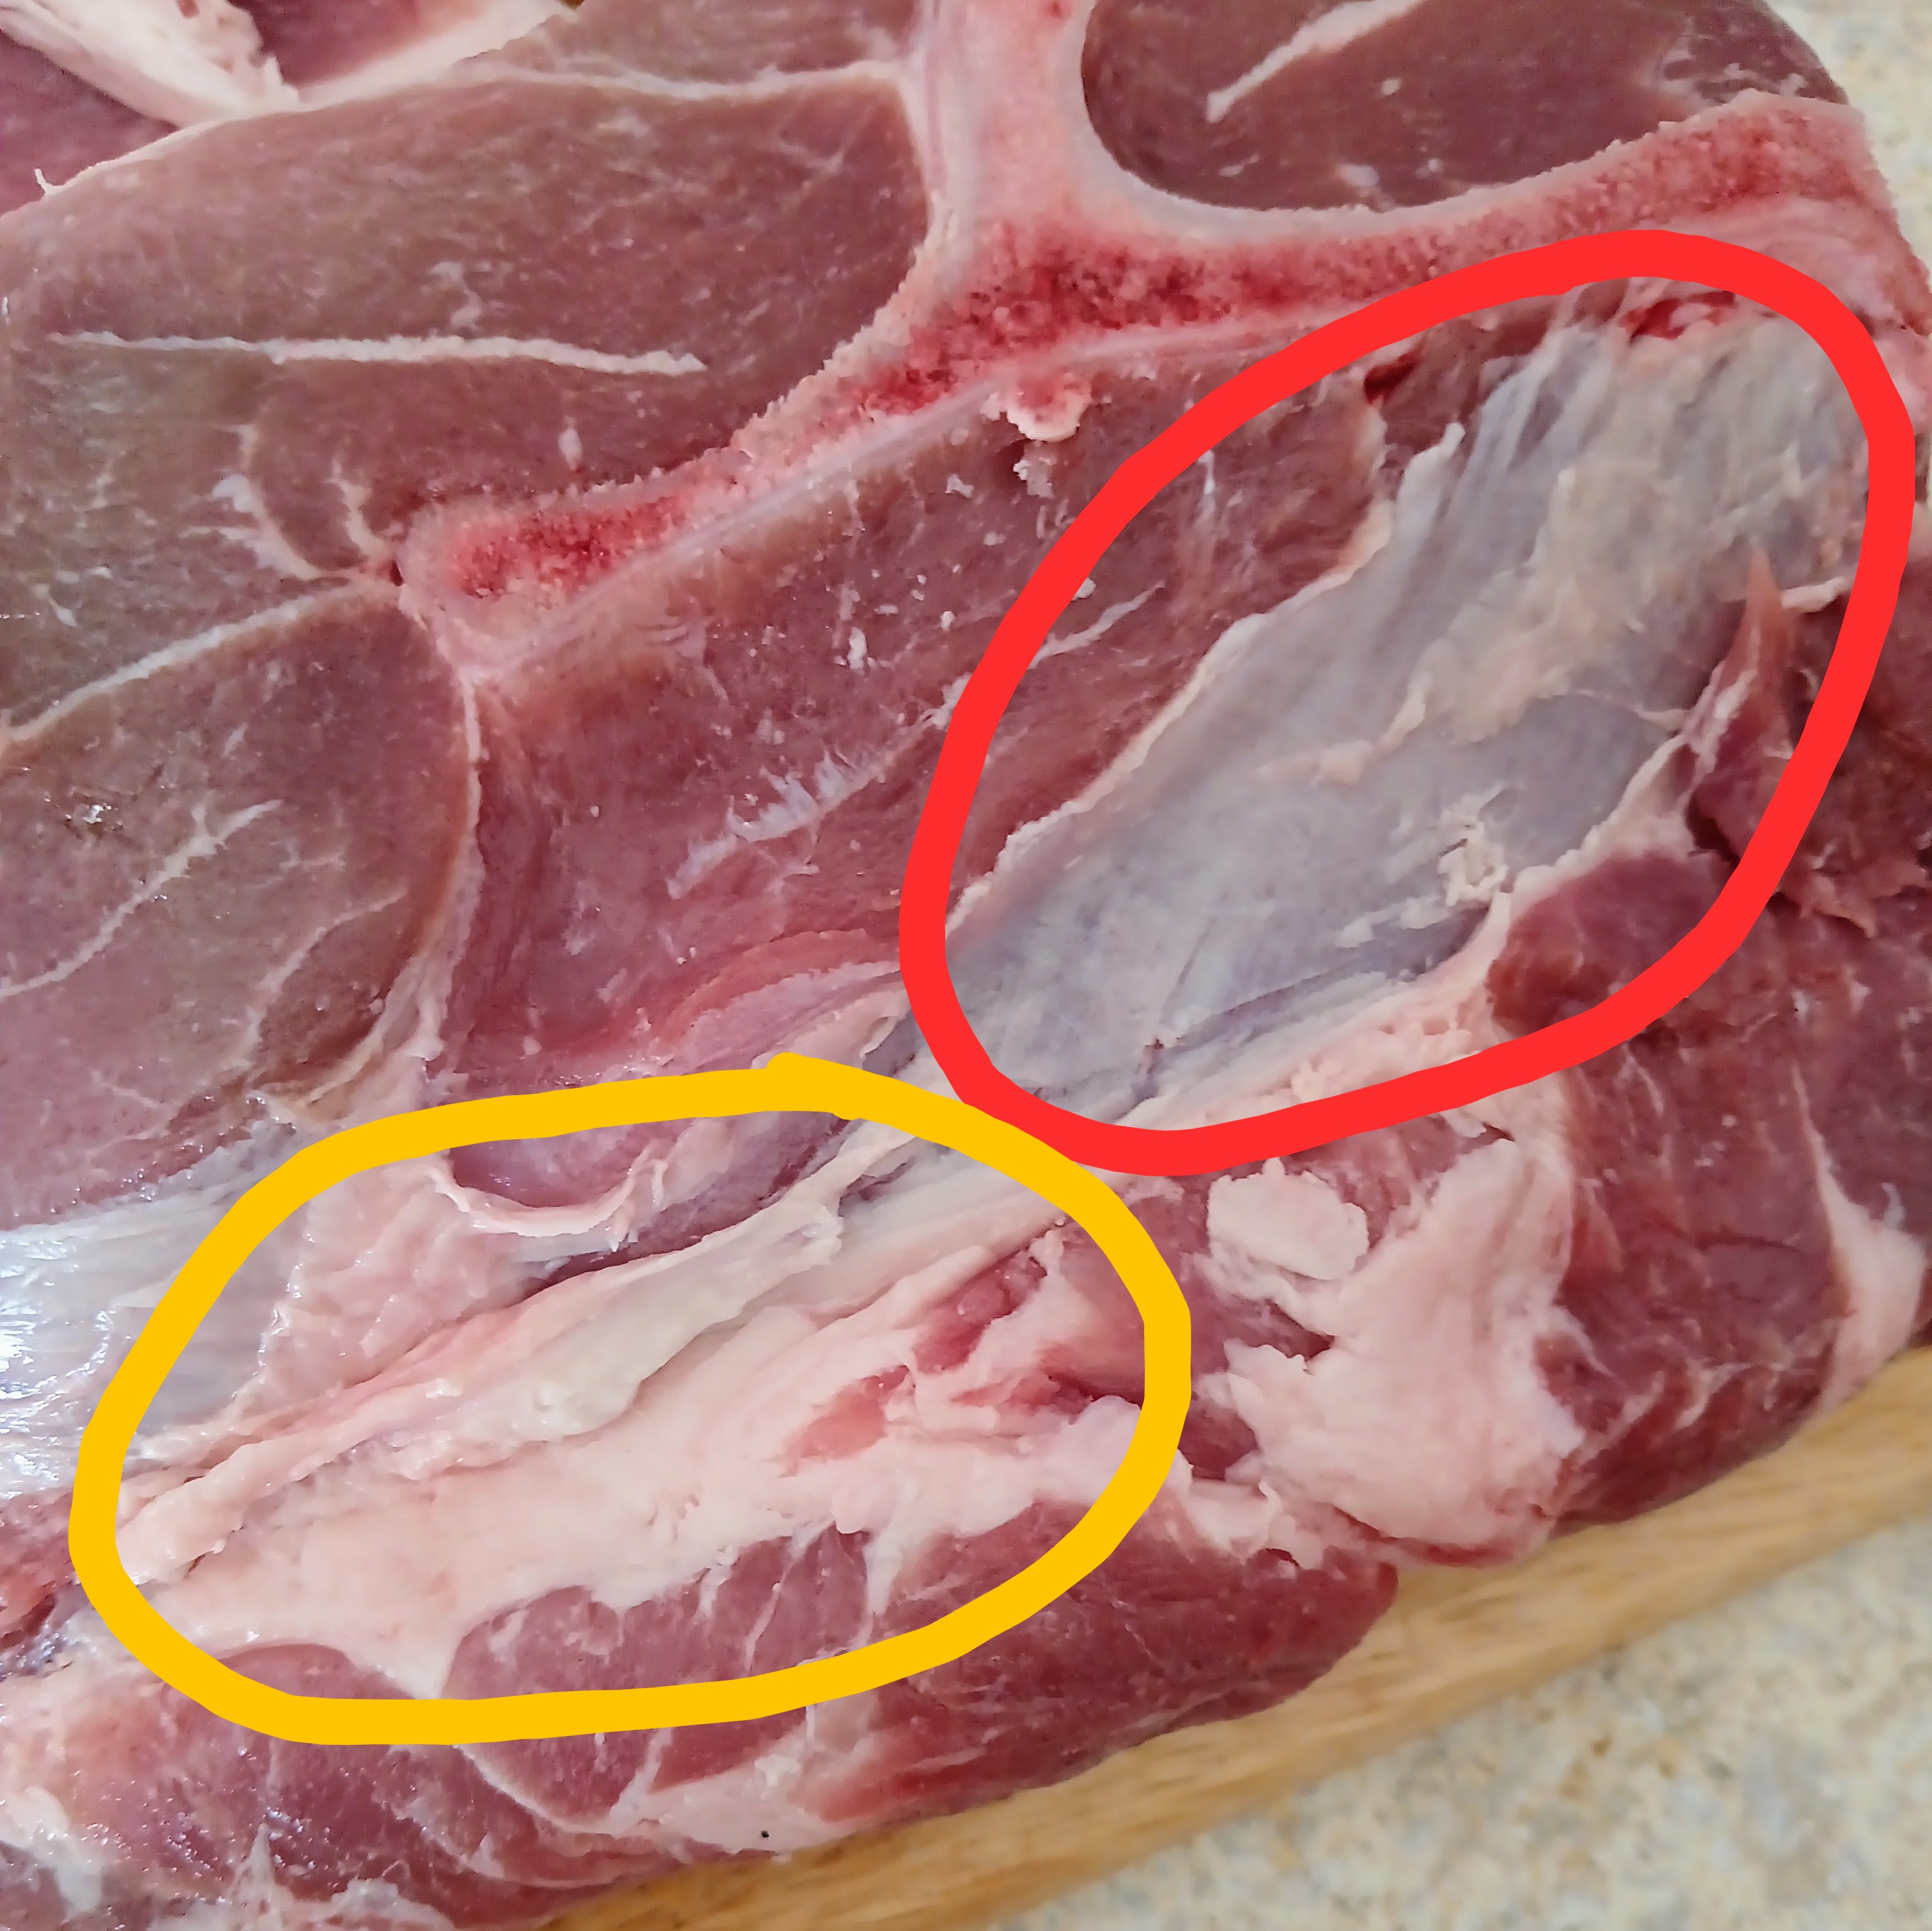
By the way, you’ll want to remove silverskin, too. In the picture above, the silverskin is on the right, circled in red. It clings to the muscle pretty stubbornly and takes some work to remove. More external fat is on the left, circled in yellow. Delete that stuff too.
Don’t just toss all the extra fat! Go ahead and scrap the silver skin, but the fat can be slowly rendered down into a usable cooking fat, which is much healthier than cooking at high temperature with plant oils.
Seasoning your Butt
Once you’ve removed the excess external fat, it’s time to season your butt.By the way, seasoning means one thing, and only one thing: SALT. Your fancy herbs and spices can wait until later.
The day before cooking, you’ll want to apply salt generously to the surface of your meat to give it ample time to leech deep into the muscle fibers. This will loosen them, rendering them more tender and juicy.
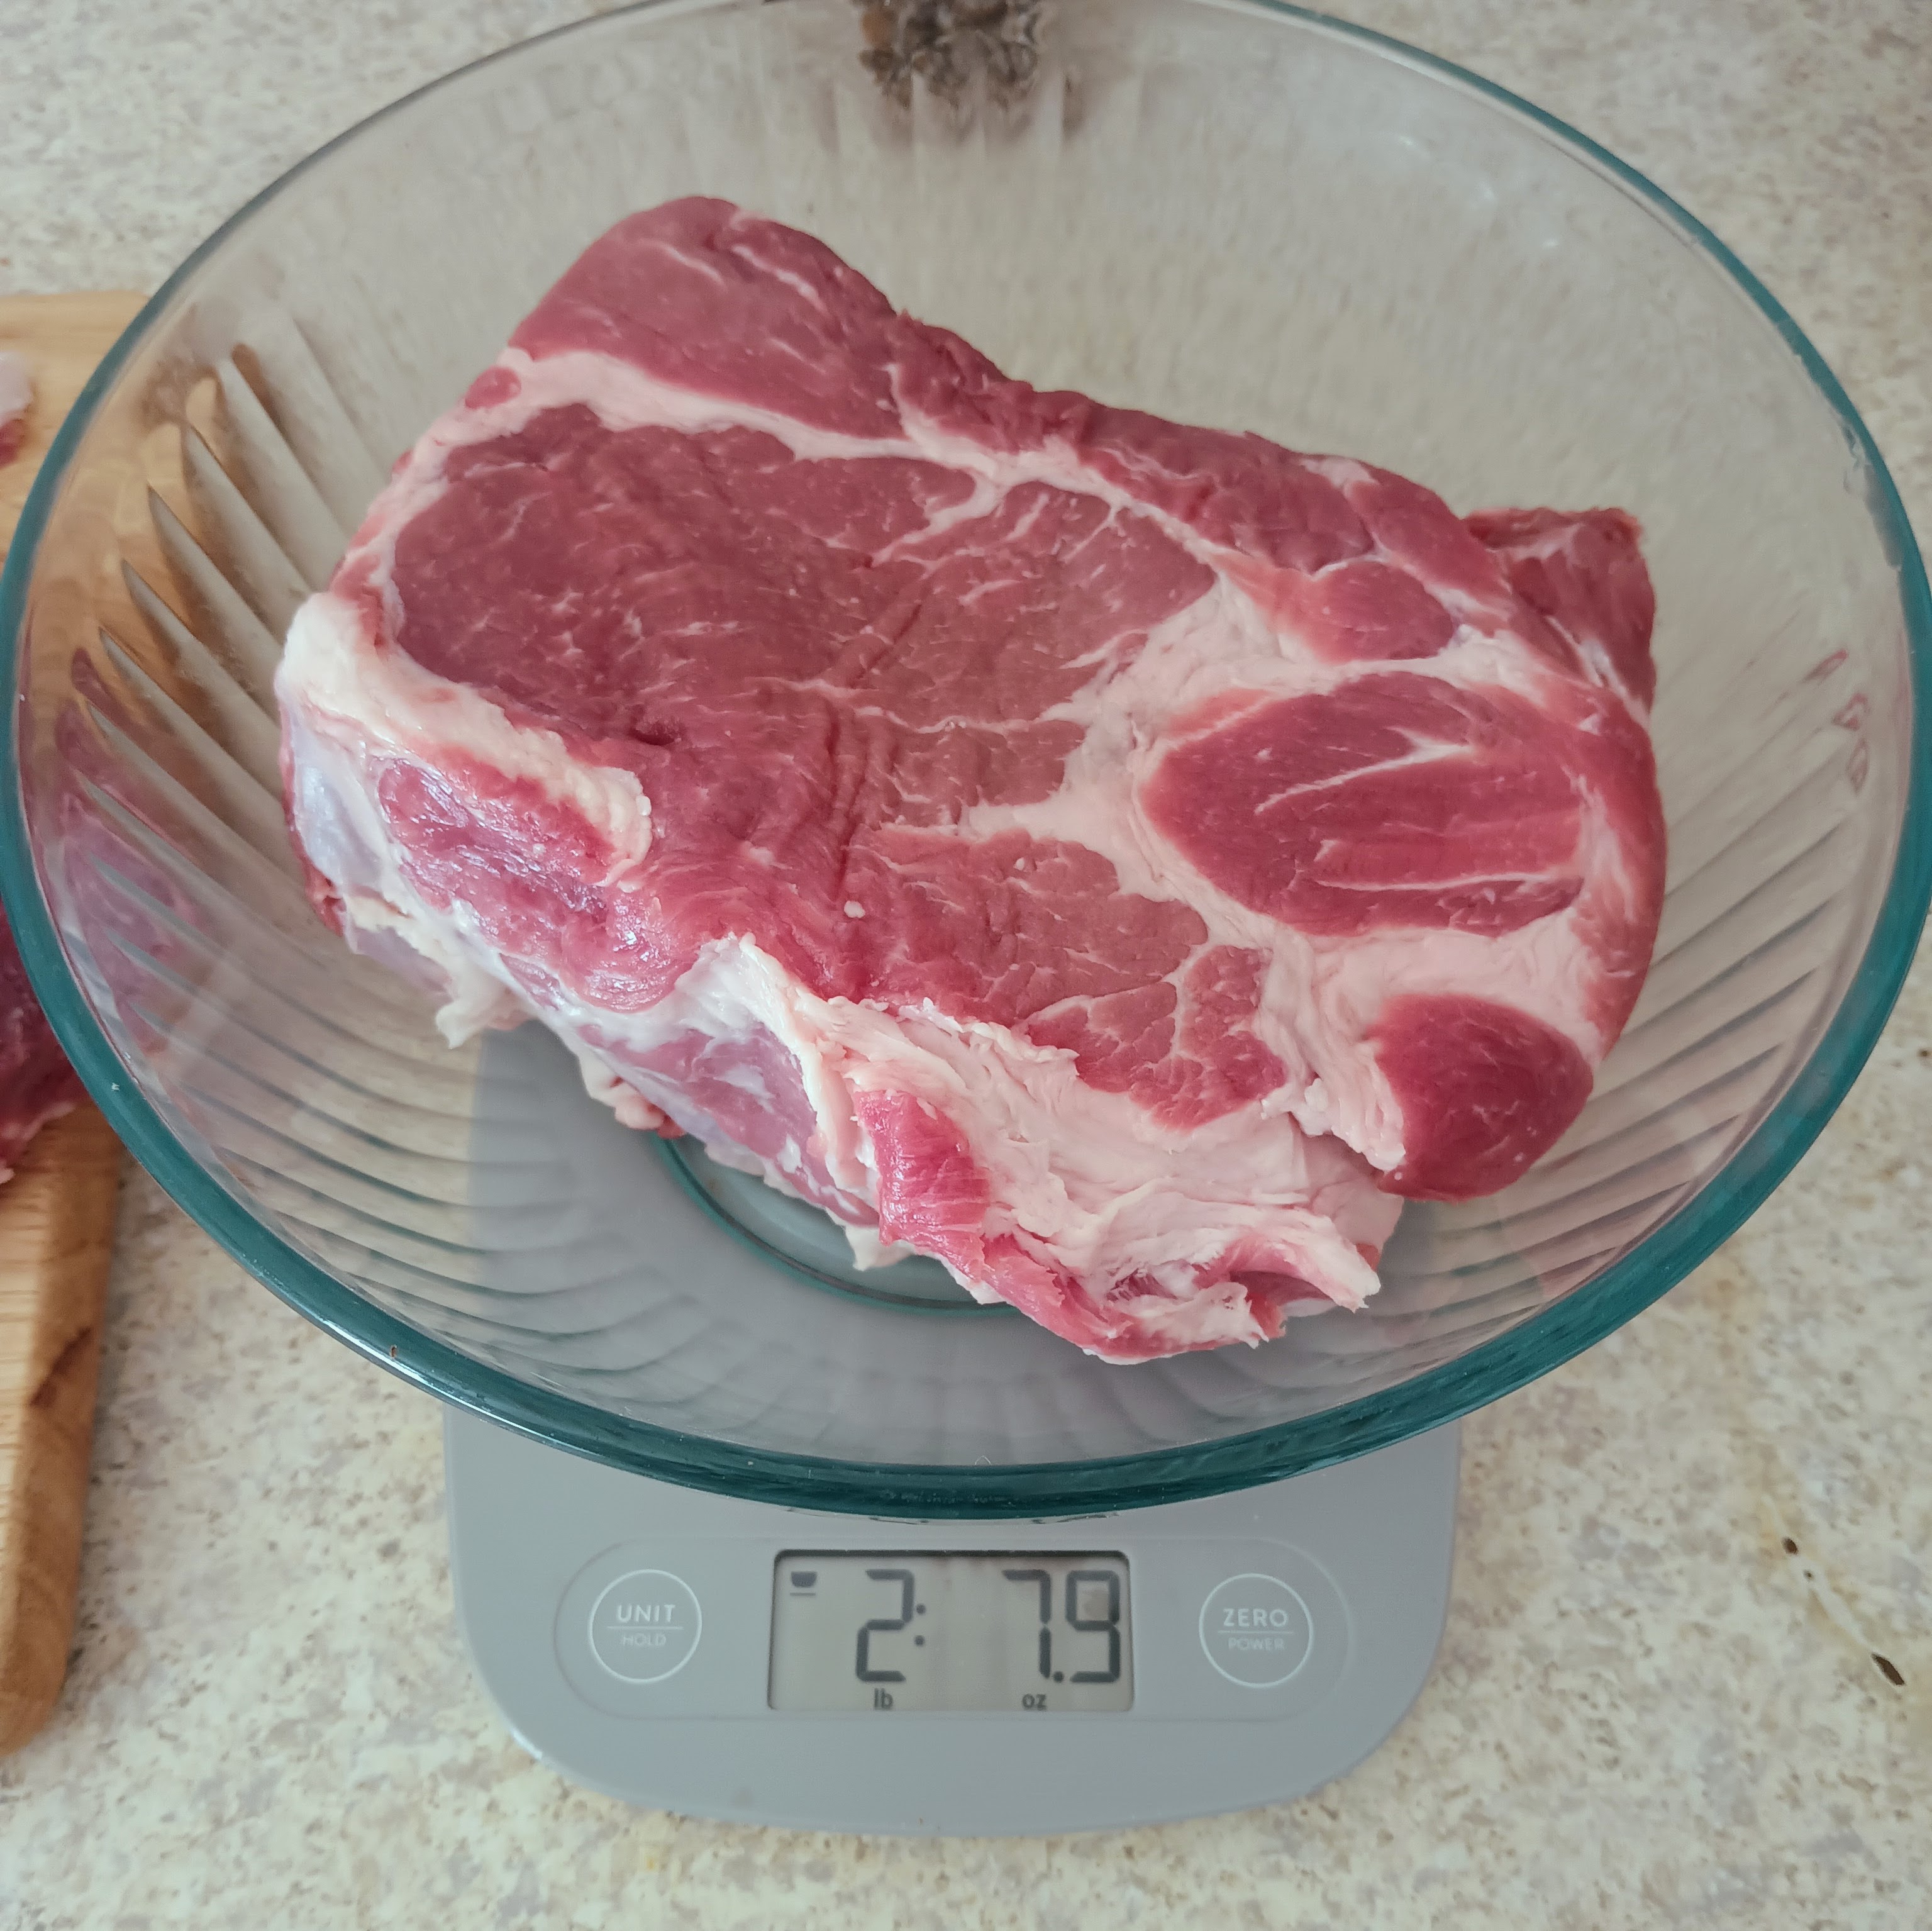
An easy rule of thumb is to add one teaspoon of salt for every pound of meat. So weigh your meat, then determine how much salt you need.
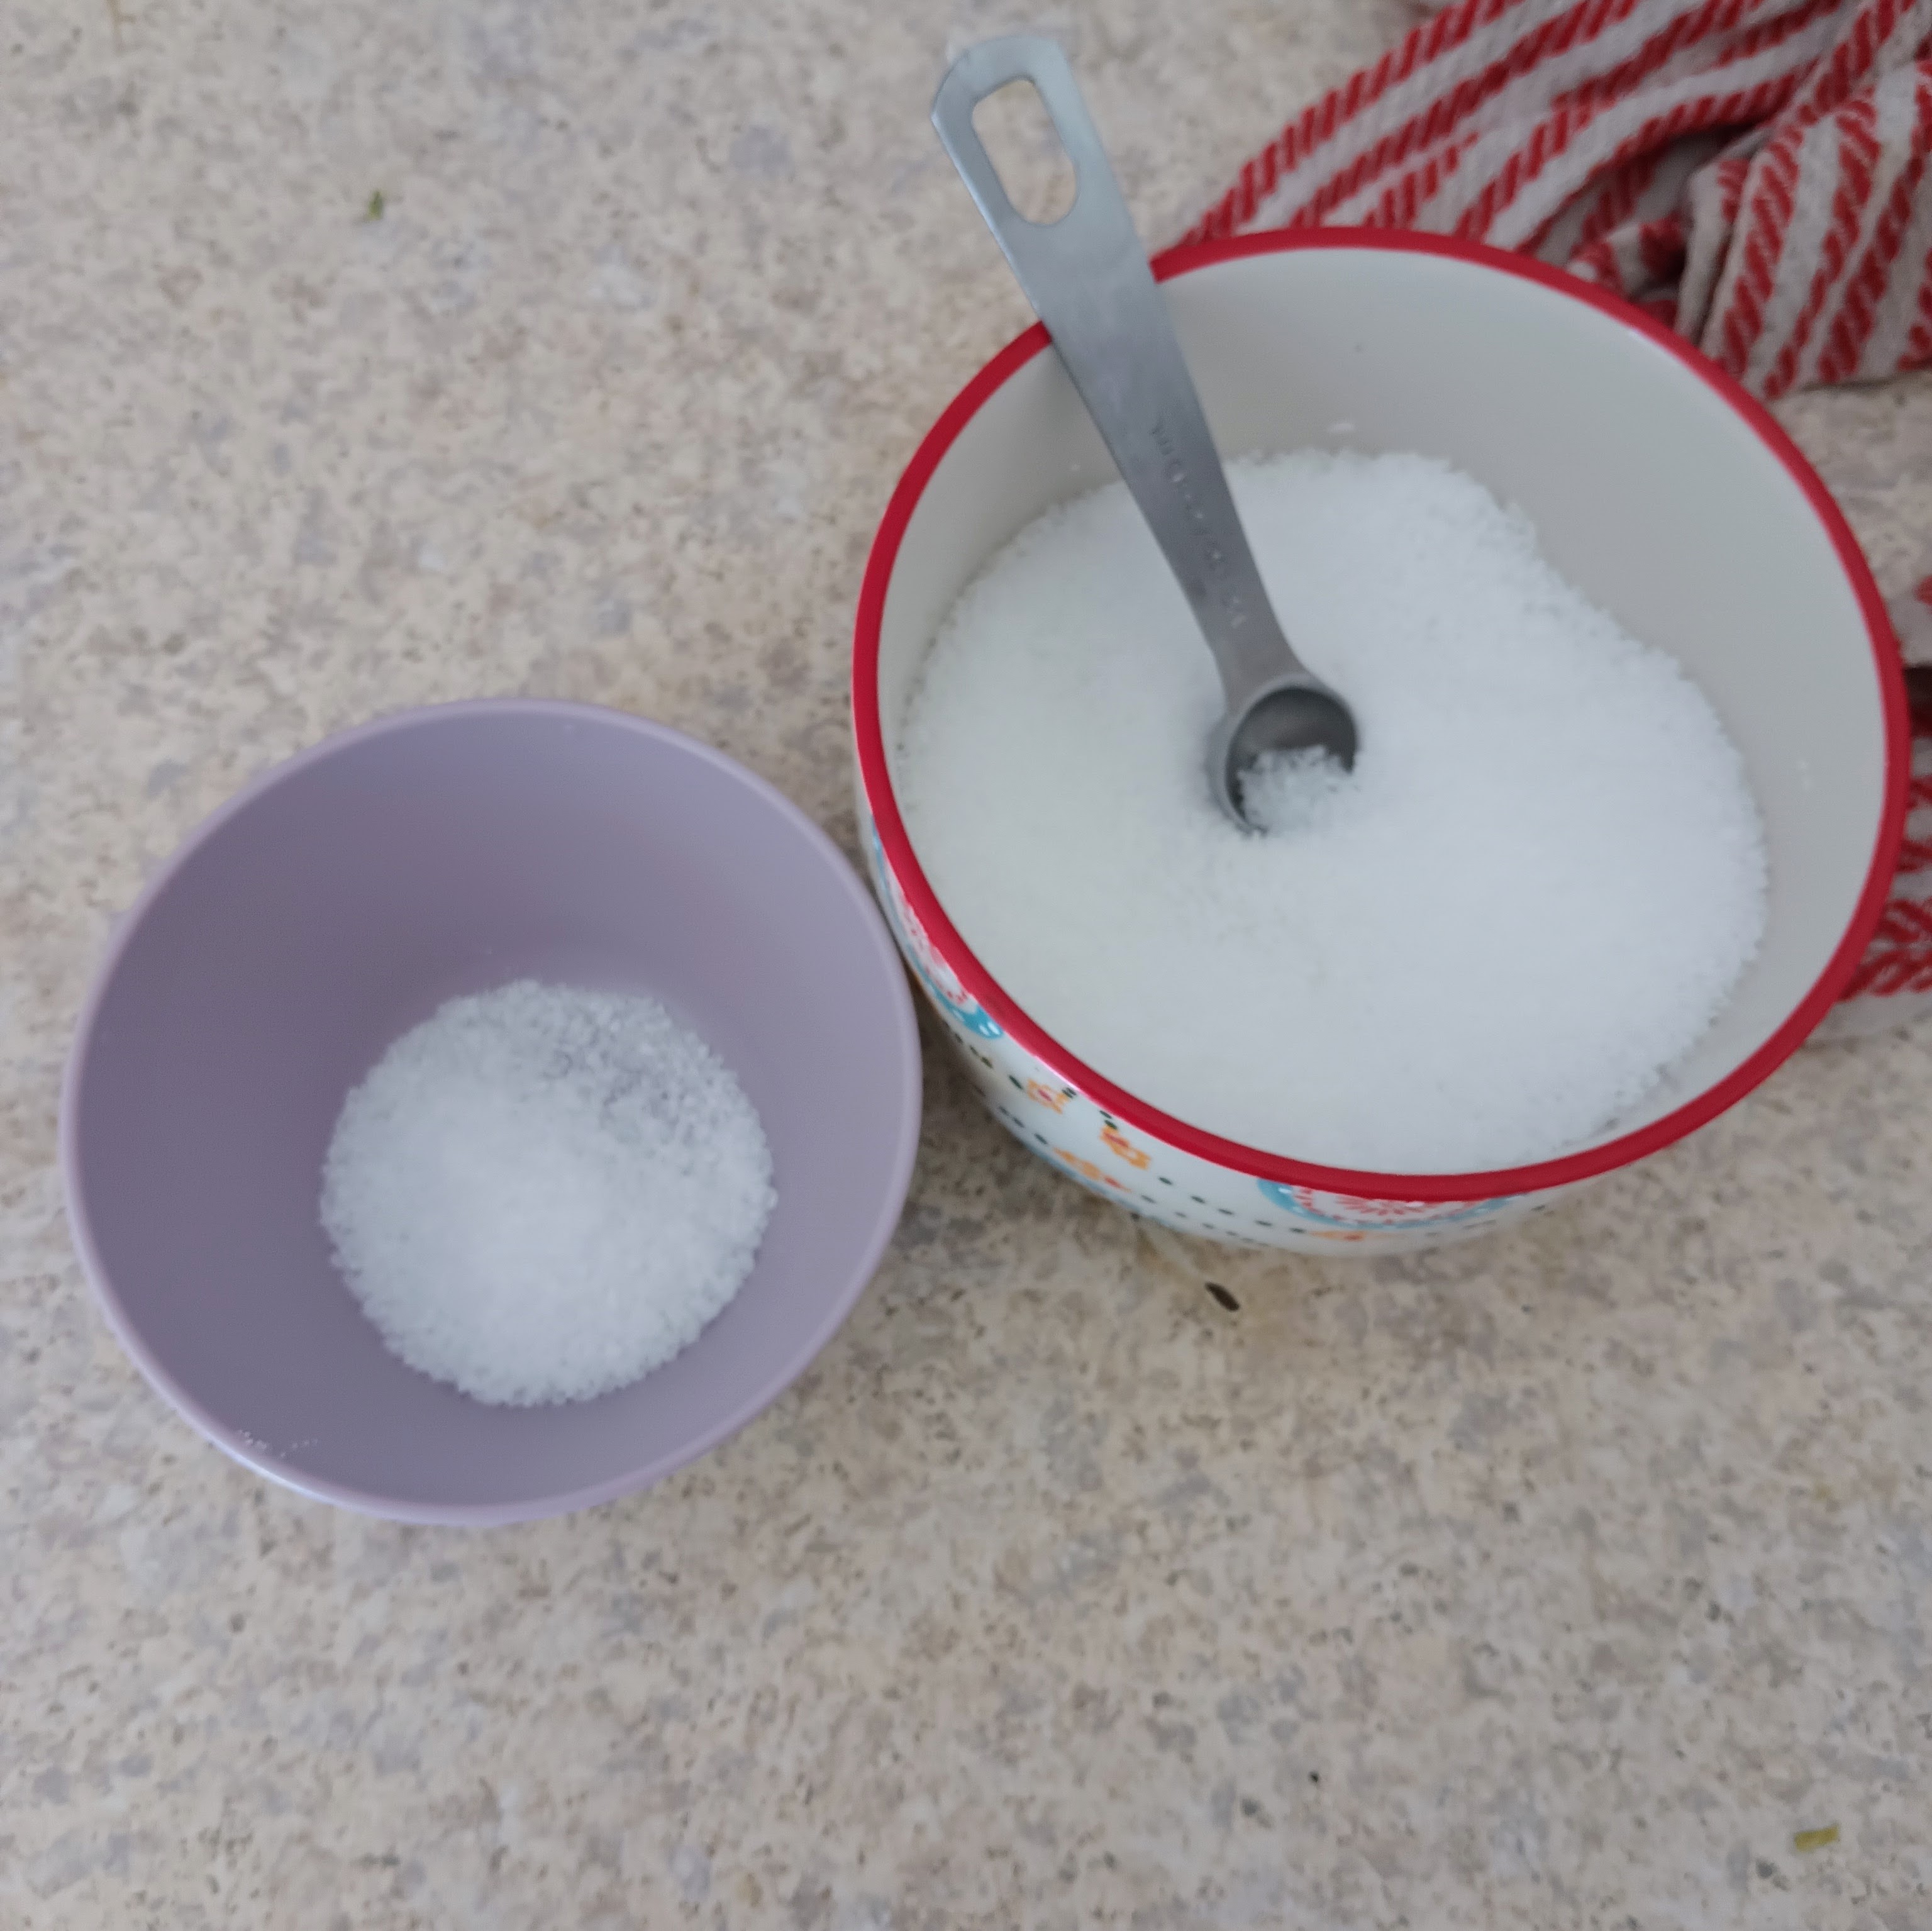
I like to set aside all the salt I’ll use in a separate bowl, then grab freely from that bowl as I work over the meat. Get the whole surface nice and covered—emphasizing the muscle and not the fatty areas.

After you’ve salted the meat, it’s ideal to place it uncovered in the fridge for at least twelve hours (I usually just do it the day before cooking).
(Also, ignore that I started this article with about four pounds of pork butt but am suddenly working with 17 pounds of butt. I definitely didn’t take these photos several weeks apart.)
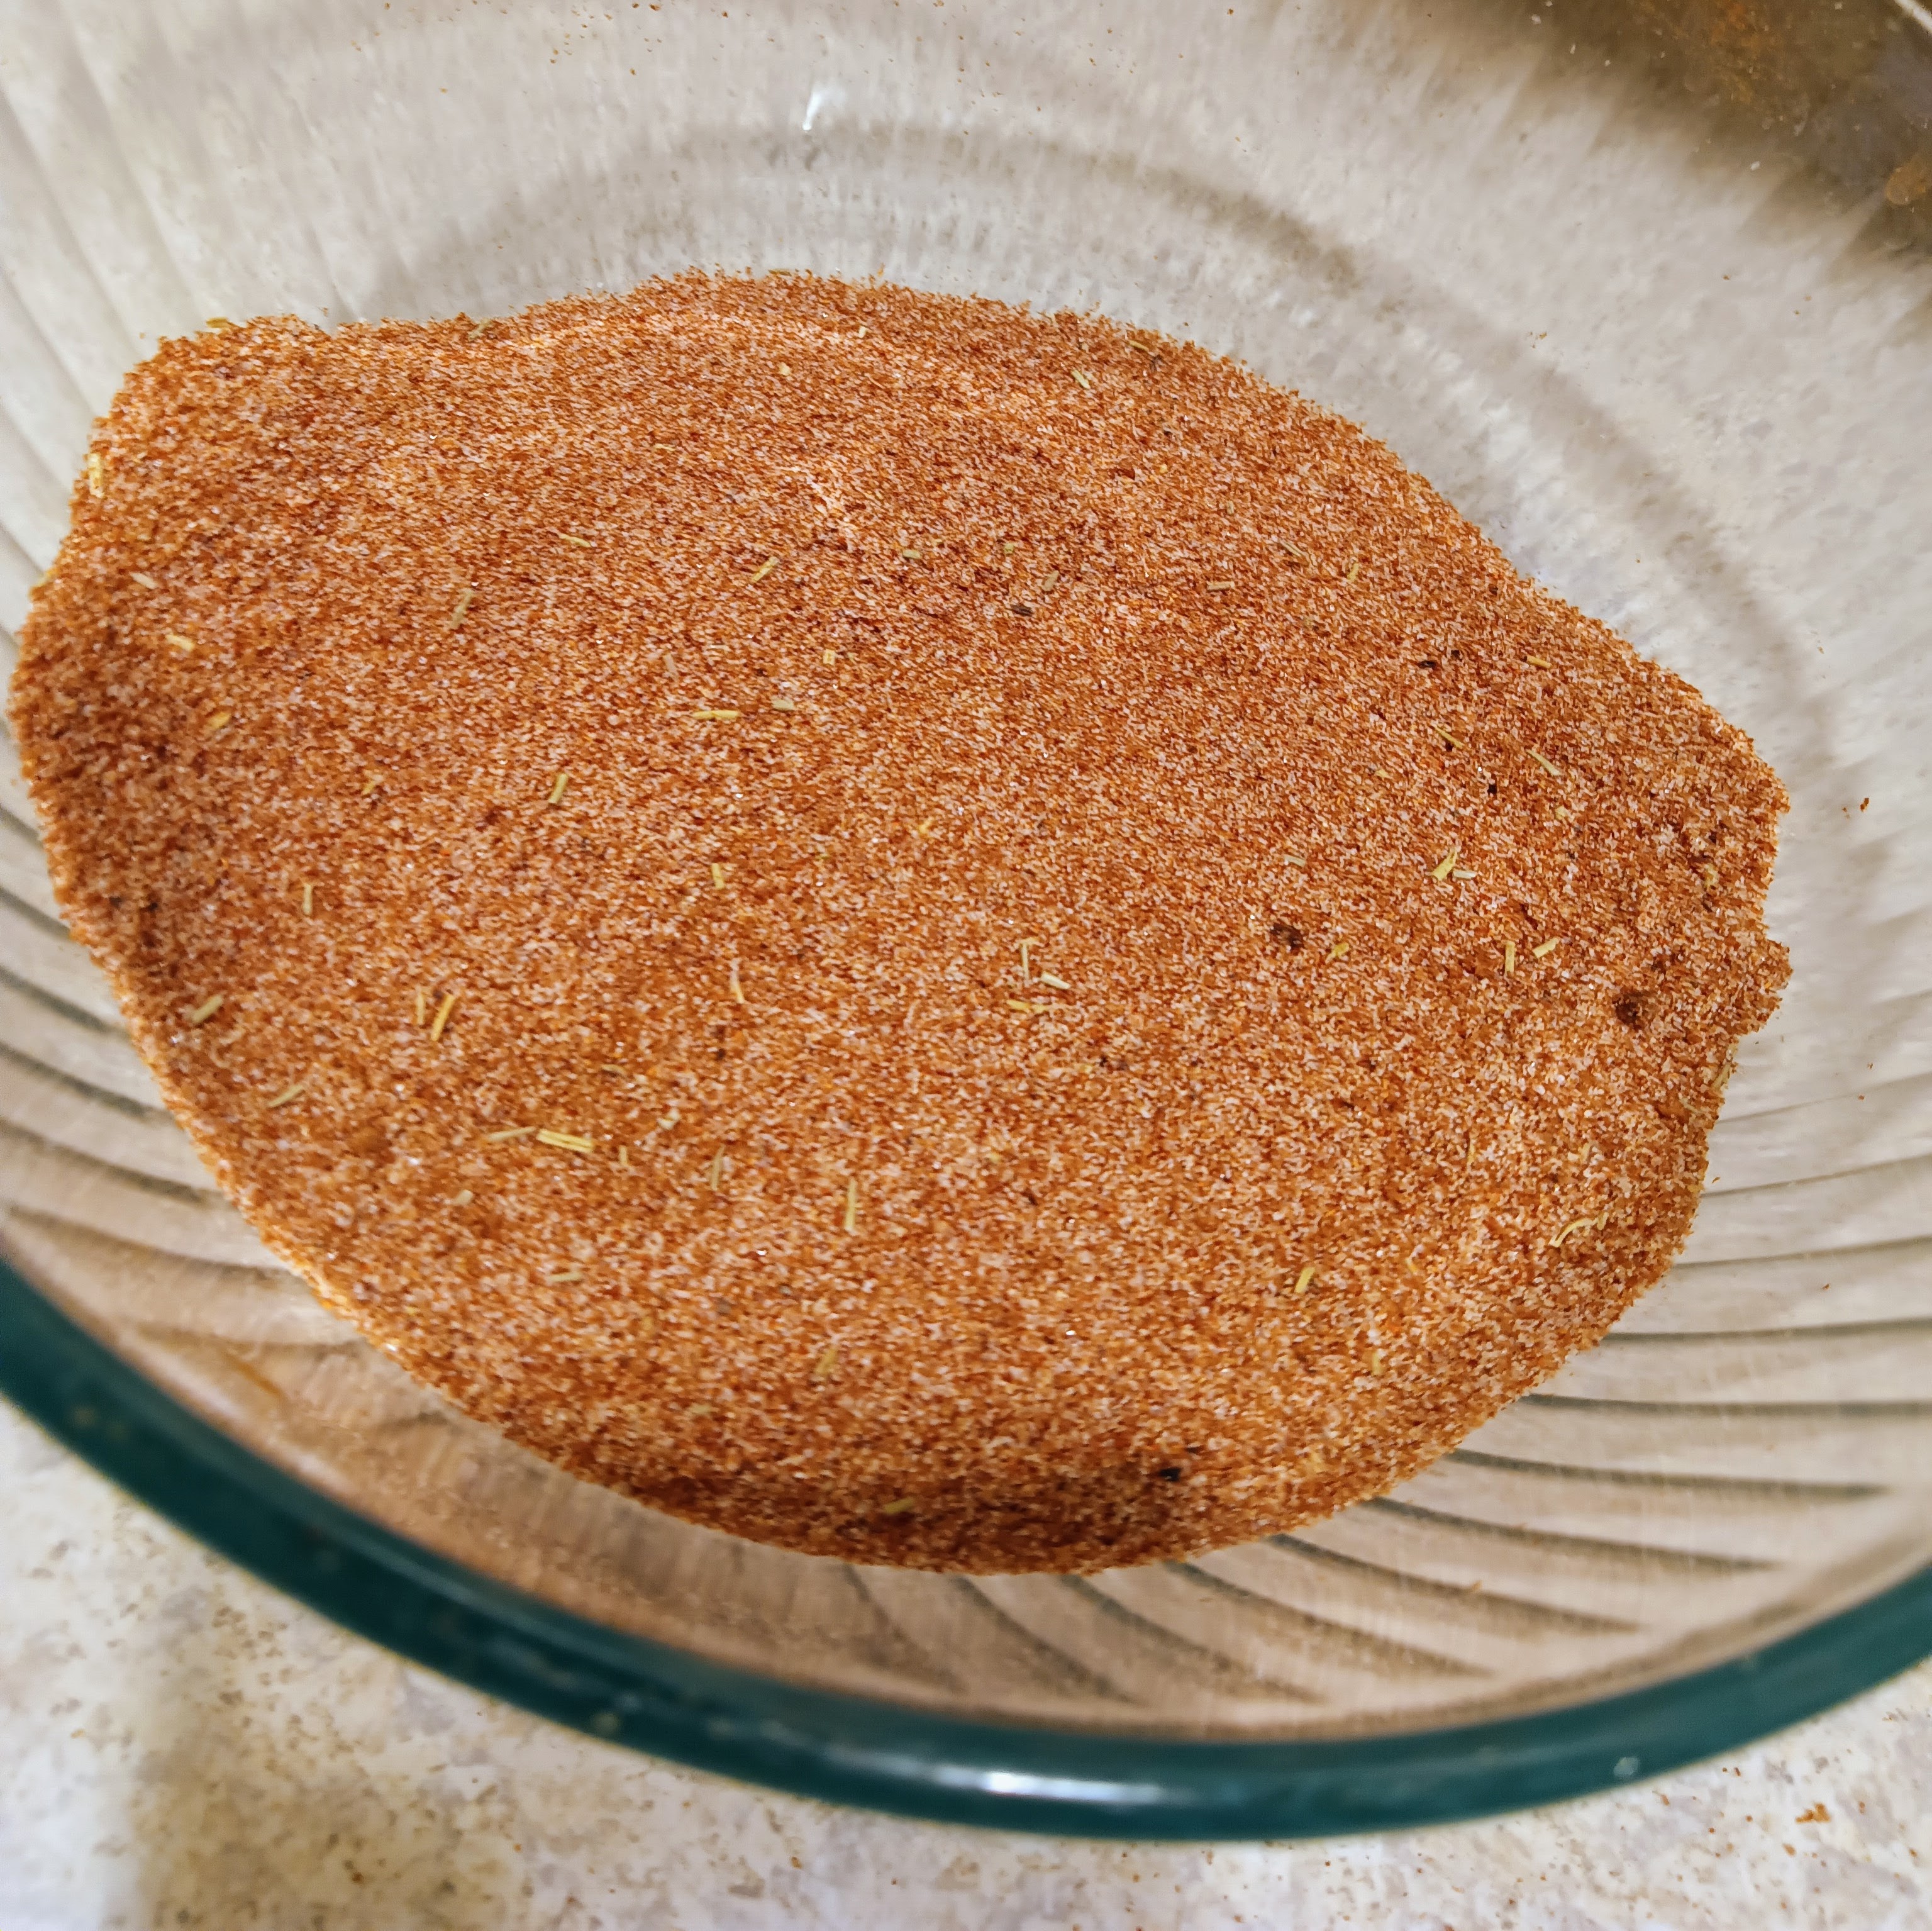
One final note: you don’t need your fancy spice rub yet. The molecules from herbs and spices are very large, and they do not fit between the muscle fibers of meat. So whether you apply the rub right before cooking or the day before cooking, it’ll have the same effect.
I prefer to make my rub and have it ready on the side, but leave it unapplied until right before cooking. That way as moisture evaporates from the meat overnight, it won’t affect the rub.
Temperature Control for your Butt
Okay, temperature is everything. Bust out your bingo cards, cause I’m saying it again: if you don’t have a thermometer that you regularly cook with, you’re doing it wrong.Here in particular, you need a good thermometer. Are you seriously going to throw your meat on the grill, squint at Pinterest, then set your timer for eight hours and hope the meal pans out right? Wrong!
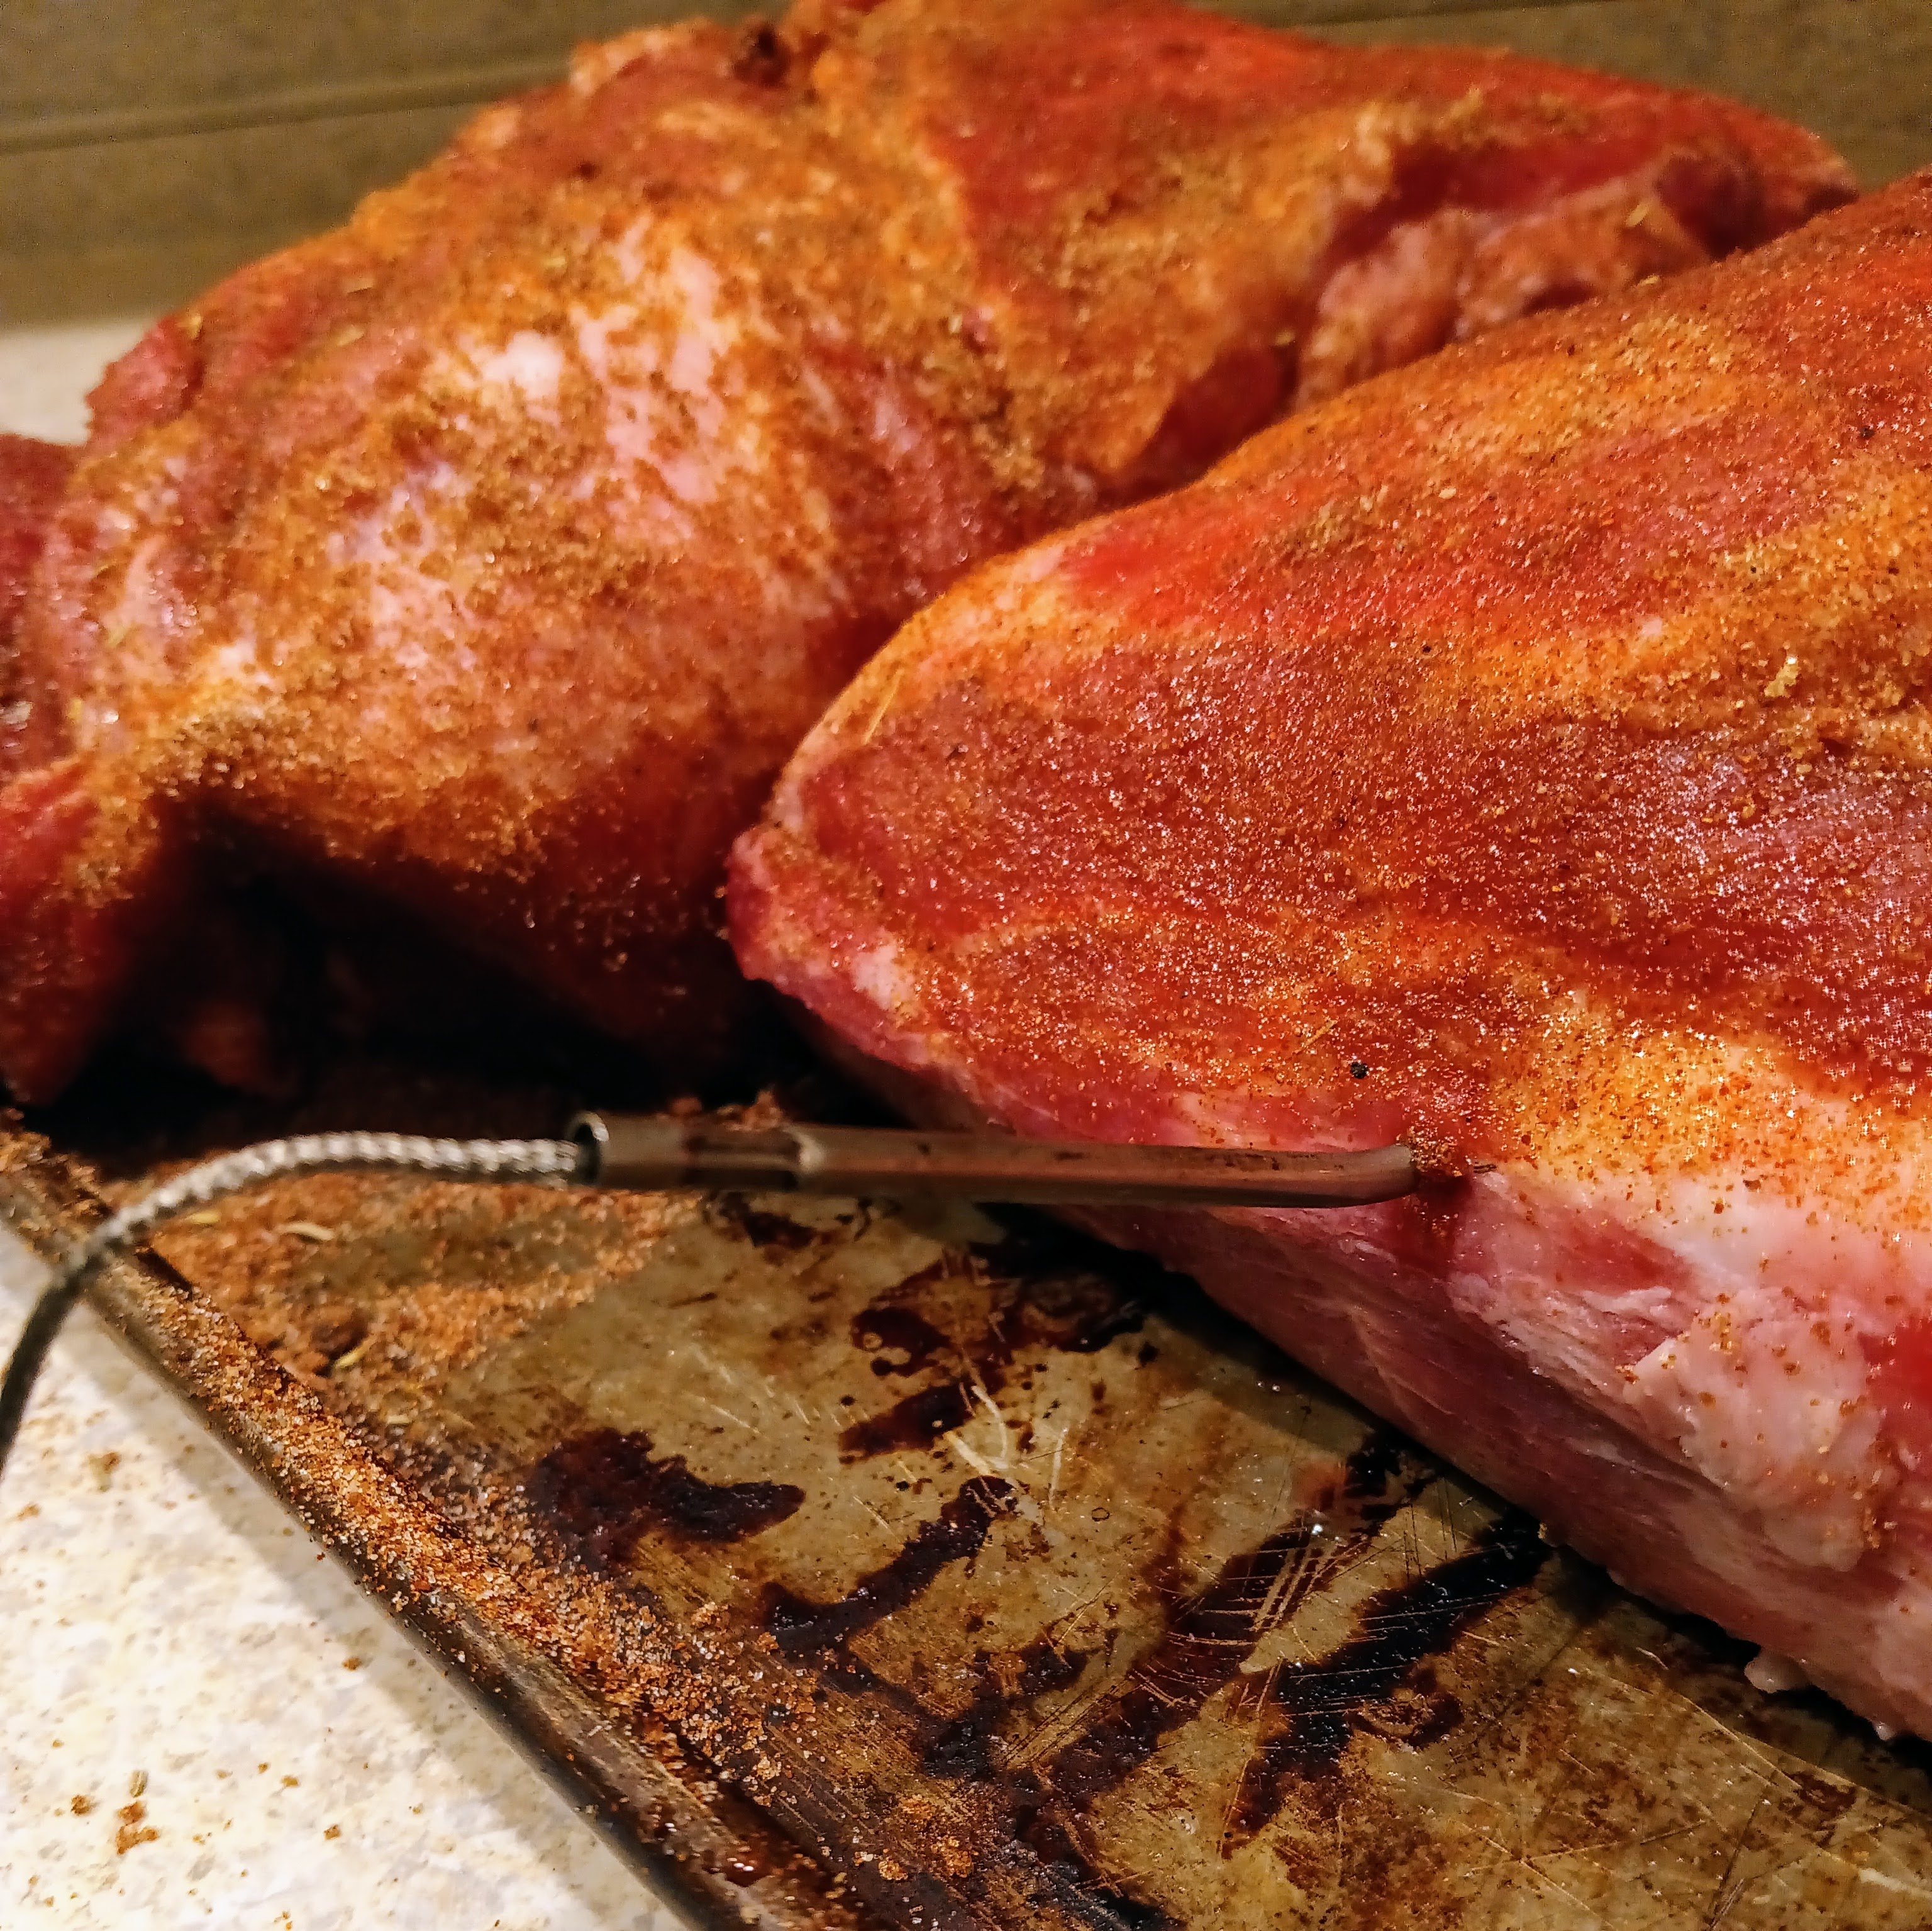
Now that you’ve rubbed my butt down with my magical barbecue dust, stick your thermometer deep into the thickest part of your meat. Set the thermometer to scream at you once the meat hits 202℉.
Okay, water. This is a really helpful tip that I didn’t know of for a while. If you can fill your grill with enough steam, it’ll provide a stable environment that accomplishes a few important goals:
- Hold your grill’s temperature steady
- Prevent excess moisture loss from the meat
- Protect the skin of the meat from overexposure to heat
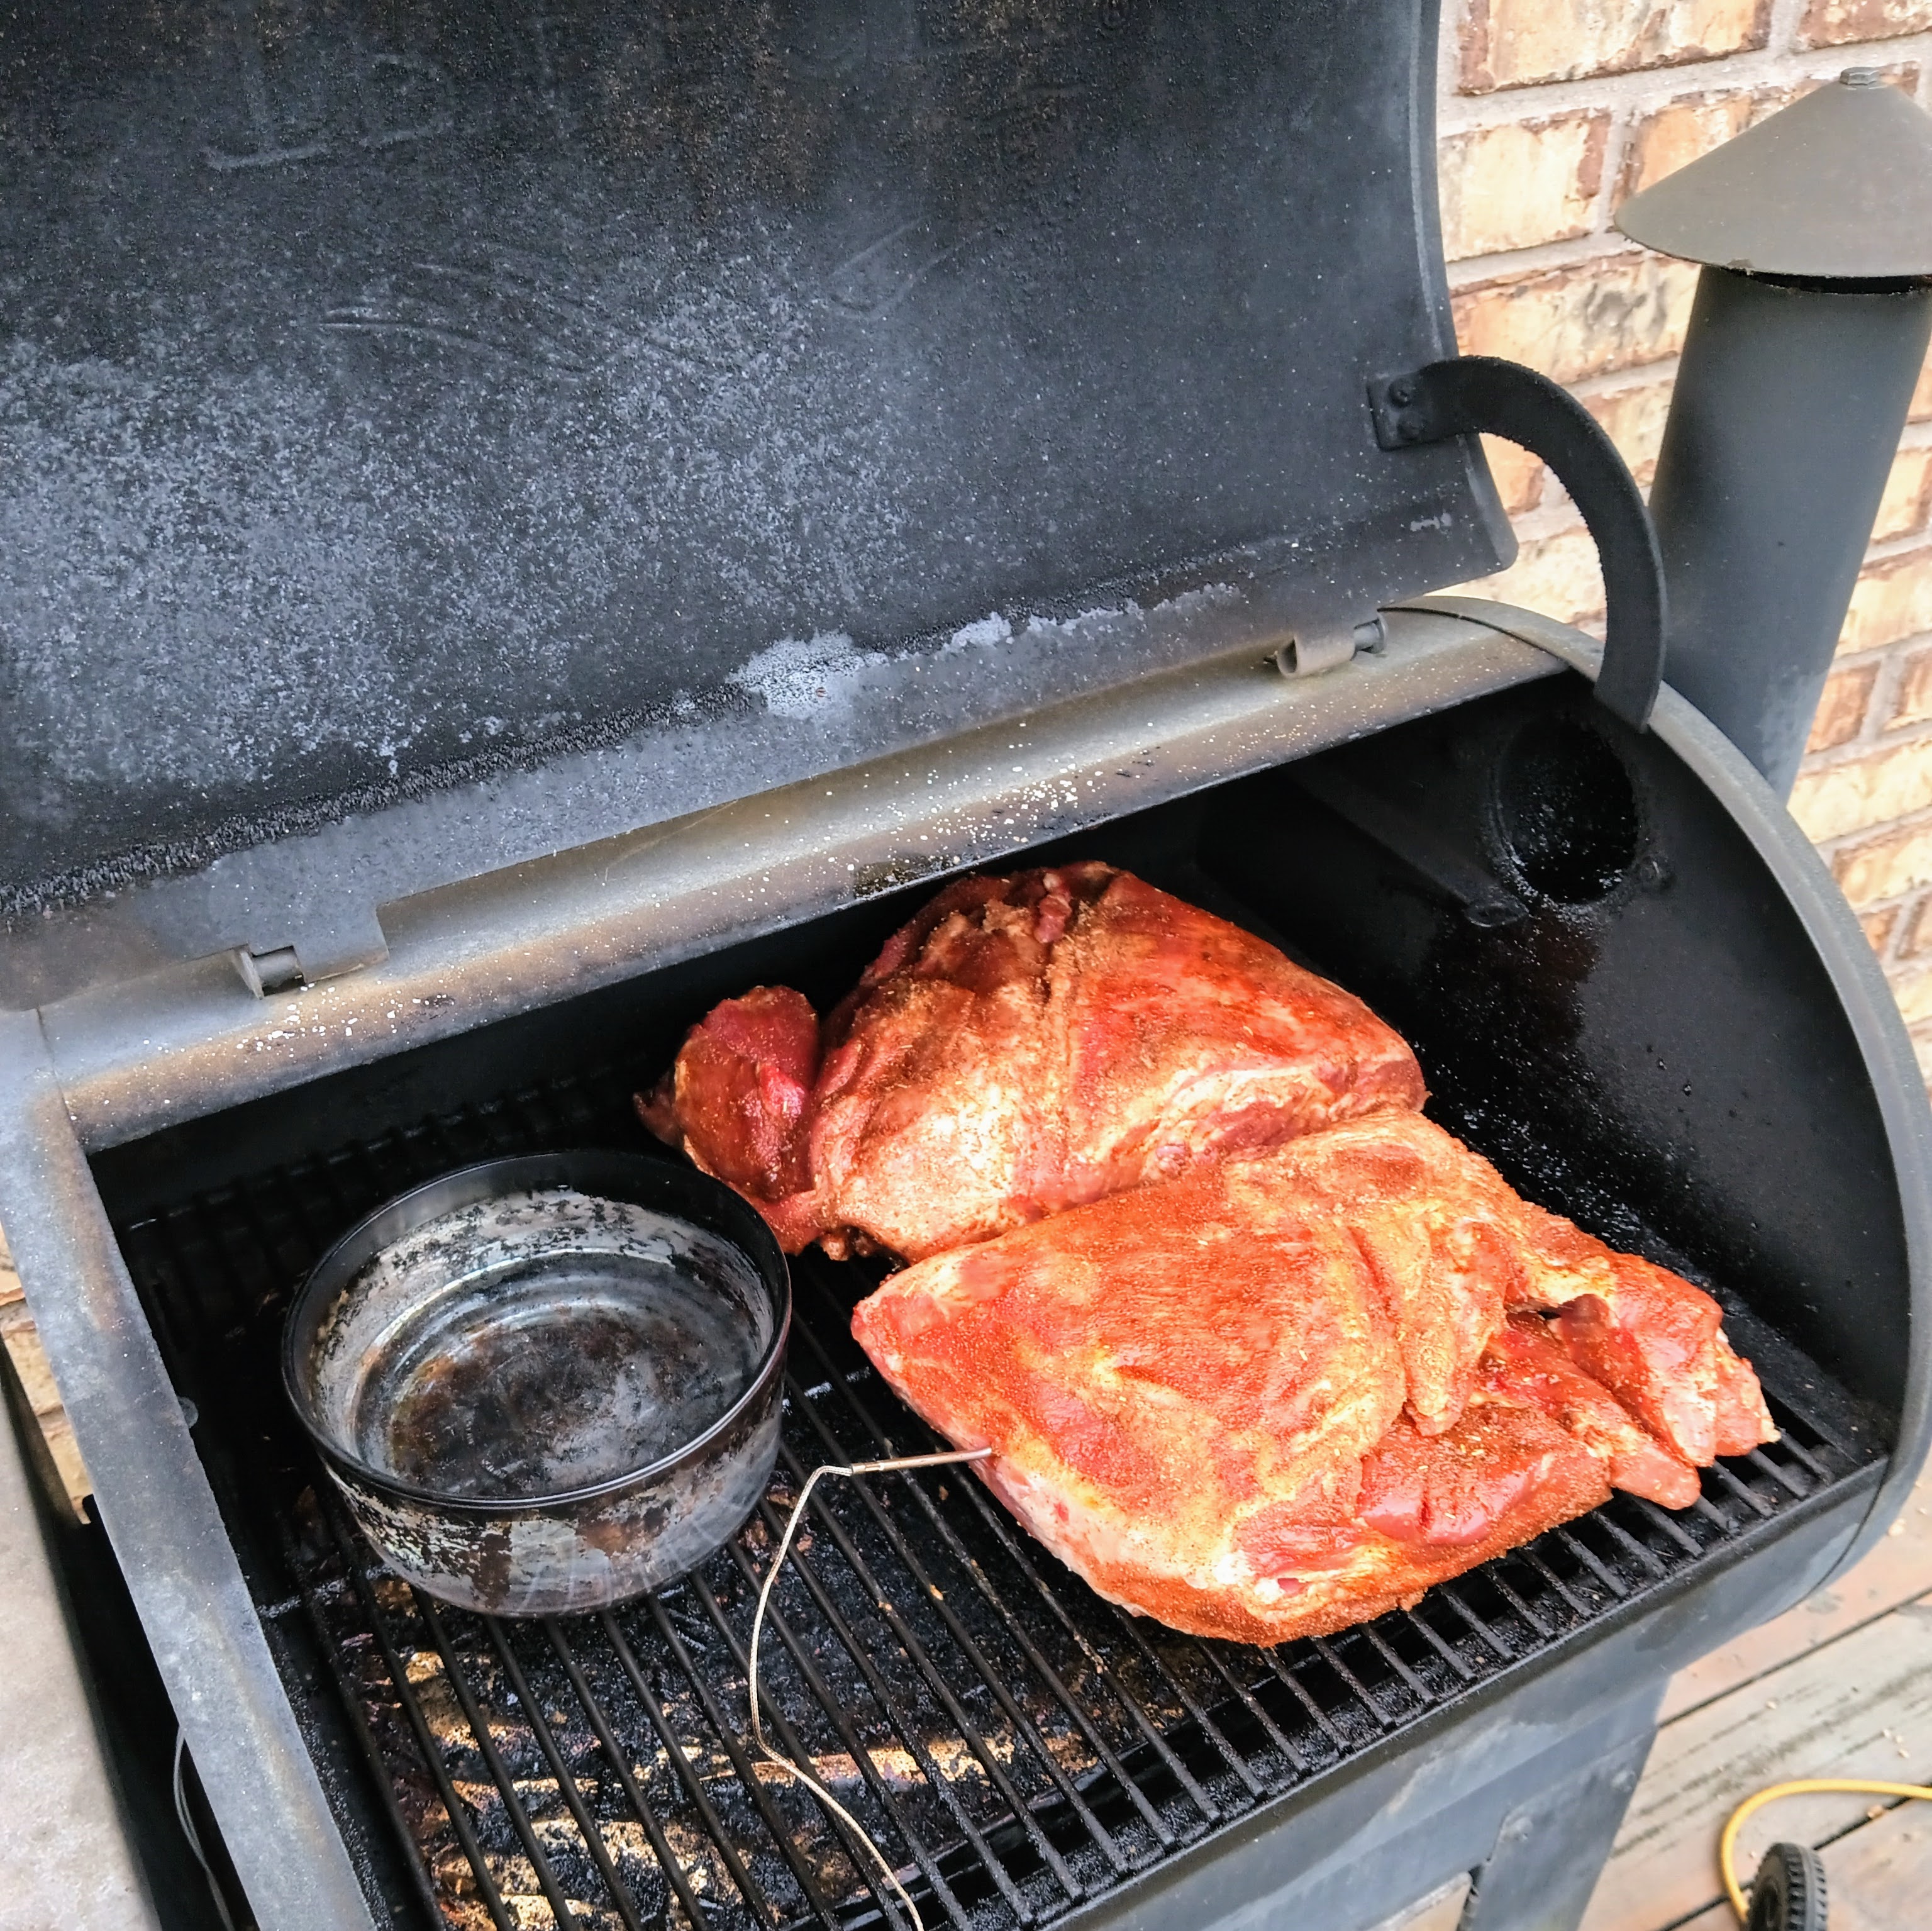
Fill a glass or metal bowl with hot water and place it closest to your heat source and furthest away from your grill’s vent. The water vapor will travel through the grill and across the meat, eventually filling the grill and creating the perfect environment.
If your grill can fit it, I prefer to put one bowl of water up top over the hottest part of the grill, and a separate bowl of water down on a lower grate beneath the meat.
Serving your Butt
Once your butt has reached 203℉ (this took about 12 hours for me because the cuts were so big), pull it out and serve as soon as you can manage. This is one of the cuts that actually can benefit from a bit of resting, but if you want to dig in right away, then absolutely go ahead. This is another myth I tackled in this article.
If your guests haven’t arrived yet, drop your grill down to 170℉, or put it in the oven at 170℉. It’ll hold that way pretty well for about two hours.
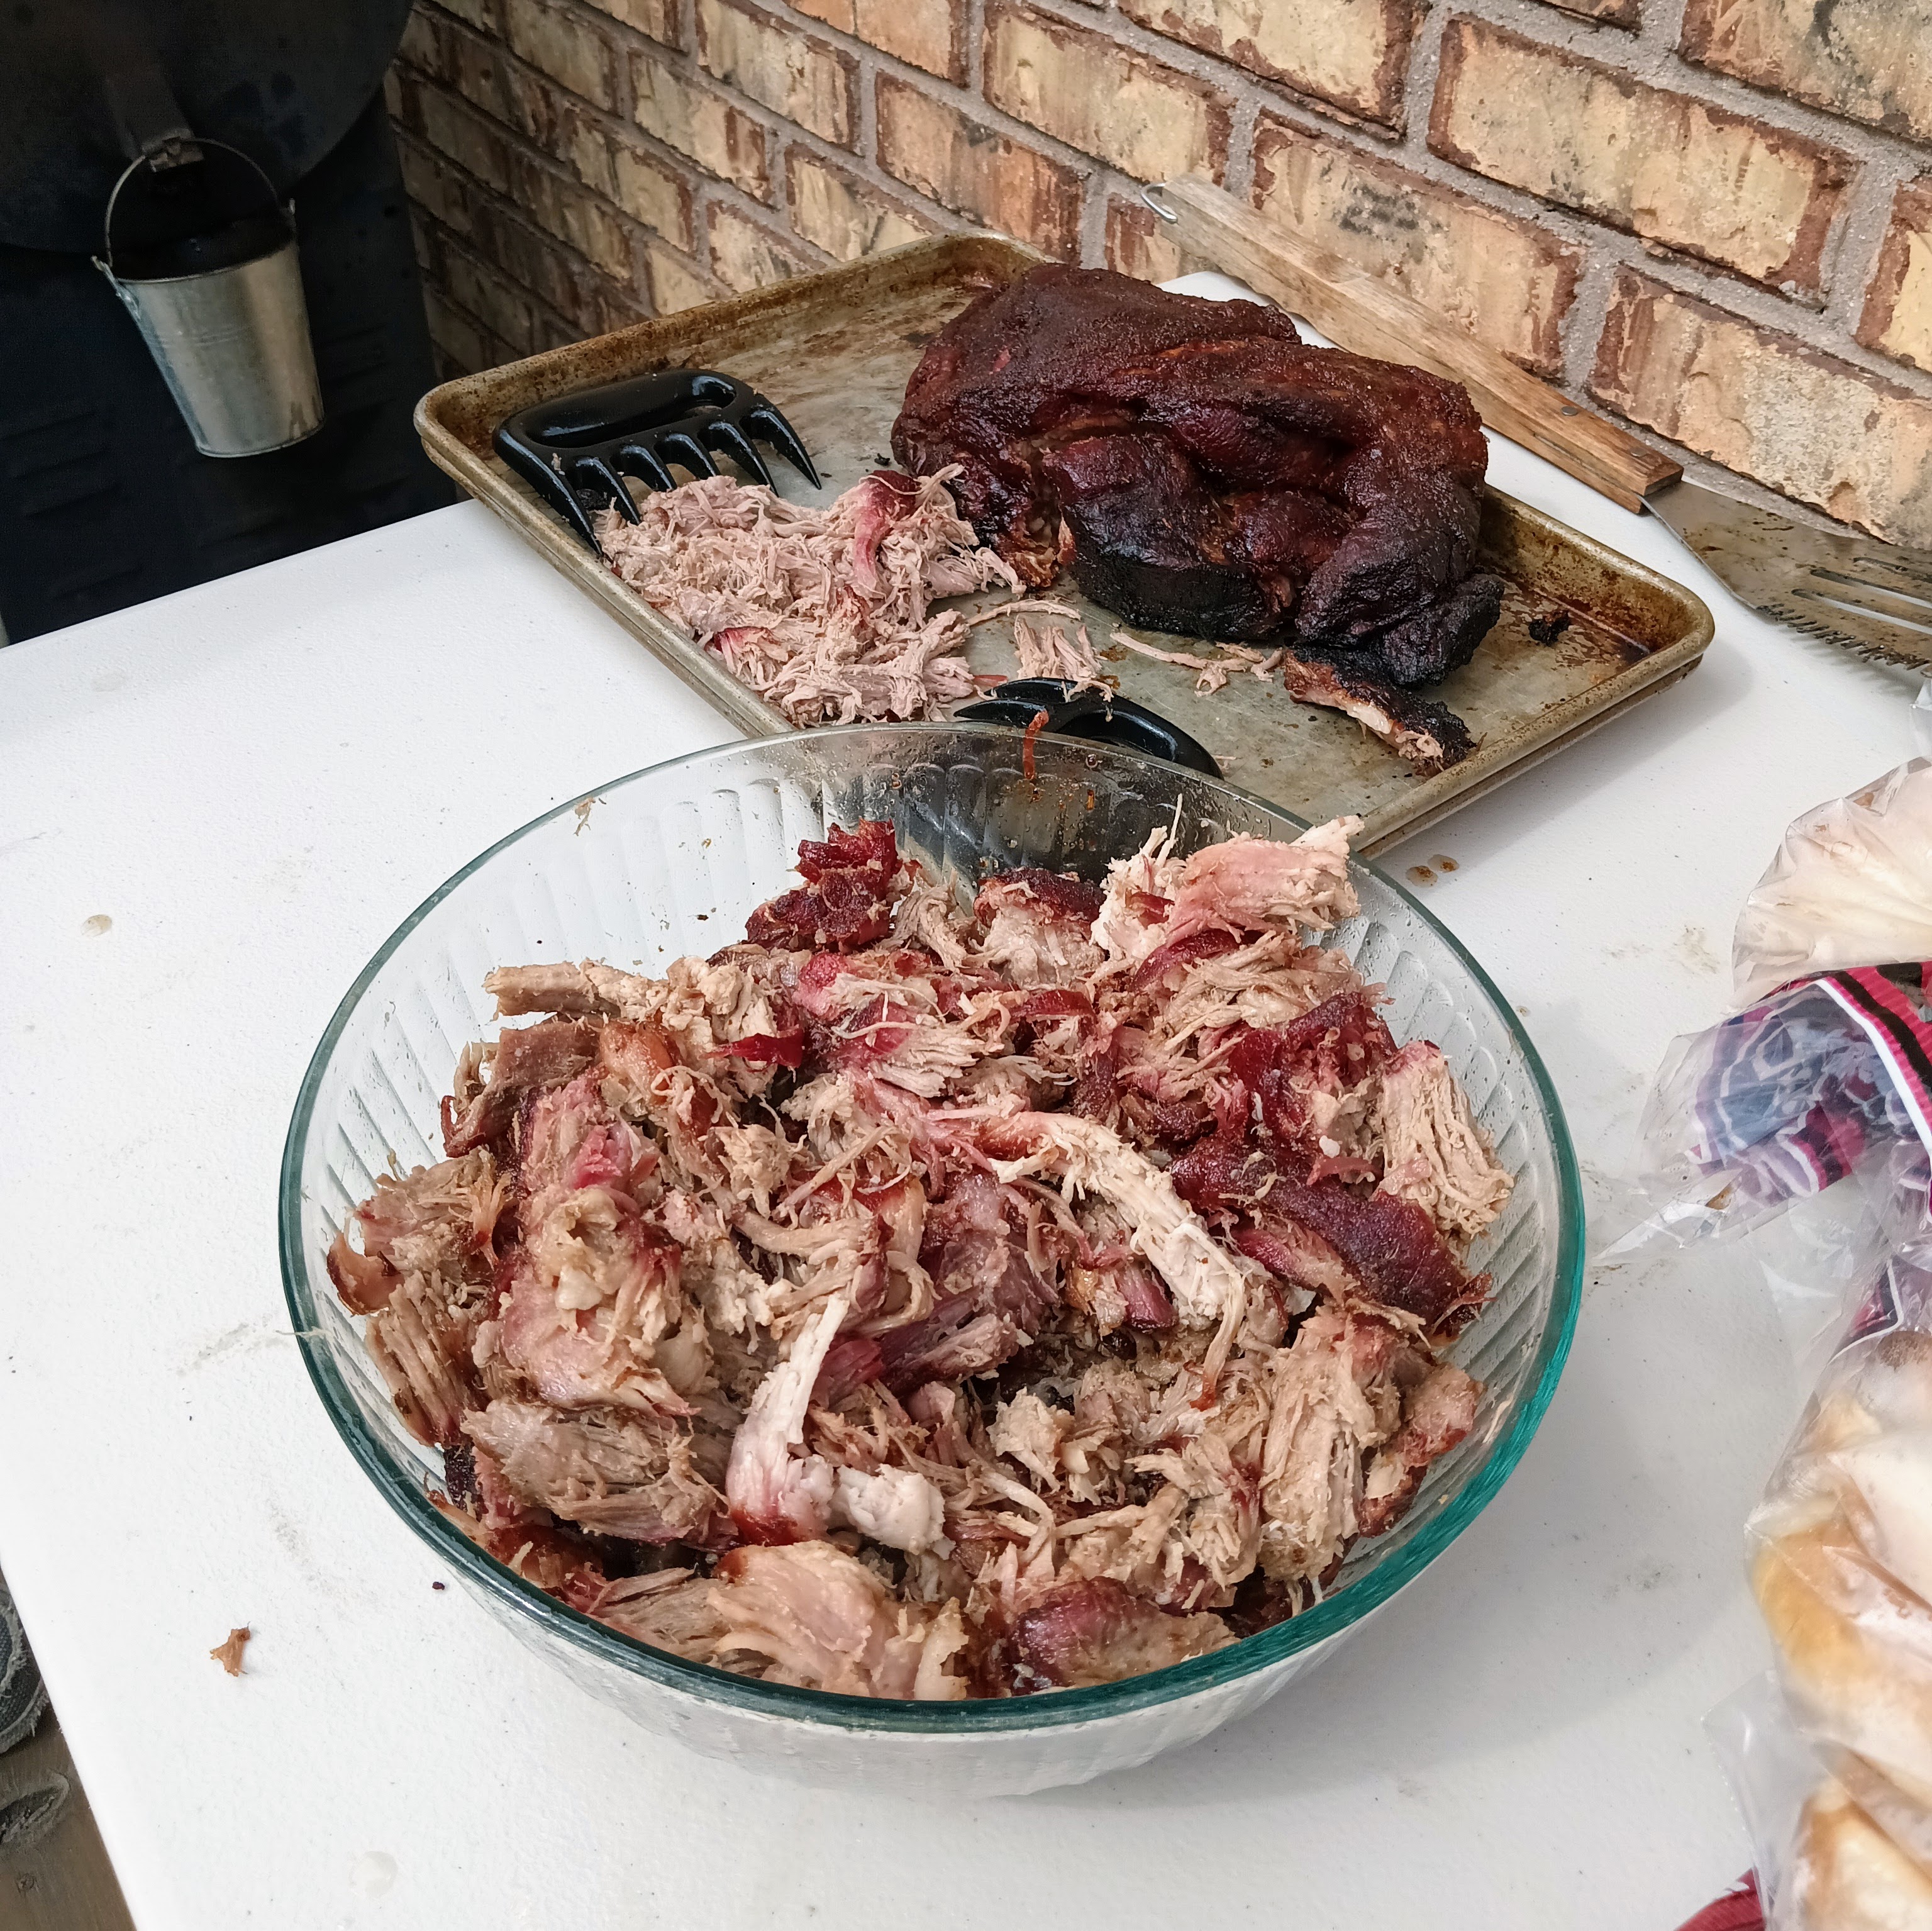
In North Carolina where they serve some of my favorite types of barbecue sauce, they tend to slice their pork butt and serve it similar to brisket. But I like pulled pork.
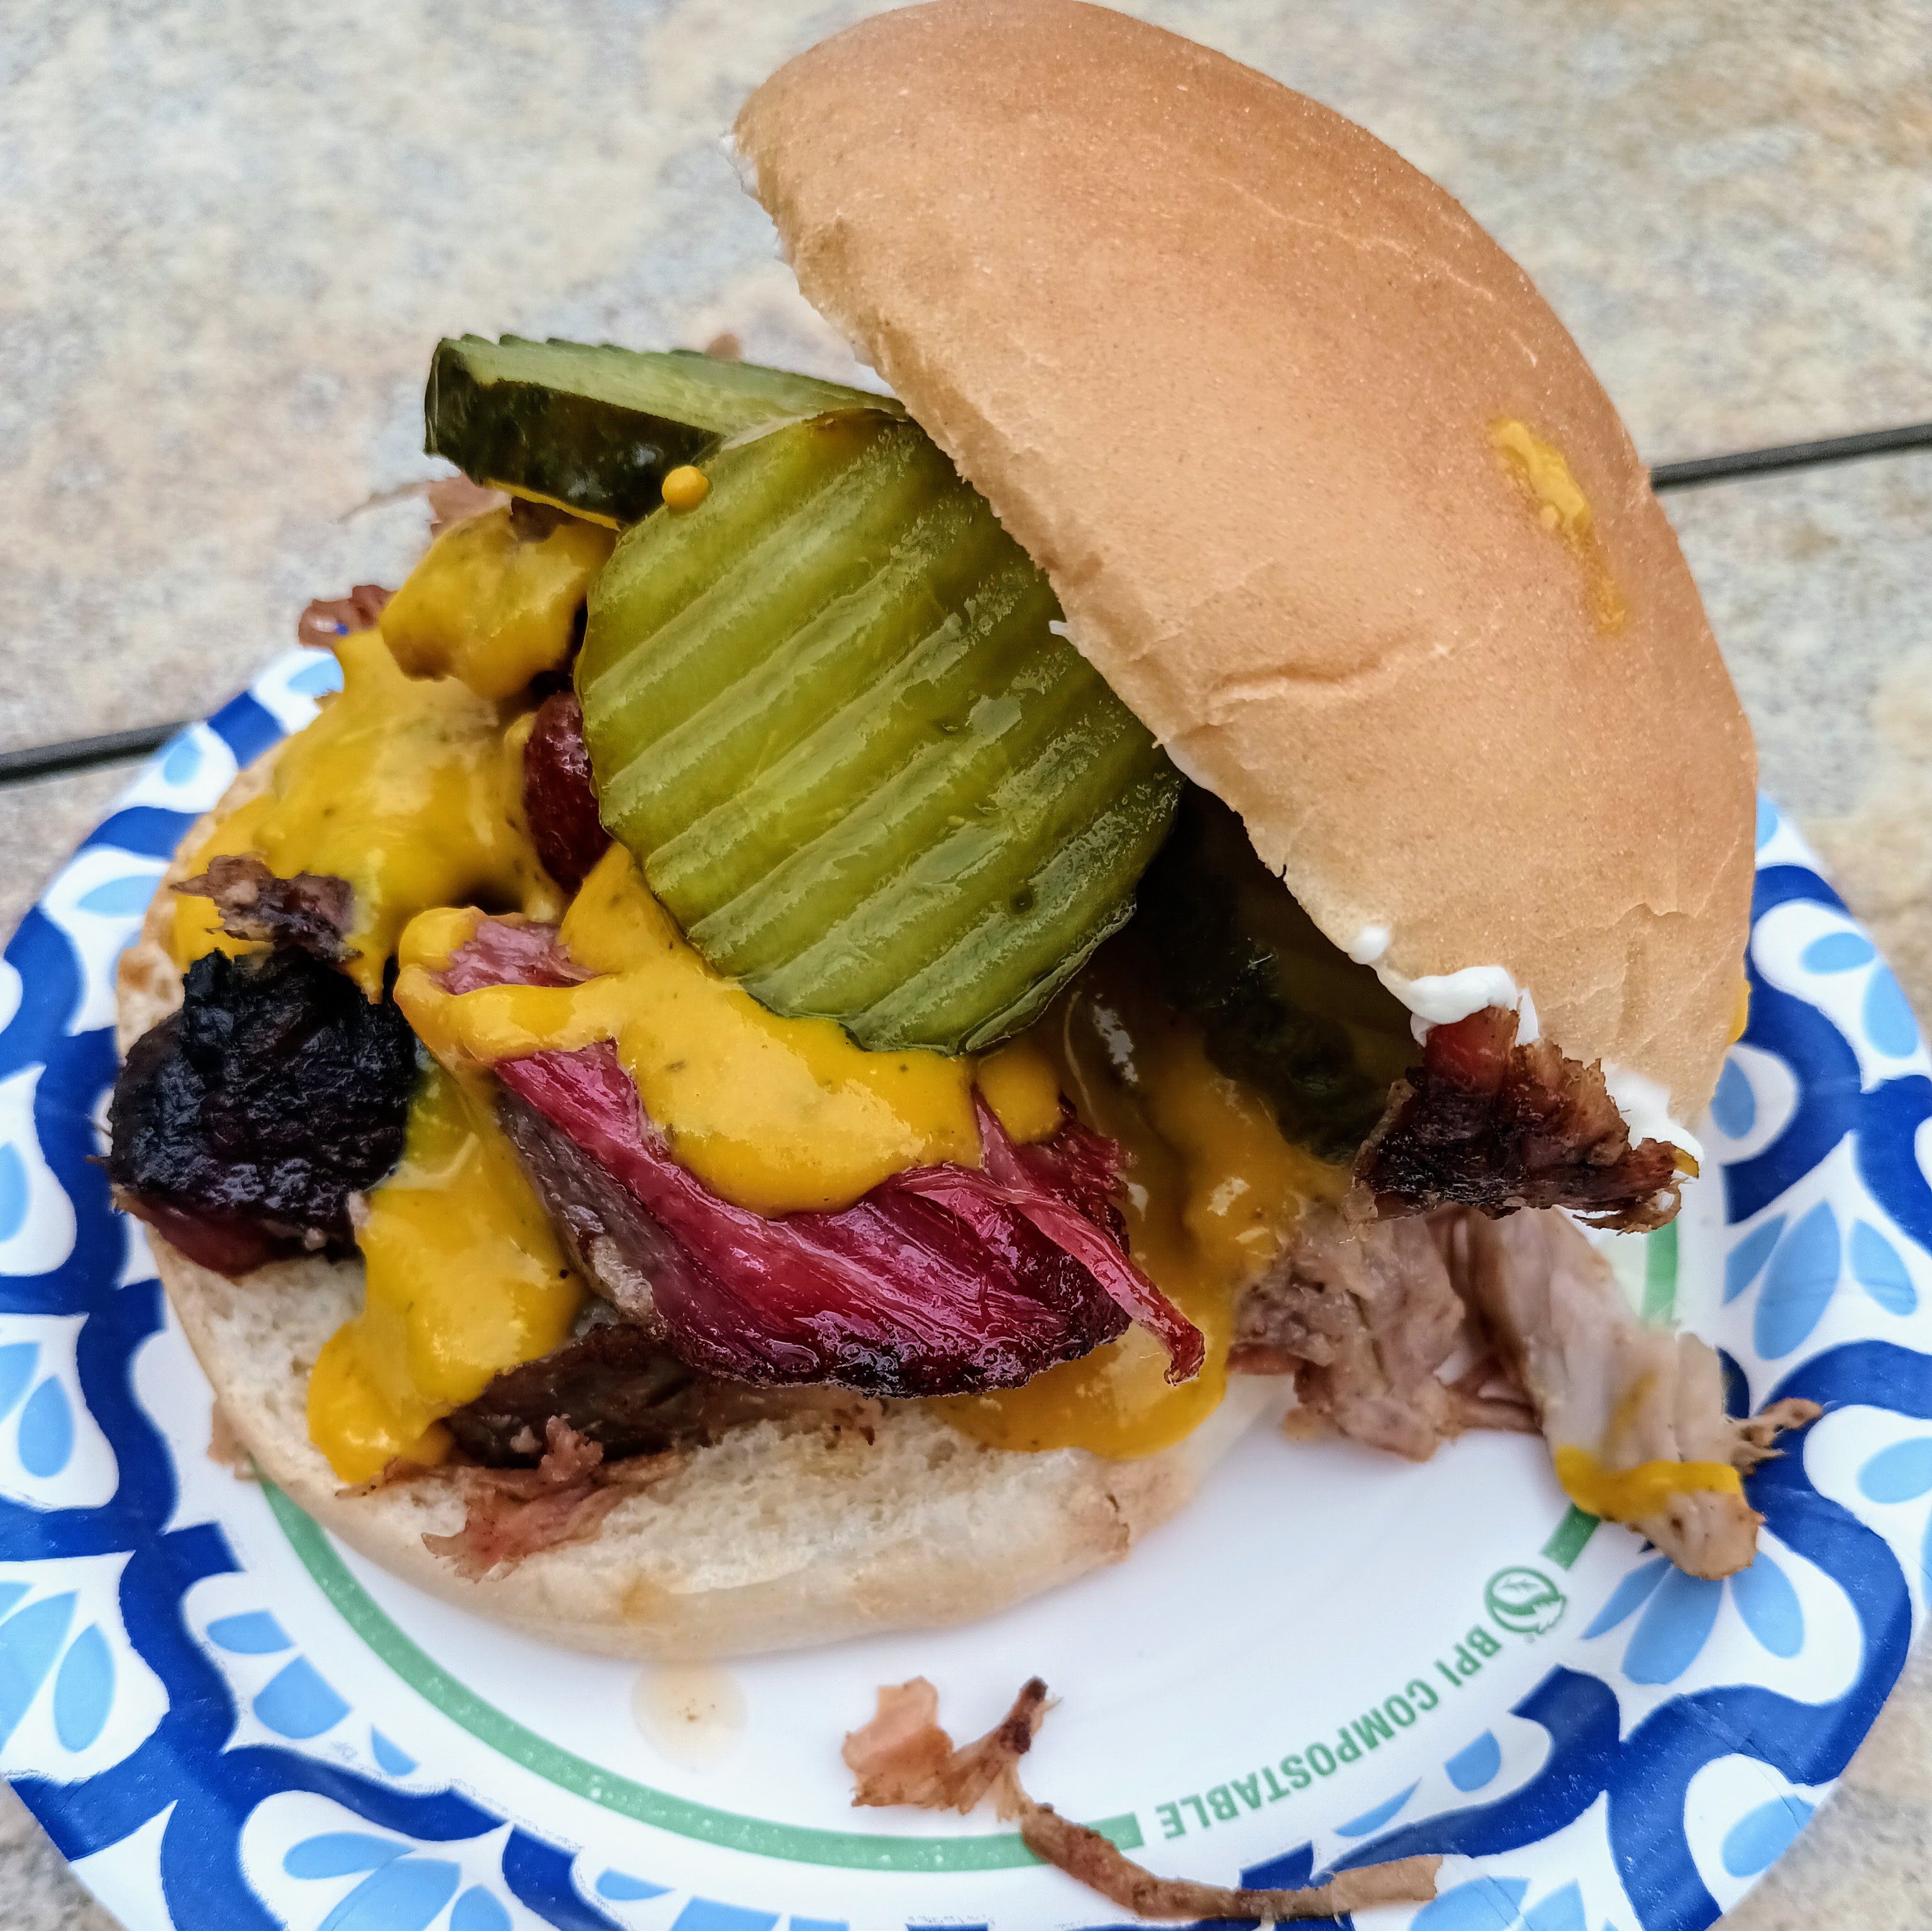
Finally, sammich. Pork butt is super fatty, so you want to balance it with something acidic. To me, this means lots of pickles and a nice, sharp barbecue sauce (pictured above is my homemade Columbia Gold, but my personal favorite is my specialty sauce I call Slapyomama).
Have I made your mouth water? Good. Go forth and use your grill to its full potential!
 Matthew
Christensen
Matthew
Christensen
Weekly Newsletter Contributor since 2023
Email the author! matthew@dvo.com
Sources: