Jam-Making: It’s Easy and Fun!
Back in the day, when there were no canned foods or freezing methods available, making jam was a way to store fresh produce. Even though we no longer need to preserve our fruits, we still love jam! Can you imagine a biscuit without butter and jam? Ridiculous!
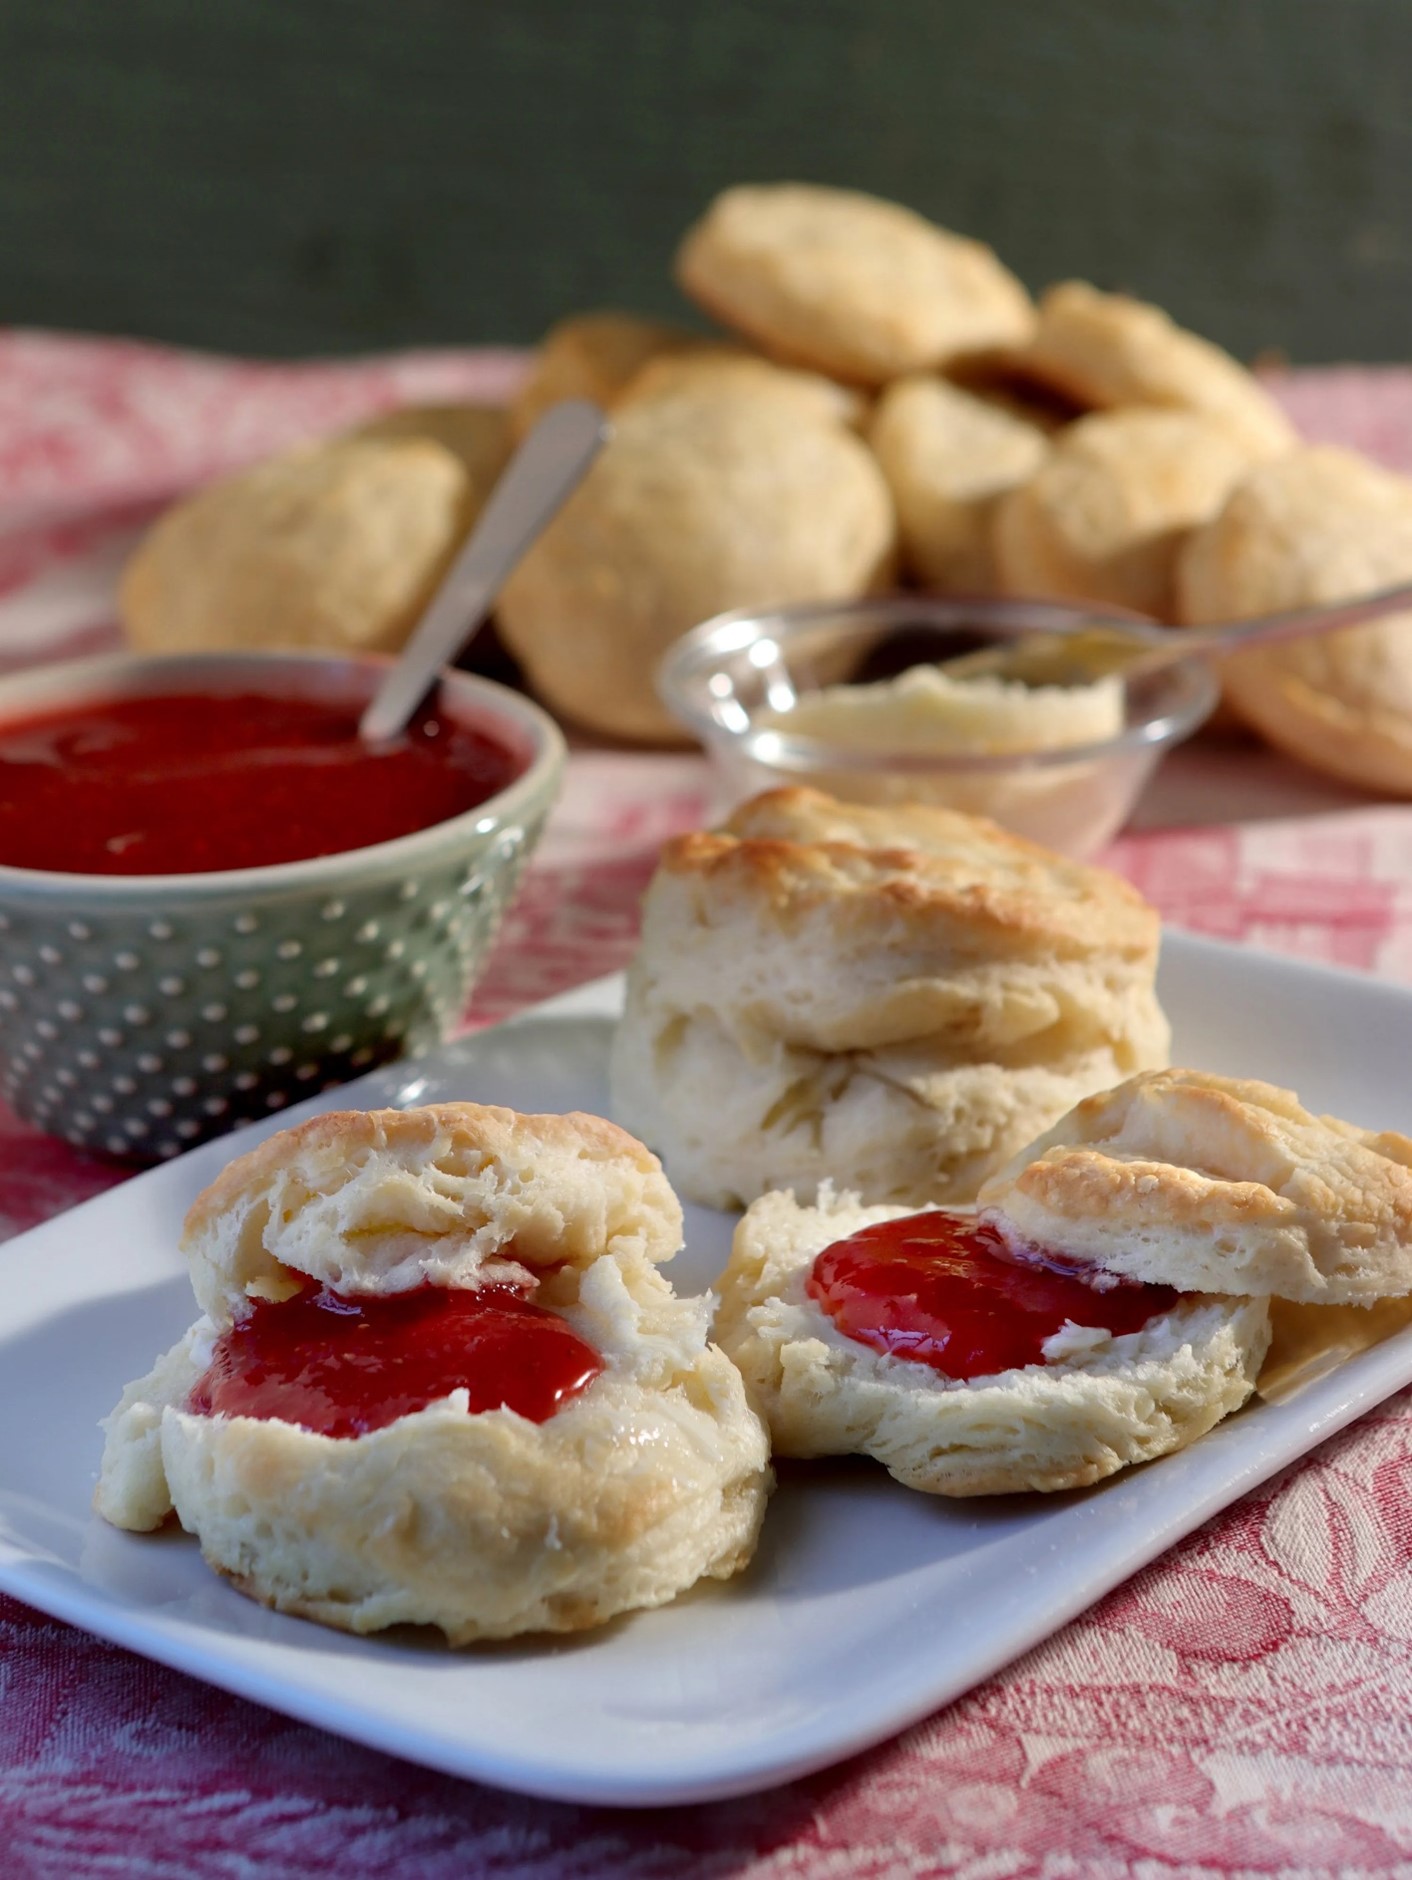
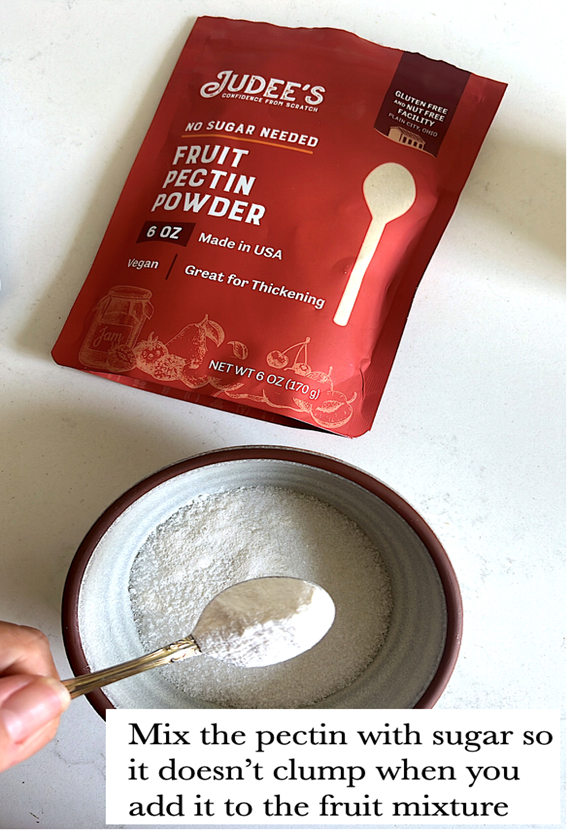
Alex, of www.prohomecooks.com, shared a simple tutorial on the science around jam-making. This easy and fun project only takes pectin, sugar, acid, and heat to make any jam shelf-stable.
Most fruits naturally contain pectin (a setting agent), which is released during cooking. Apples, citrus peel, blackberries, and red currants are very high in pectin while strawberries, peaches, mango, pineapple, watermelon and bananas are very low in pectin. Thus, the variety of fruit you choose and its ripeness, determines the amount of pectin you’ll need to set your jam. Typically, pectin powder is added to the cooked fruit to ensure a well-set jam.
Acid is needed because pectin requires a slightly acidic environment to gel properly. Acid also helps preserve the fruit.
Sugar is needed for a few reasons. First, it helps preserve and set the jam. It also prevents the pectin from breaking down as the fruit is cooking.
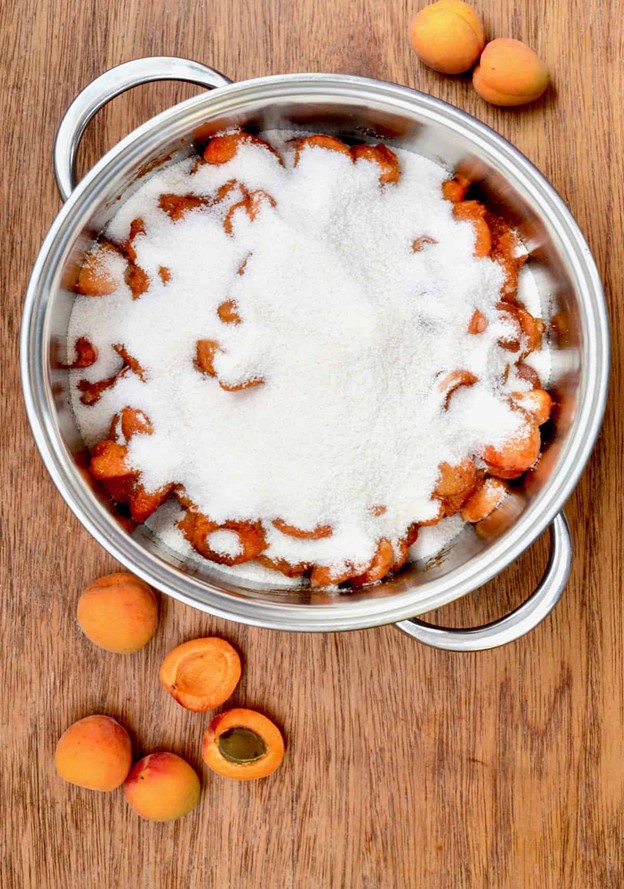
And then heat does two things. One, it causes the pectin to activate and bond with the sugar, resulting in a thicker mixture. Two, once the ingredients begin to simmer or boil, the excess water will evaporate, concentrating the fruit’s flavor.
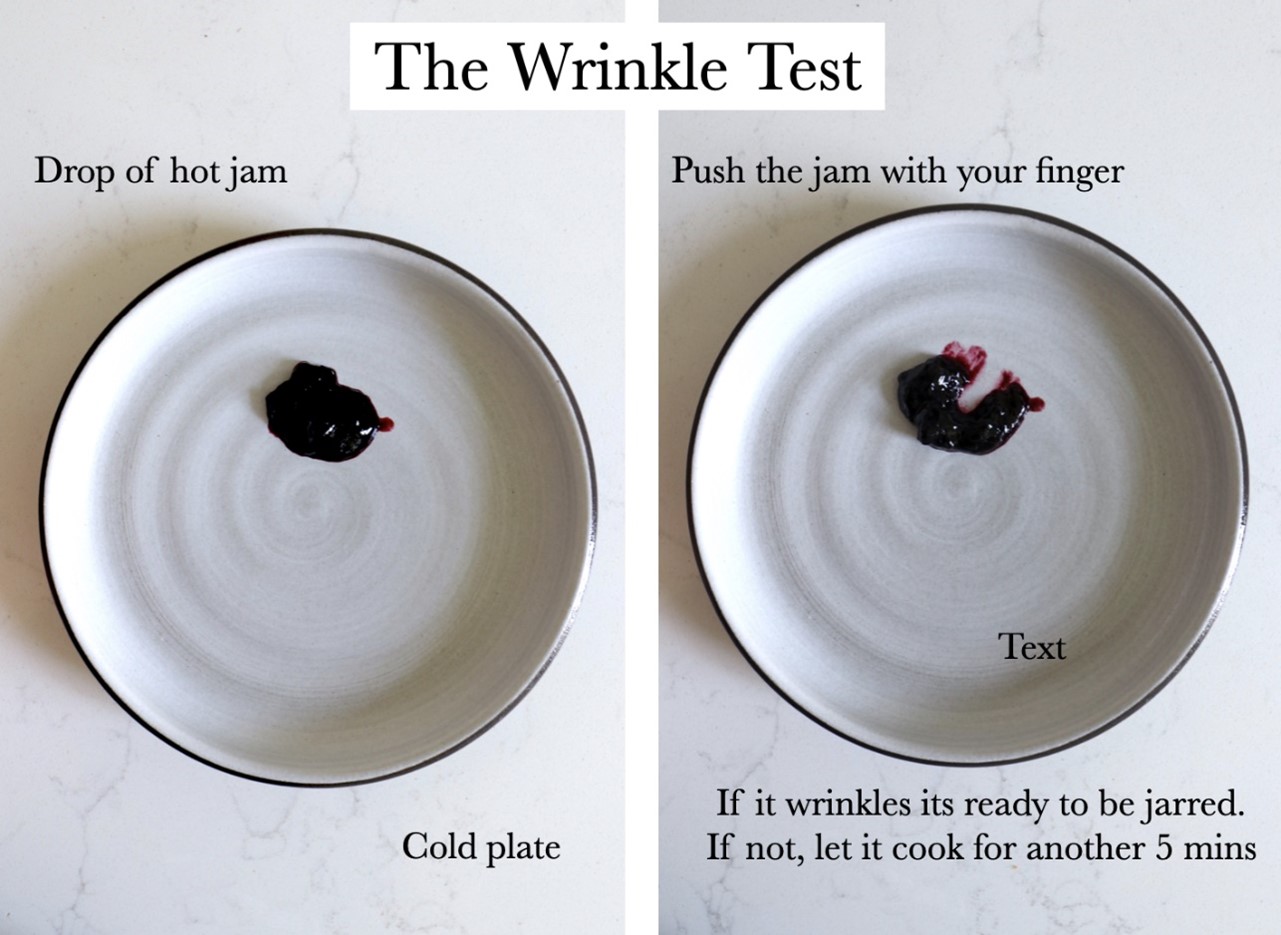
After cooking for around 20 minutes, you use the “wrinkle test” to see if your jam is ready. Place plate in the freezer for a few minutes, then drop a small spoonful of jam onto the cold plate. Once the jam has cooled, push it with your finger; if it wrinkles and holds its shape, it's ready to be jarred. If there’s no wrinkle, continue cooking it for another 5 minutes before performing the wrinkle test again.
The key to successful jam-making is finding the right balance of sugar, pectin, acid, and cooking time to create a delicious, properly set jam. Different fruits might require slight adjustments here and there, depending on the type you’re using, its ripeness, and if you choose to add any added pectin. Experimenting with flavors and techniques can lead to some delicious and unique homemade jams.
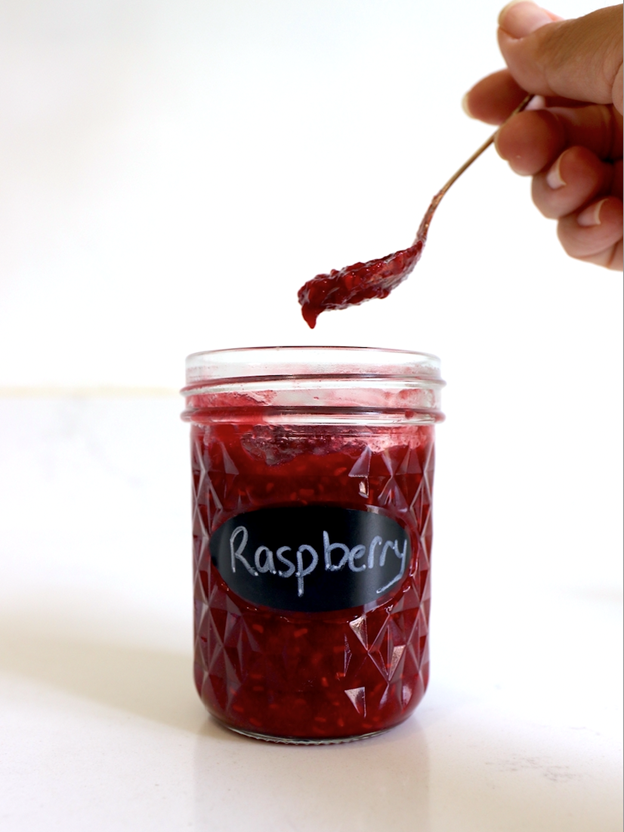
I’ll close with Alex’s recipe for raspberry jam. It’s a family favorite. Lots of folks make freezer jam with raspberries, but bottling it is also a good way to use your berries. Freezer space can run low, so having it shelf-stable is a helpful alternative.
12 ounces fresh red raspberries
2 tablespoons water
2 tablespoons lemon juice (fresh is a nice touch)
1/4 cup sugar
1 tablespoon powdered pectin
Directions:
Add Recipe to Cook'n

Alex, of www.prohomecooks.com, shared a simple tutorial on the science around jam-making. This easy and fun project only takes pectin, sugar, acid, and heat to make any jam shelf-stable.
Most fruits naturally contain pectin (a setting agent), which is released during cooking. Apples, citrus peel, blackberries, and red currants are very high in pectin while strawberries, peaches, mango, pineapple, watermelon and bananas are very low in pectin. Thus, the variety of fruit you choose and its ripeness, determines the amount of pectin you’ll need to set your jam. Typically, pectin powder is added to the cooked fruit to ensure a well-set jam.

Acid is needed because pectin requires a slightly acidic environment to gel properly. Acid also helps preserve the fruit.
Sugar is needed for a few reasons. First, it helps preserve and set the jam. It also prevents the pectin from breaking down as the fruit is cooking.

And then heat does two things. One, it causes the pectin to activate and bond with the sugar, resulting in a thicker mixture. Two, once the ingredients begin to simmer or boil, the excess water will evaporate, concentrating the fruit’s flavor.
After cooking for around 20 minutes, you use the “wrinkle test” to see if your jam is ready. Place plate in the freezer for a few minutes, then drop a small spoonful of jam onto the cold plate. Once the jam has cooled, push it with your finger; if it wrinkles and holds its shape, it's ready to be jarred. If there’s no wrinkle, continue cooking it for another 5 minutes before performing the wrinkle test again.

The key to successful jam-making is finding the right balance of sugar, pectin, acid, and cooking time to create a delicious, properly set jam. Different fruits might require slight adjustments here and there, depending on the type you’re using, its ripeness, and if you choose to add any added pectin. Experimenting with flavors and techniques can lead to some delicious and unique homemade jams.
I’ll close with Alex’s recipe for raspberry jam. It’s a family favorite. Lots of folks make freezer jam with raspberries, but bottling it is also a good way to use your berries. Freezer space can run low, so having it shelf-stable is a helpful alternative.

Classic Raspberry Jam
Ingredients:
12 ounces fresh red raspberries
2 tablespoons water
2 tablespoons lemon juice (fresh is a nice touch)
1/4 cup sugar
1 tablespoon powdered pectin
Directions:
Wash berries thoroughly under cold water and place them into a non-aluminum pot along with the sugar, lemon juice, water and pectin powder. Give it a quick mix to combine all the ingredients.
Cook over medium heat, bringing the mixture to a simmer. As the raspberries start to release their juices, continue stirring to avoid scorching the fruit.
Continue to stir occasionally for about 15 minutes so that the raspberries can soften and the juices can thicken.
Once the raspberries have broken down, strain the mixture as a means to eliminate some of the raspberry seeds.
To check if the jam has reached the desired consistency, perform a "wrinkle test." Place a small spoonful of the jam on a cold plate. Let it sit for a moment, then push the edge of the jam with your finger. If it wrinkles (see photos above) and holds its shape, the jam is ready! If not, allow it to cook for another 5 minutes before testing again.
Once the jam has reached the desired consistency, remove the pot from the heat and carefully ladle the hot jam into clean, sterilized jars, leaving about ¼-inch (of headspace at the top.
Wipe the jar rim clean and seal with the jar's lid. Let sit until completely cooled. You know that it has sealed properly when you hear the jar pop or when you push down on the lid and it doesn't bounce back.
Recipe formatted with the Cook'n Recipe Software from DVO Enterprises.
 Alice Osborne
Weekly Newsletter Contributor since 2006
Email the author! alice@dvo.com
