Soggy Bottoms Be Gone! All Hail the King of Baking!
Here’s a hot tip: If you want to know the finer points of all things baking, check out King Arthur Flour’s website (www.kingarthurbaking.com). This King of Baking provides a wonderful blog that’s loaded with tips and tricks on how to improve your baking experiences.
For instance, it’s there that I learned how to avoid soggy bottom pie crusts. Soggy bottoms are a major detractor from even the very best of fillings. But try as I might, I’ve not been able to overcome this pie-baking malady.
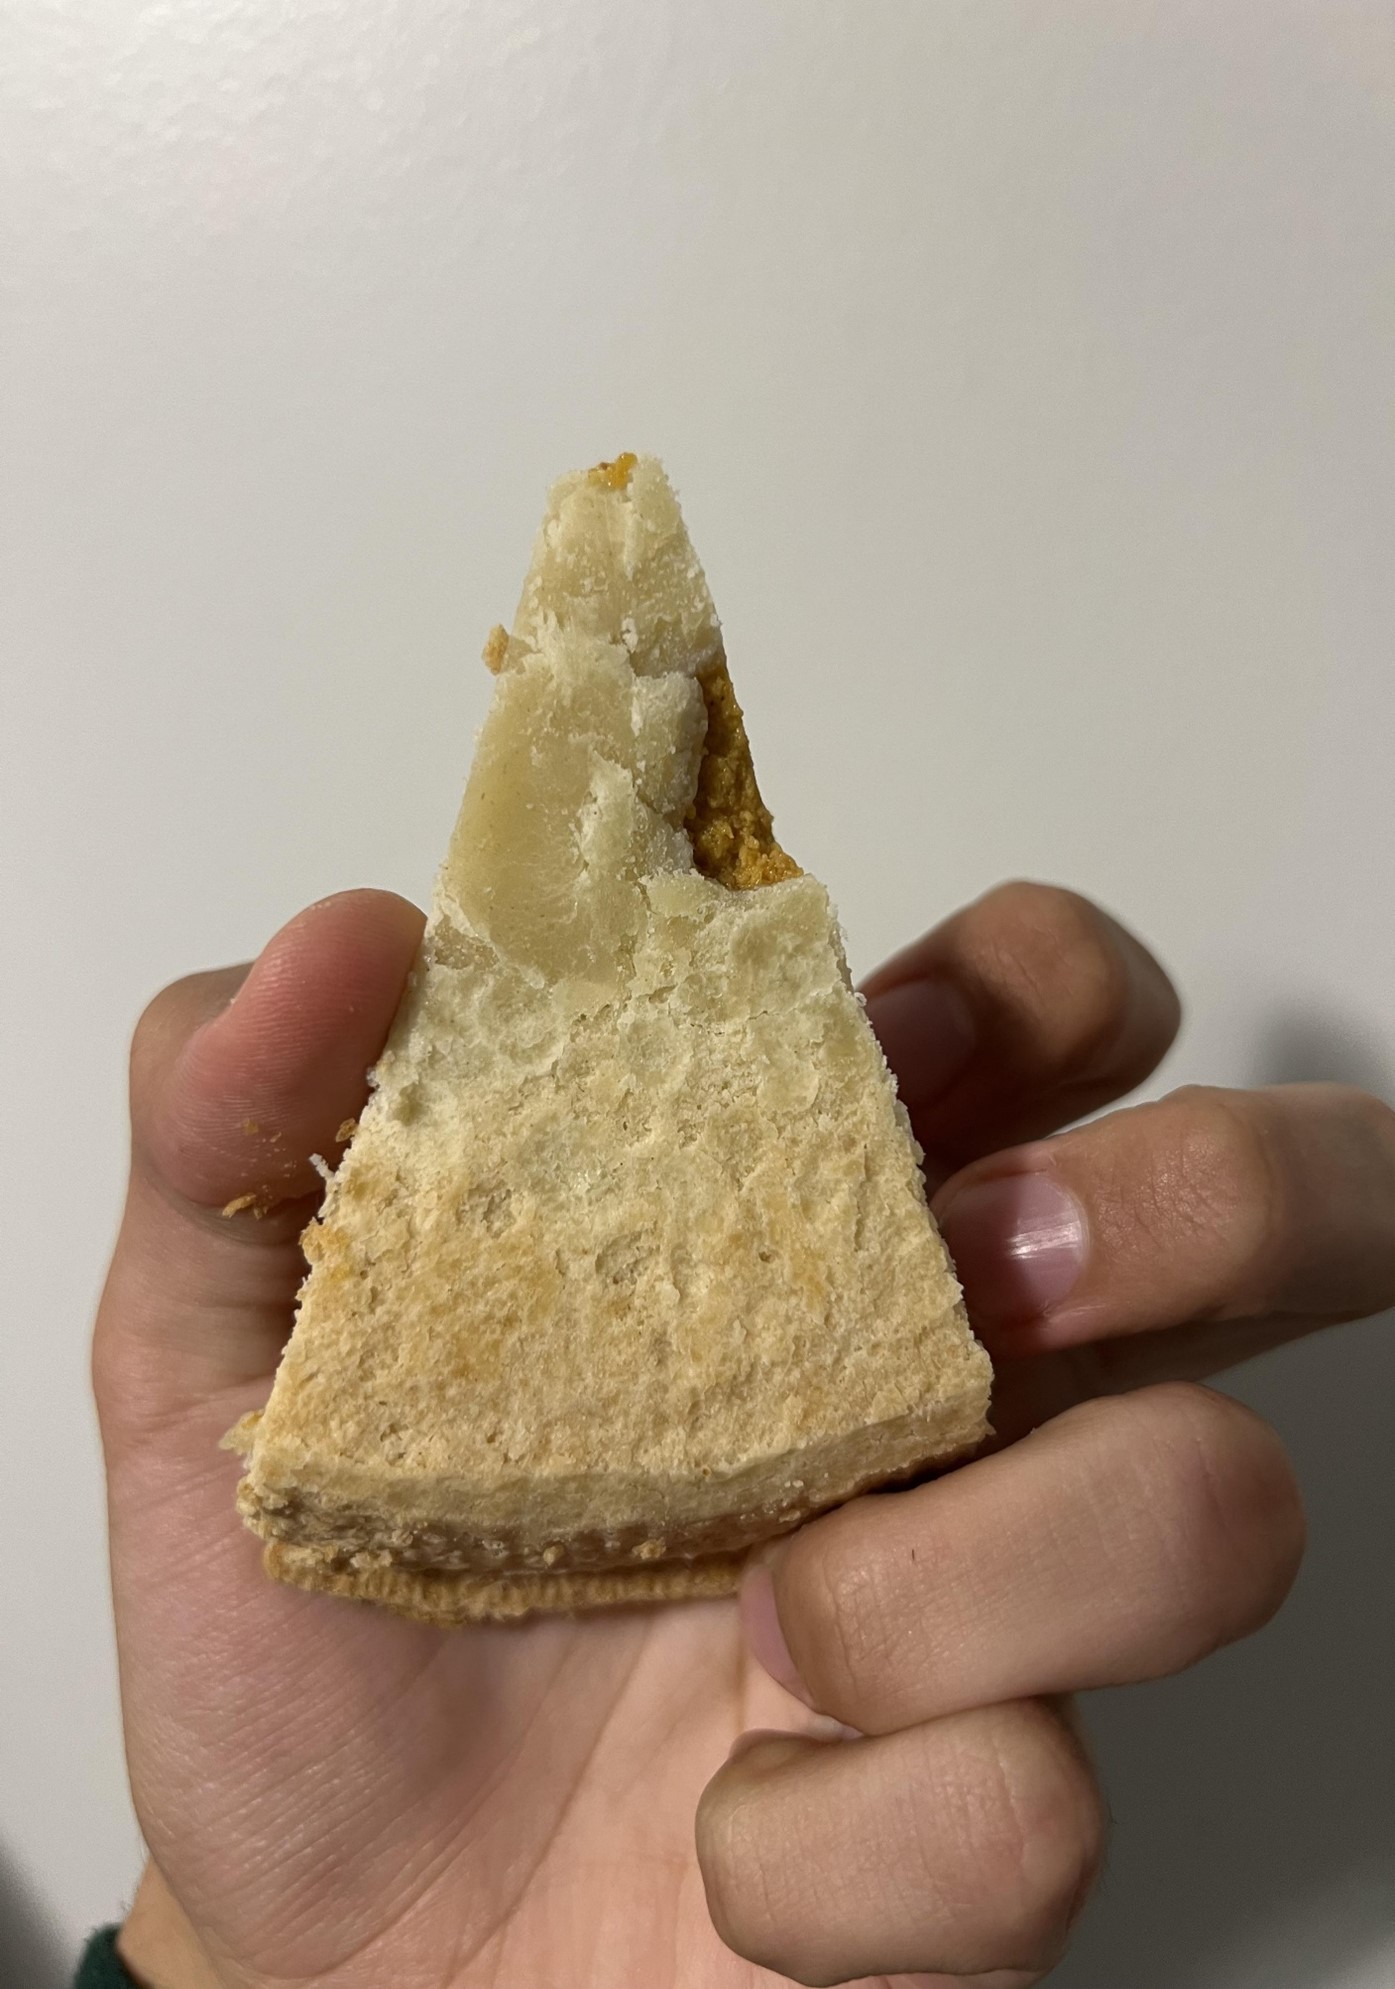
Until now, that is (thank you, King Arthur!). Turns out, it’s all about pre-baking the crust. And this is a big deal. There are several reasons your pie can end up with a soft, pale, underbaked crust, so it’s truly baking brilliance to know that pre-baking will prevent this unfortunate result.
Pre-baking (baking the bottom crust first) results in a crust that will be golden brown, crisp, and delicious—just as yummy as the filling.
According to King Arthur’s professional bakers, you want to pre-bake your crust when:
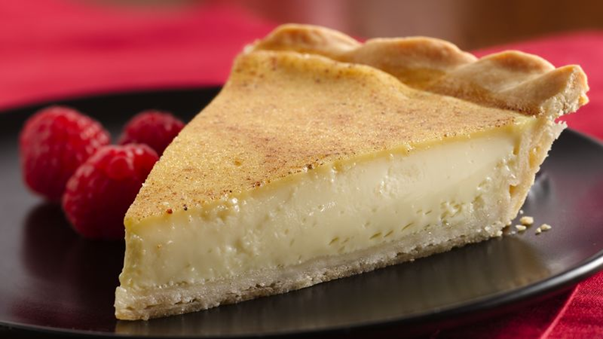
Sometimes a recipe will indicate a crust needs partial pre-baking, but if it doesn’t, here’s the process to follow:
FIRST: Roll your bottom crust and place it in the pan. Crimp or flatten the edge. Chill it for 30 minutes to relax the gluten and firm up the fat(s); this will help prevent shrinkage, so don't skip!
SECOND: Line the crust with foil, parchment, or a paper coffee filter. Fill it about two-thirds full with dried beans, uncooked rice (or other uncooked grain berries), pie weights, or granulated sugar.
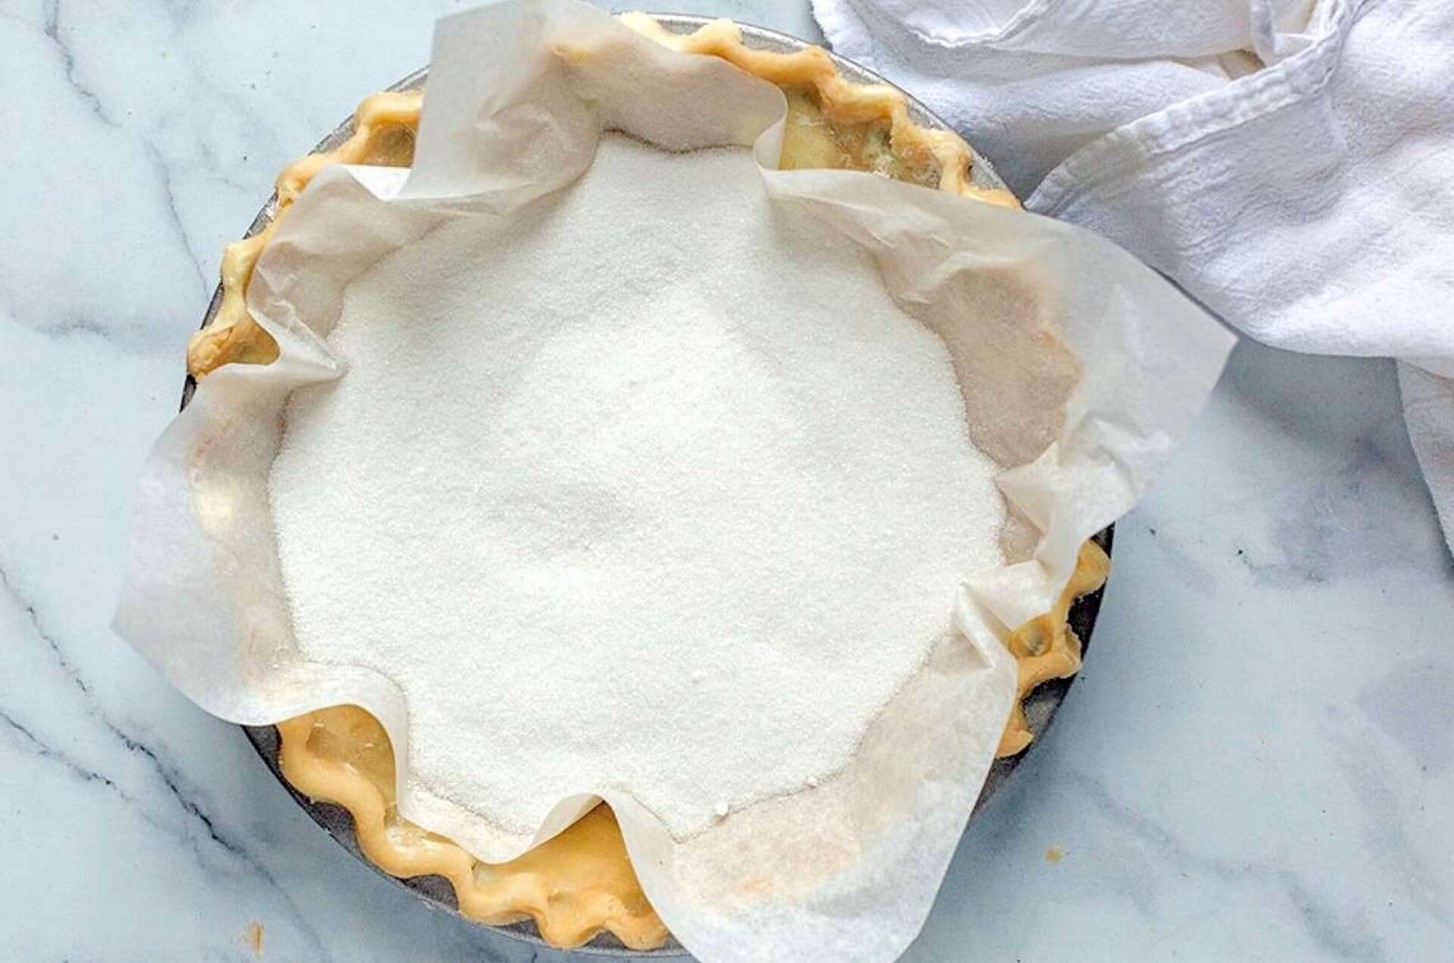
THIRD: Bake the crust in a preheated 375°F oven for 20 minutes (set on a baking stone or steel if you have one). Remove the crust from the oven and lift out the liner and weights. (If you’ve used sugar, save it for your future baking; it’ll be lightly toasted and yummy!)
At this point your crust is partially prebaked, and good for any of your pies that tend to exhibit a wan, flabby bottom crust when done. Think pumpkin pie: you don’t want to bake the filling so long that it’s stiff and dry, but you may pull your pie out of the oven to find your perfectly baked filling is resting in a partially baked crust. Pre-baking your crust partway is a sensible solution for this scenario.
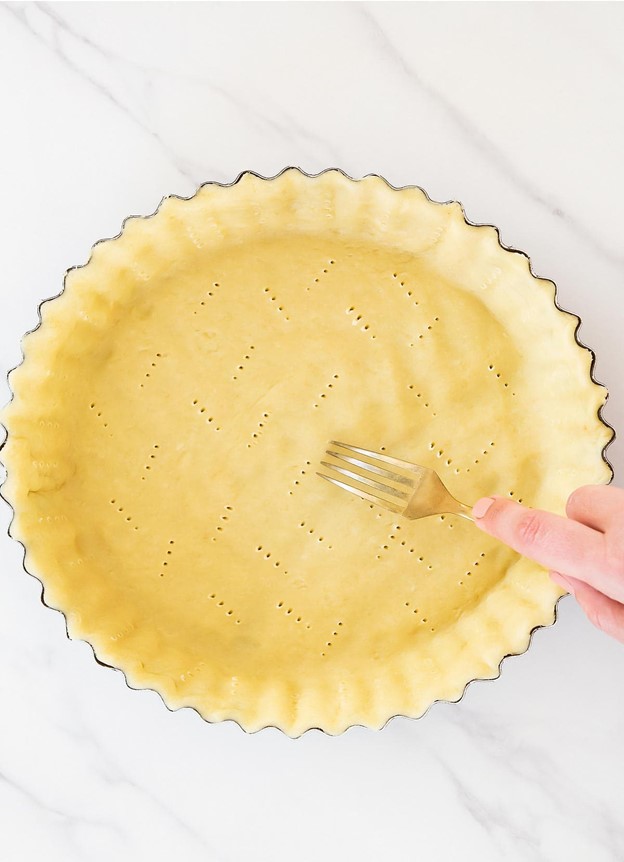
When a recipe calls for a fully pre-baked crust, remove the liner and weights and prick the bottom all over with a fork to prevent bubbles. Return the crust to the oven and bake for an additional 20 to 25 minutes, until it’s golden all over.
If, despite your best efforts, the lined, weighted crust still slips down the inside of the pan while it pre-bakes, try this:
For instance, it’s there that I learned how to avoid soggy bottom pie crusts. Soggy bottoms are a major detractor from even the very best of fillings. But try as I might, I’ve not been able to overcome this pie-baking malady.

Until now, that is (thank you, King Arthur!). Turns out, it’s all about pre-baking the crust. And this is a big deal. There are several reasons your pie can end up with a soft, pale, underbaked crust, so it’s truly baking brilliance to know that pre-baking will prevent this unfortunate result.
Pre-baking (baking the bottom crust first) results in a crust that will be golden brown, crisp, and delicious—just as yummy as the filling.
According to King Arthur’s professional bakers, you want to pre-bake your crust when:
- baking a single-crust pie whose filling doesn’t require any baking (think banana or chocolate cream); in this case, you'll need to FULLY pre-bake the crust.
- the filling requires only a short bake at a relatively low temperature (e.g. custard or quiche); for these kinds of pie, you'll need to partially prebake the crust, as it'll finish baking once it's filled and in the oven.

Sometimes a recipe will indicate a crust needs partial pre-baking, but if it doesn’t, here’s the process to follow:
FIRST: Roll your bottom crust and place it in the pan. Crimp or flatten the edge. Chill it for 30 minutes to relax the gluten and firm up the fat(s); this will help prevent shrinkage, so don't skip!
SECOND: Line the crust with foil, parchment, or a paper coffee filter. Fill it about two-thirds full with dried beans, uncooked rice (or other uncooked grain berries), pie weights, or granulated sugar.

THIRD: Bake the crust in a preheated 375°F oven for 20 minutes (set on a baking stone or steel if you have one). Remove the crust from the oven and lift out the liner and weights. (If you’ve used sugar, save it for your future baking; it’ll be lightly toasted and yummy!)
At this point your crust is partially prebaked, and good for any of your pies that tend to exhibit a wan, flabby bottom crust when done. Think pumpkin pie: you don’t want to bake the filling so long that it’s stiff and dry, but you may pull your pie out of the oven to find your perfectly baked filling is resting in a partially baked crust. Pre-baking your crust partway is a sensible solution for this scenario.
When a recipe calls for a fully pre-baked crust, remove the liner and weights and prick the bottom all over with a fork to prevent bubbles. Return the crust to the oven and bake for an additional 20 to 25 minutes, until it’s golden all over.

If, despite your best efforts, the lined, weighted crust still slips down the inside of the pan while it pre-bakes, try this:
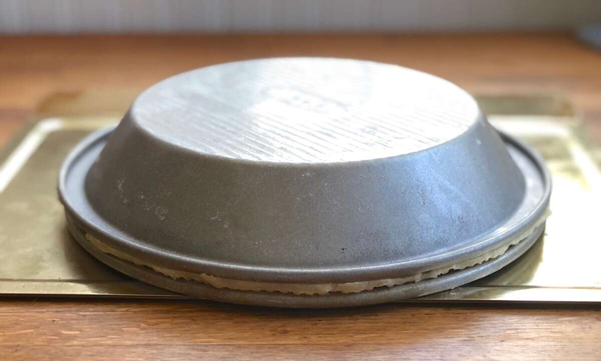
- Bake the crust upside down. To do this, you’ll need two identical (or nicely nestable) pie pans with flat rims.
- Place your rolled-out crust in one of the pans, anchoring it to the rim of the pan with a fork-tine crimp.
- Place a liner of some kind (same as above: parchment, foil, coffee filter) into the pan.
- Nest the second pan into the first. (Simple metal pie pans are your best bet for an upside-down bake: there's no danger of dropping and breaking them, and their rims are nice and flat.)
- Pick up both pans, turn them over, and set them on a baking sheet.
- Place the baking sheet and pie pans in the oven, and bake as directed above. As the crust bakes, gravity will pull it down toward its rim — rather than into a puddle at the bottom of the pan. Magic!
- After 20 minutes remove the baking sheet from the oven, carefully turn the pans over, lift out the empty pan, and remove the liner.
- At this point your crust is partially prebaked. To prebake it fully, place the crust back in the oven, right side up, and bake until it's golden.
And for fruit-filled pies (apple, cherry, peach, etc.), avoid the soggy bottom by pre-baking (with a couple caveats):
CHOOSE A SINGLE-CRUST PIE, one with a crumb or streusel topping. Double-crust pie recipes aren’t a good choice because it’s tricky combining a baked bottom crust with an unbaked top crust; they don’t seal well, and fruit juice tends to bubble out around the edges.
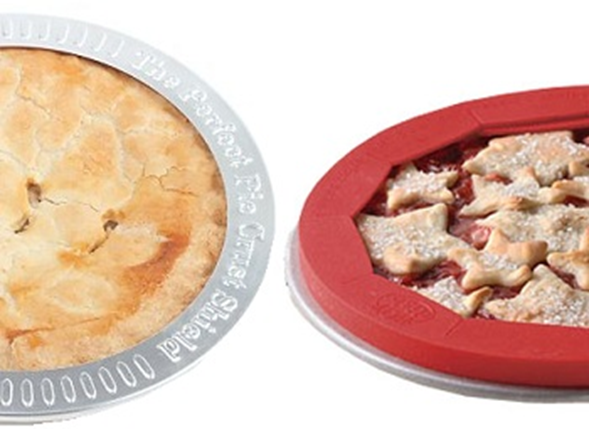
USE A PIE SHIELD TO PROTECT THE EXPOSED CRUST AROUND THE PAN’S RIM. Most of the baked crust will be insulated by its fruit filling and won’t overbake or burn despite its second trip through the oven; but the edge of the crust, the part on the rim, can burn if it’s not covered. (NOTE: While the above photo shows store-bought shields, you can always make your own from aluminum foil!)
Let’s try out these suggestions on this unique twist on traditional apple pie (from www.twopeasandtheirpod.com). Follow King Arthur’s instructions and soggy bottoms begone! All hail the King of Baking!
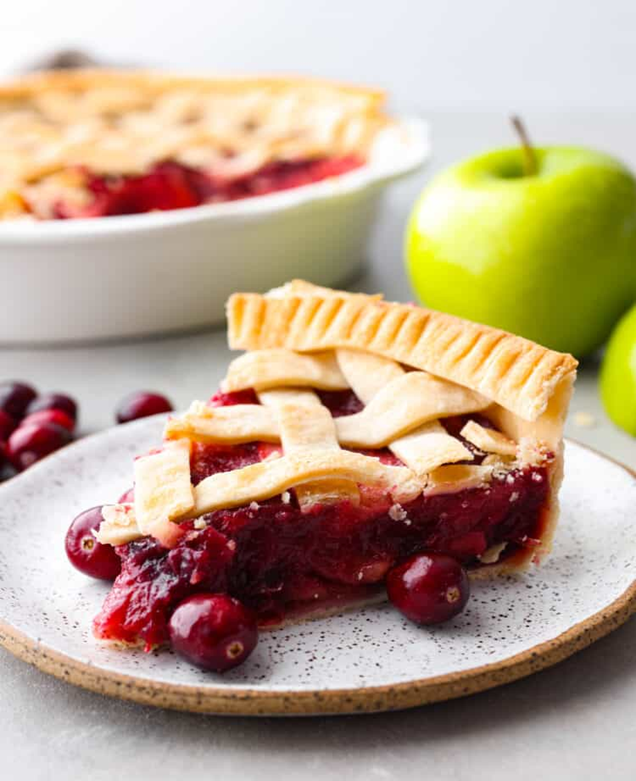
Cranberry Apple Pie Filling
Ingredients:
4 large Honeycrisp apples cored, peeled, and sliced (about 6-7 cups)
juice of 1/2 lemon
1 1/2 cups cranberries fresh or frozen (if frozen, thaw and drain)
1 cup sugar
1/3 cup all-purpose flour
1 teaspoon cinnamon
2 teaspoons orange zest
1 teaspoon vanilla extract
Directions:
Place apple slices in a large bowl; drizzle with fresh lemon juice. Toss to coat the apples (to prevent the slices from browning). Add cranberries, sugar, flour, cinnamon, orange zest, and vanilla extract. Stir until well combined.
Recipe formatted with the Cook'n Recipe Software from DVO Enterprises.
 Alice Osborne
Weekly Newsletter Contributor since 2006
Email the author! alice@dvo.com
