Great Pie Starts with Amazing Crust

Pie is the only dish I get nervous to make. Pie has been a big part of my family heritage for generations, so while I mess up foods all the time, pie is the only dish I’m afraid to get wrong!
Long story short, when I make a pie, it’s actually the place where I’m least interested in experimenting and most interested in just learning to do it the way mom does.
What that means is the recipe I’m about to share is one I got from my great-great grandmother. I hope it serves you well. However, keep in mind that having the ingredients is one thing, but understanding how to combine them is the real secret. I’ll do my best to explain it in an article, and if time permits, maybe we’ll film a video some day.
Tell me about crust
The first element of any good pie is the crust, but you wouldn’t know this if you’ve gone your whole life with store-bought pies.
Casual pie consumers, or those not “in the know,” tend to emphasize the filling of a pie and treat the crust as a mere vehicle for that filling. A friend of mine once said the reason pie is better than cake is that both pies and cakes have a “flavorless boring” part and a “fun part,” but with pies that boring part is minimal—only a thin layer of crust!
Oh, my poor, uninitiated friend.
If you make a pie the right way (or a cake, for that matter), you crave the crust. It's all about that satisfying contrast between the buttery flakiness of the crust and the fragrant flavor and soft texture of the filling. The texture gives you that crispy, almost delicate break under the teeth, followed by the melt-in-your-mouth sensation from the fat in the dough. It’s a sensory overload that’s impossible not to crave.
So how does one get the perfect crust?
It’s all about the marbling

Pie crust is made of flour and cooking fat (traditionally lard or tallow, but these days shortening and butter are popular options). There’s minimal water—only sufficient to get the flour wet enough to bind to the fat. The fat is where you get the marbling.
You don’t make pie crust in a stand mixer. If you did, it would render the dough far too homogenous, and it would come out more like a tough cracker. Instead, you use a pastry cutter or knives to “cut in” the fat. Instead of mixing it all together, you want to end up with a bunch of pea-sized balls of fat incorporated evenly throughout a shaggy crust.
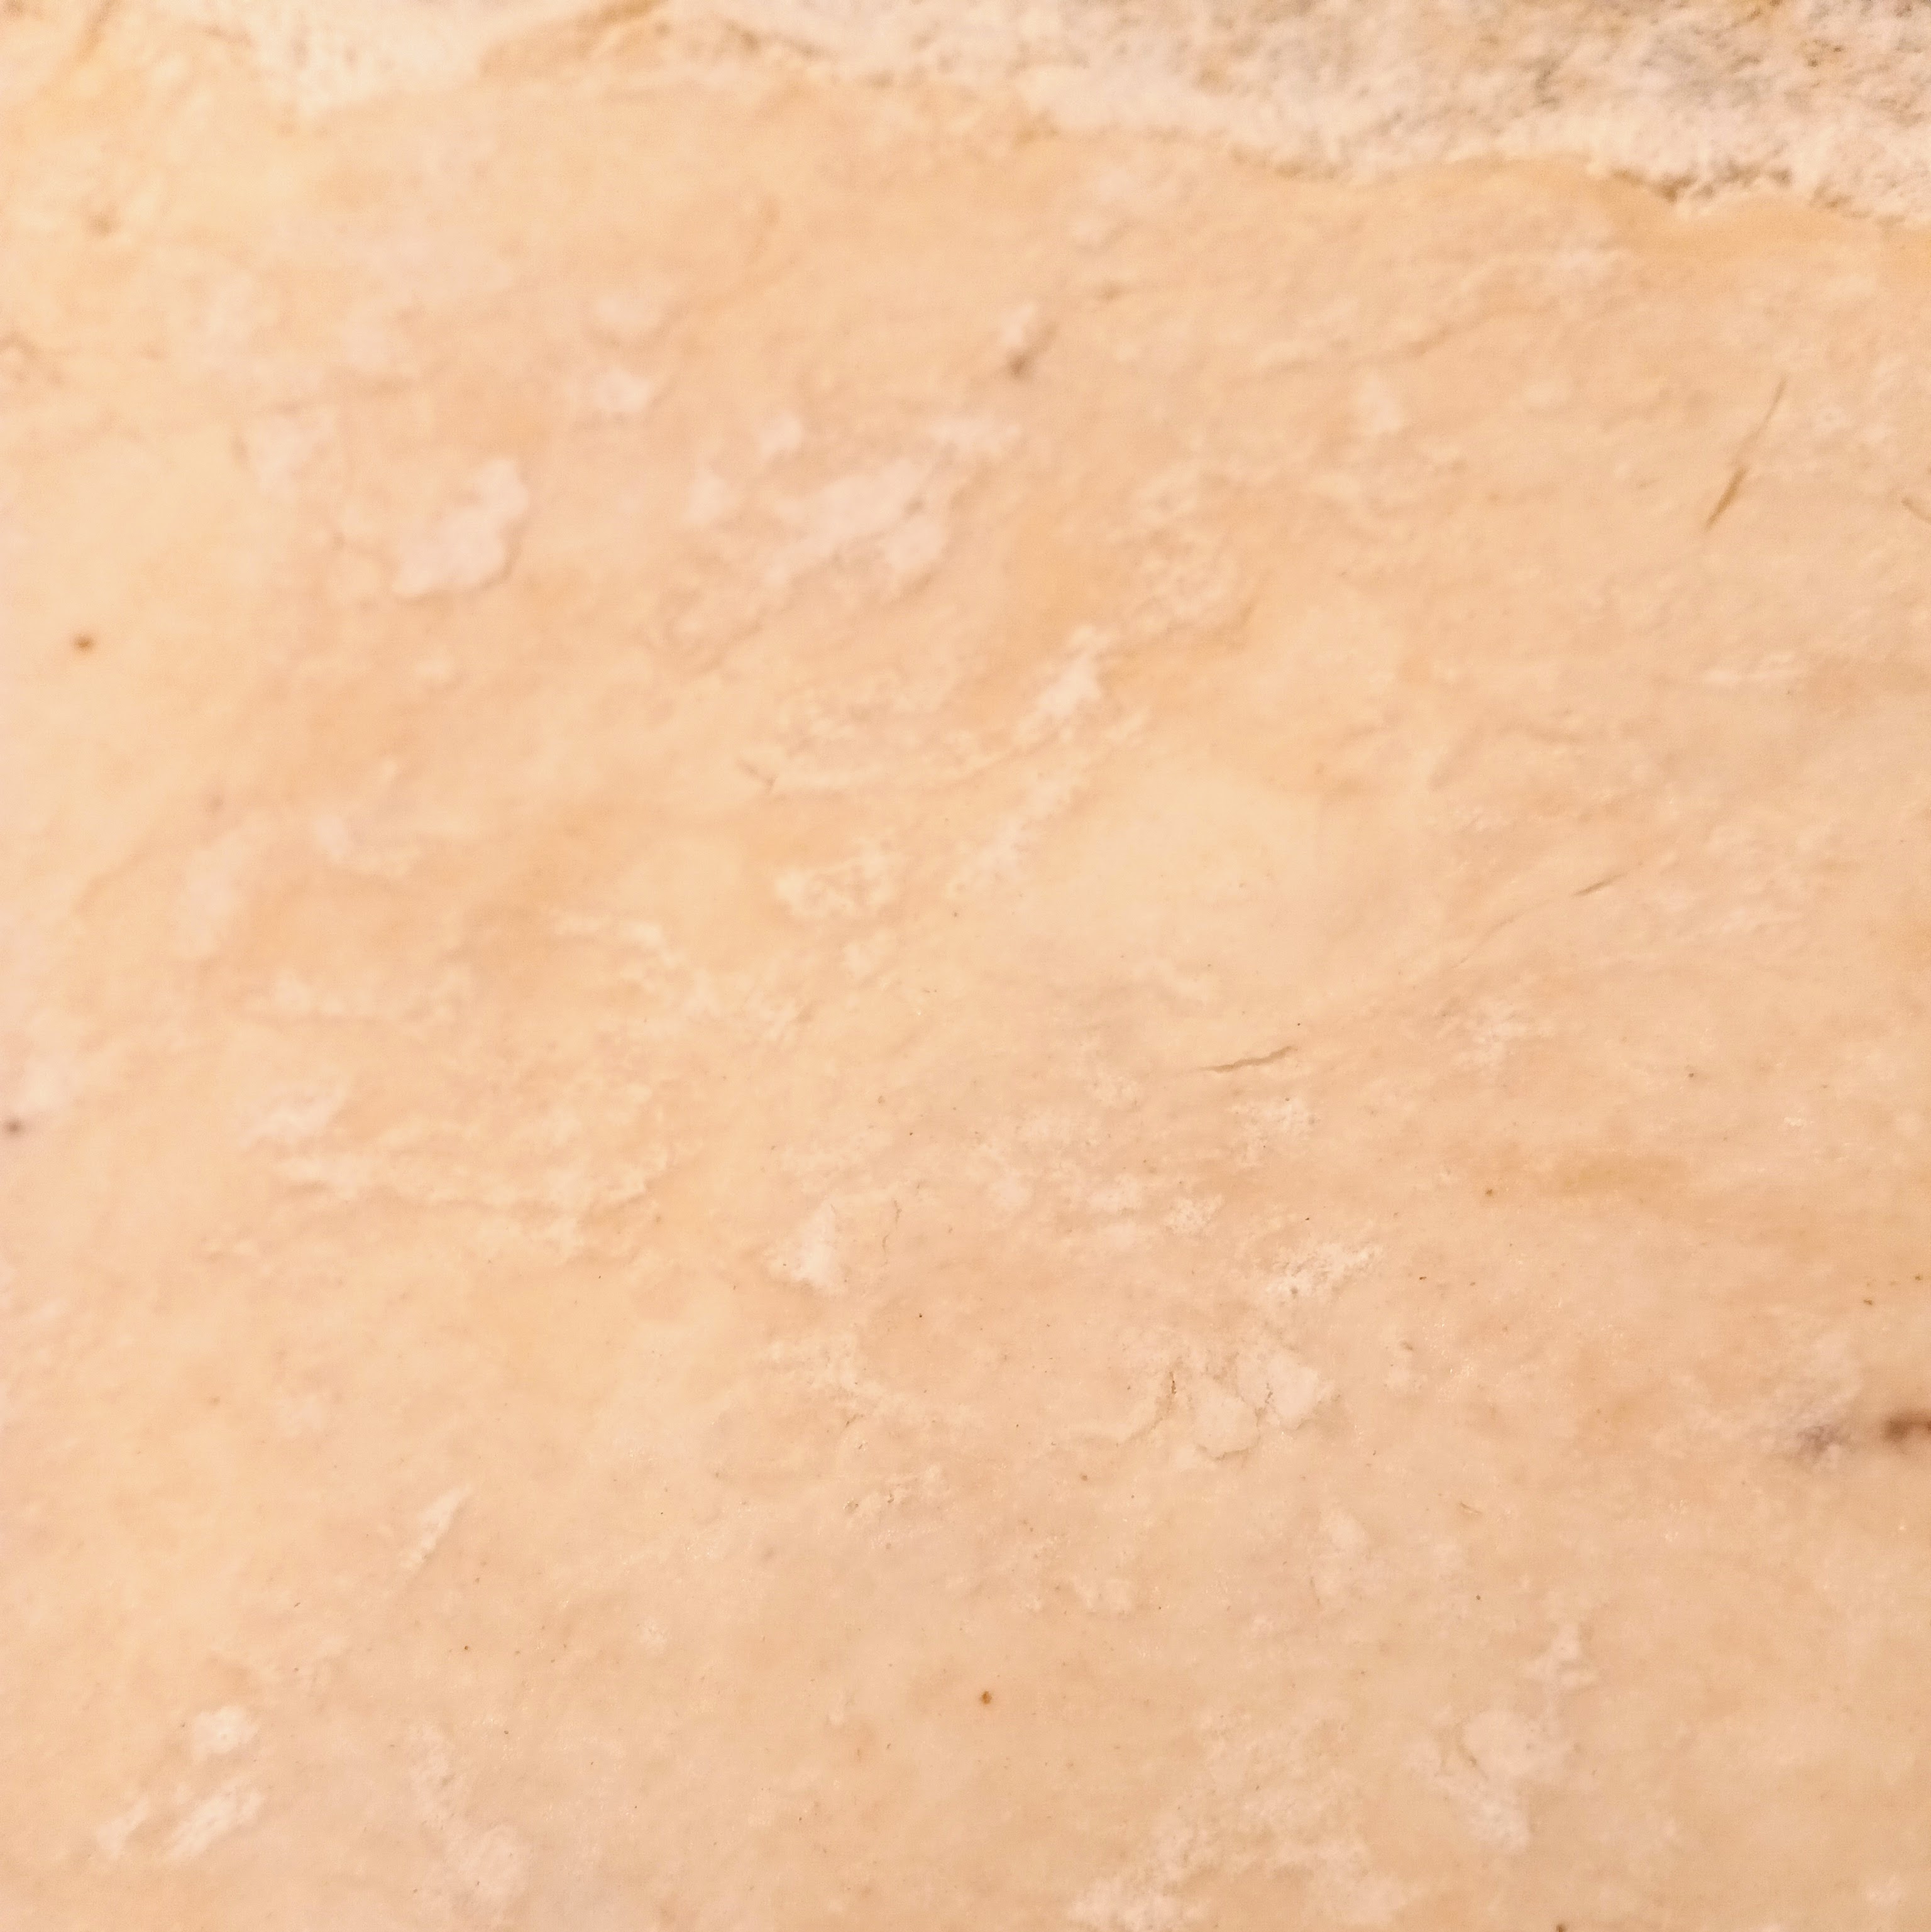
Once you roll it out, those balls of fat will flatten out, and their white, pearly coloring will contrast with the rest of the dough made of flour and water, giving it that marbly appearance.
How do you know someone’s pie crust is amazing? Look for the marbling while they roll out the crust. The picture above isn’t perfect, and honestly it’s just proof that I need a better camera. But look closely, and you can see a few lovely white splotches in that dough. That’s what you want in your pie crust.
With that being said, every tip I’m about to give on making incredible crust is ultimately just a way to preserve that precious marbling.
Keep it Cold
If the fat for your pie is too warm, it’ll incorporate too readily with the flour, and the crust will turn homogenous. You want pea-sized balls of fat that mix evenly into the dough; you don’t want little chunks of fat that smear when you work and eventually stretch into little ribbons that get lost in the crust.
How do you keep things cold?
Refrigerate or freeze everything: Once you have your mise en place, put it all in the fridge or freezer and wait for an hour. Seriously, mix your dry ingredients and just put them in the fridge. Put your lard in the fridge, too. Put your water and your tools in the freezer. Wait for an hour, and it’ll all come out nice and cold and ready to make some amazing pastry. Granted, if you wait for more than an hour, that water might freeze, so keep an eye on the clock.
Work fast: The longer it takes to put your crust together, the warmer everything will get, and the more likely you’ll lose that marbling you want. If you notice the fat starts feeling extra soft and starts smearing while you work with the flour, pop it back in the fridge and wait for a few minutes. I haven’t had to do this in a long time, but it’s a useful tip for when you’re starting out or if you get distracted while working.
Let it rest: Some professionals strongly recommend that before rolling out your dough, you wrap it in plastic wrap and refrigerate it for half an hour. The main reason for this is because it will let the gluten relax, which prevents the crust from springing back while you roll it out. However, my mom and I have never had this problem because the way we make this crust doesn’t allow much gluten development to begin with. However, the other reason to refrigerate your dough is it’ll cool that fat back down before you press it flat, which will more reliably preserve the marbling. If I have the time, I always let my dough rest before I roll it out.
Minimal Mixing
You’re not making bread. This isn’t a “set your mixer on medium and let it go for ten minutes.” It’s not a “roll your loaf onto a floured countertop and knead it in six different ways.”
Rather, it’s “incorporate everything with as few movements as possible, then leave it alone.”
Why? Two reasons:
- The more you mix, the more you’ll incorporate that fat and ruin the marbling.
- Mixing encourages gluten development, which will result in a tough, cracker-like crust.
Just keep this in mind: use your pastry cutter or pair of knives to cut and incorporate the fat. Use the same tool to carefully mix things around just enough to get it all incorporated. Incorporate everything as much as needed, but trust yourself when you think it’s all done.
Personally, I’ve found that generally the consequence of undermixing the dough is that it’s extra fine and delicate, which makes it harder to work with. However, it’s still delicious. Whereas the consequence of overmixing the dough is that it turns out like a cracker and is far more disappointing.
No Redos
Okay, you’ve finally rolled out your pie crust on the countertop. You got it nice and thin and stared in awe at your gorgeous marbling. Then you cut a perfect circle and carefully placed your crust into a pie pan.
Now you’re left with a bunch of scraps on the counter. That’s a lot of pie crust! You don’t want to waste that! What should you do?
DO NOT wad up those leftover scraps into a ball and roll it out again to make another pie crust. That’s the perfect way to ruin all the marbling and give yourself a totally ruined pie!

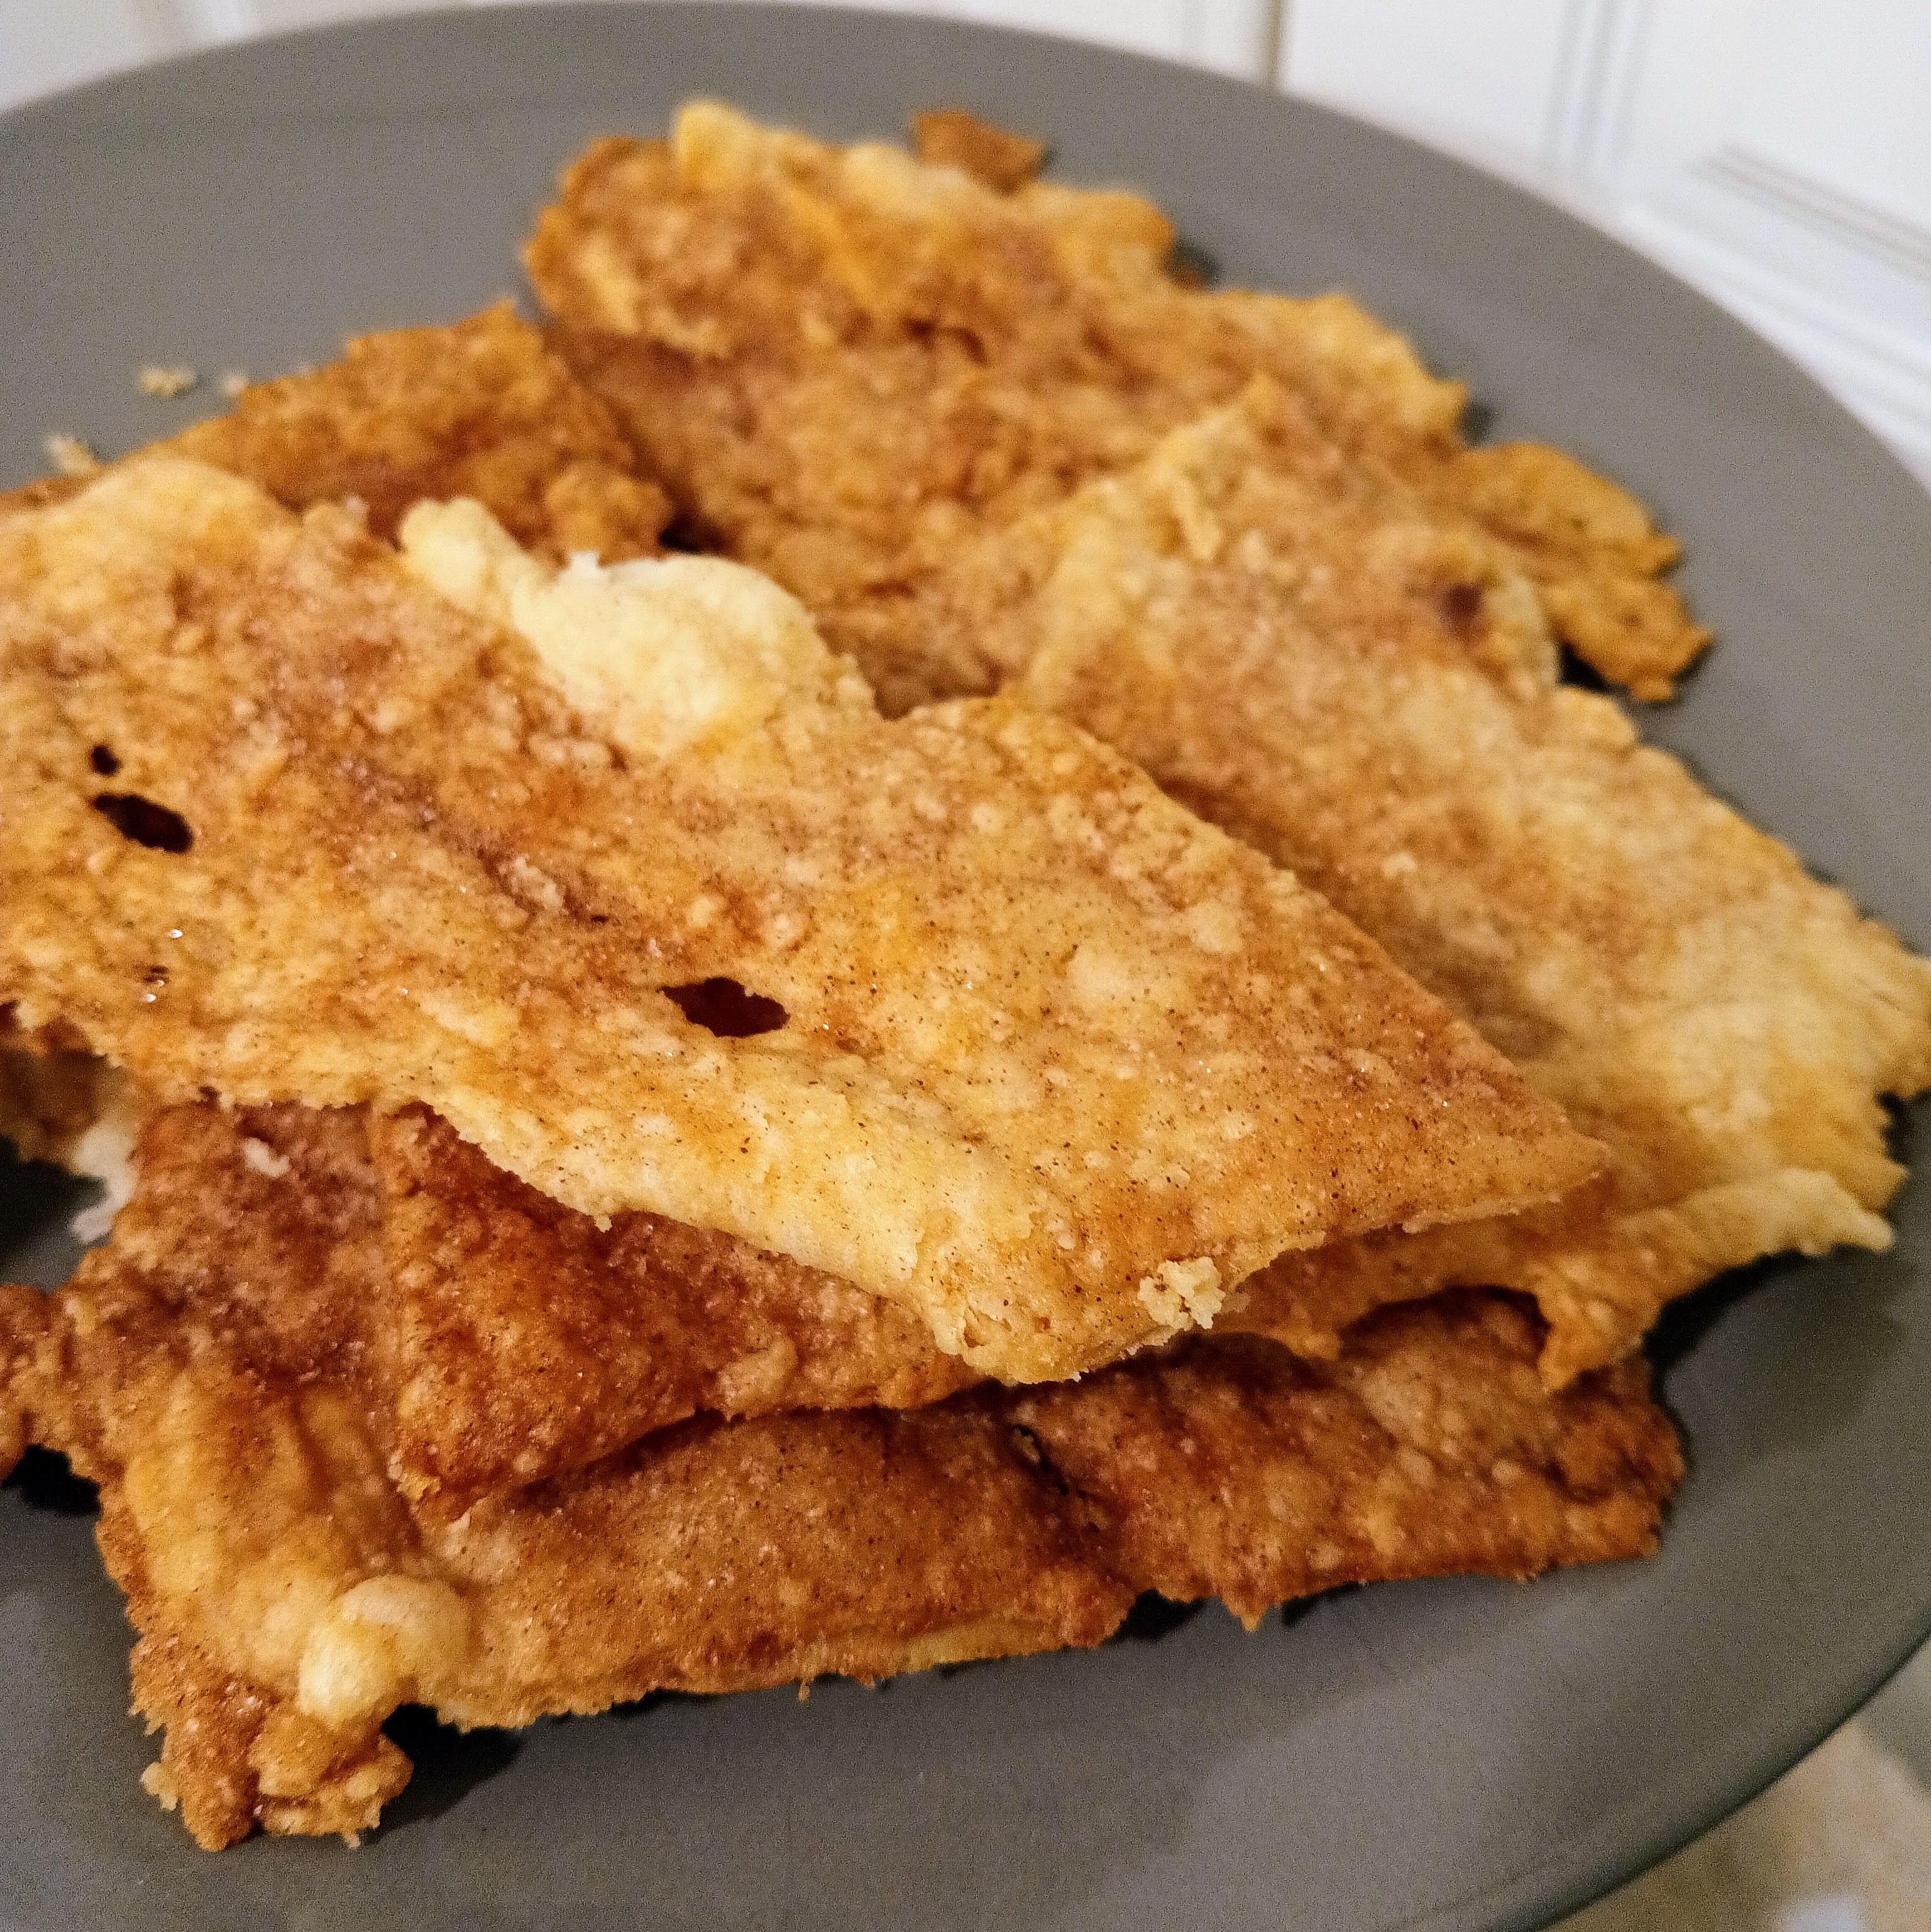
Instead, you can simply cover those scraps in cinnamon and sugar and bake them for five minutes at 350F. Those are pie crust cookies, and they’re dangerously addictive.
Or, you can carefully assemble the scraps together until you’ve made a Frankenstein’s monster version of pie crust. It won’t be as pretty, but it’ll still taste just as good, which is (scientifically speaking) approximately 7.3 thousand times more important.
A Note on Latticework

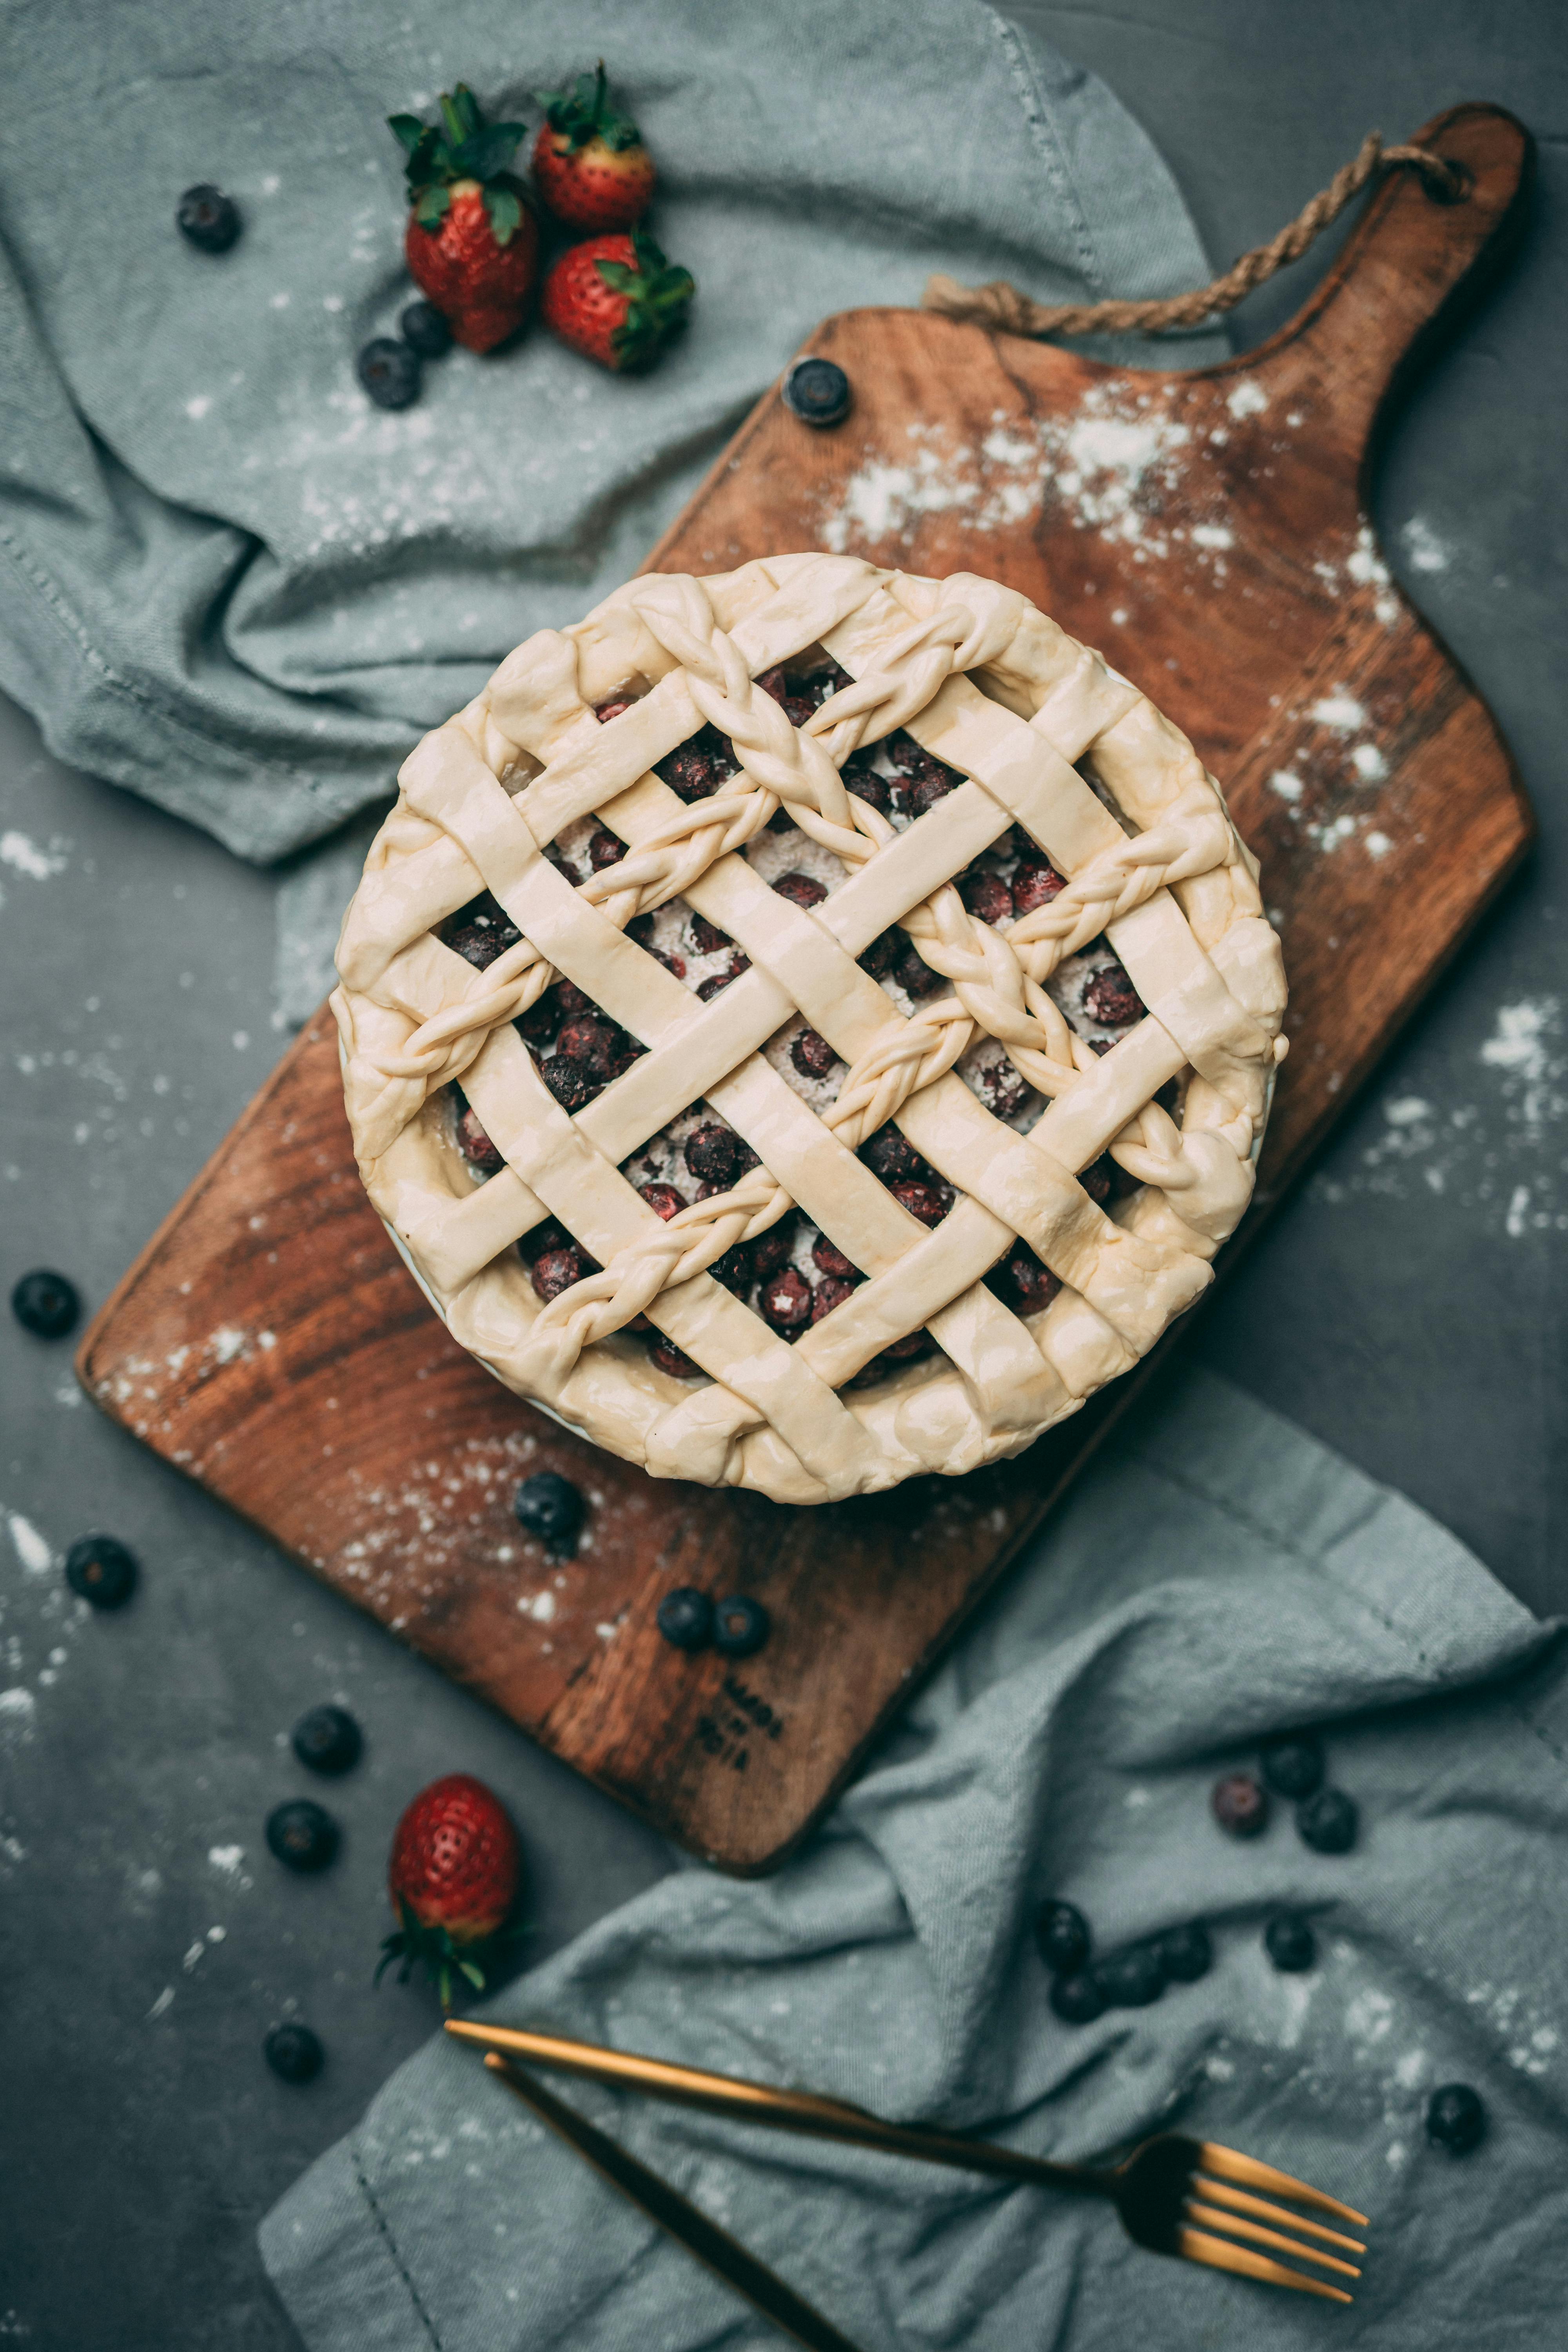
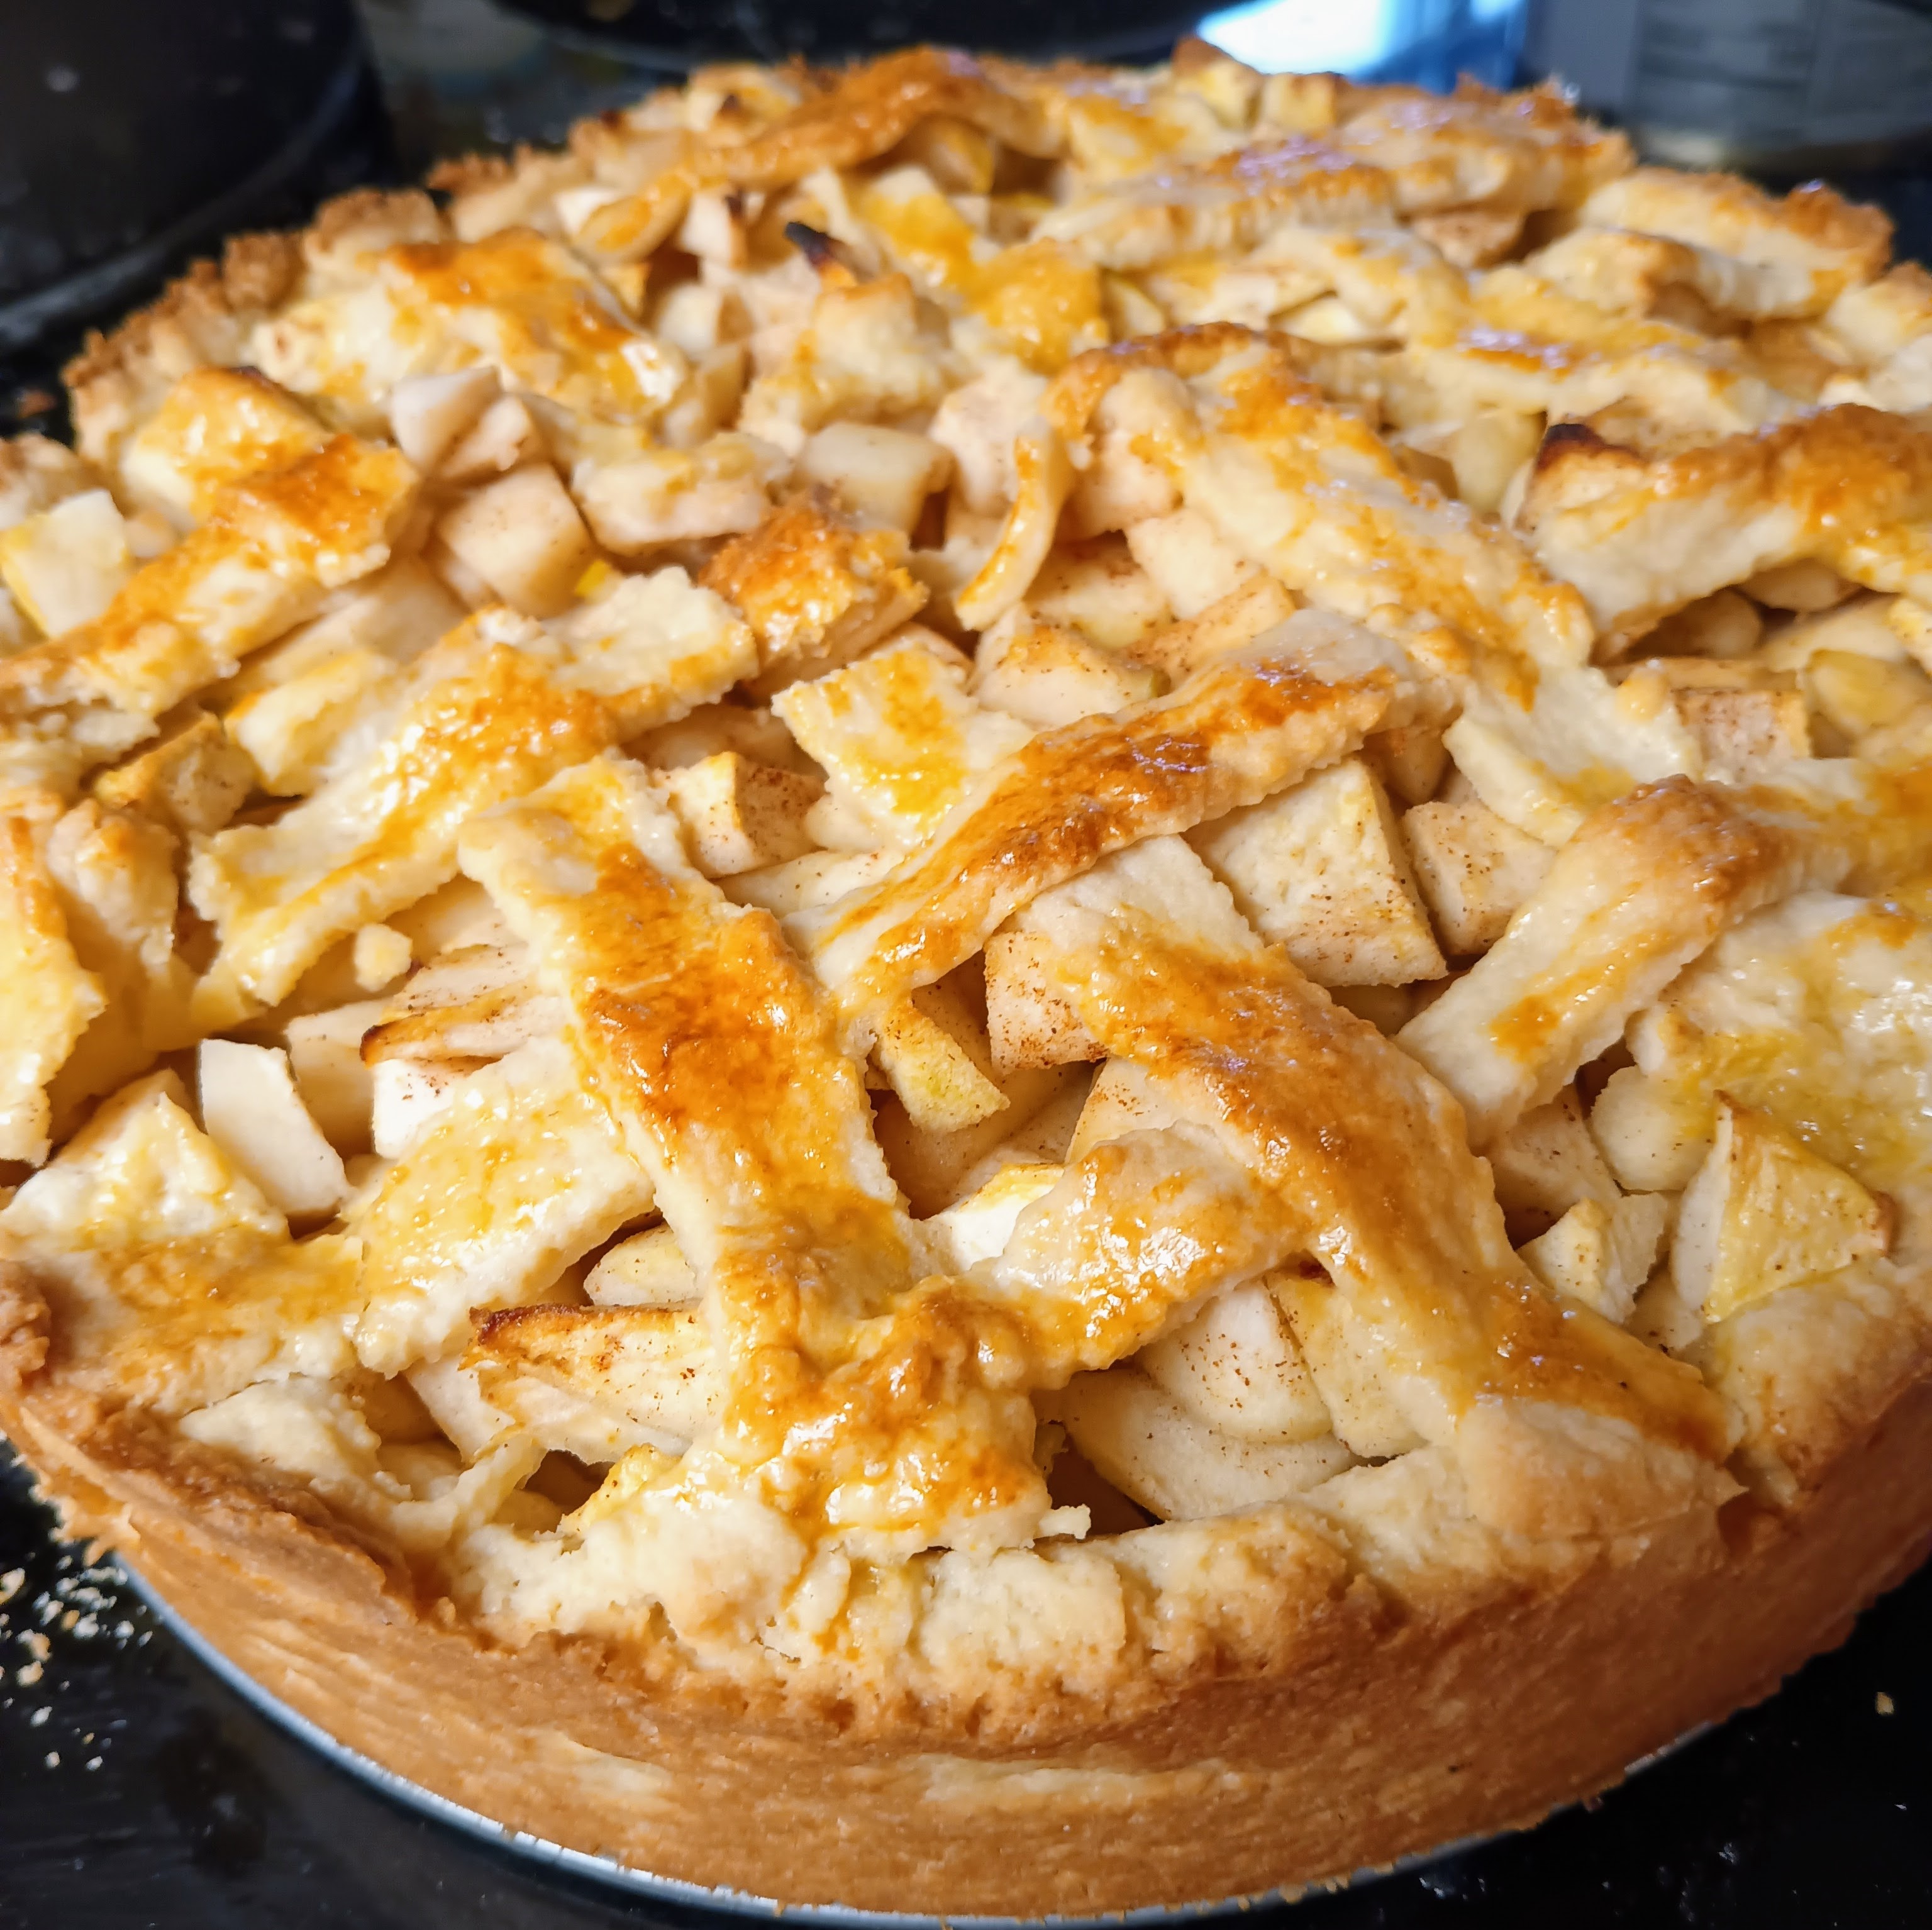
The prettiest pies out there are generally made with some gorgeous, interwoven latticework. The last time I made pie for my friends, I bemoaned my ugly pie whose top crust was nothing more than a blanket of pastry with some slits cut in the top to vent steam.
In reply, my friend told me, “Hey, if your dough was tougher, you could have made the latticework easily. But then it wouldn’t taste so good.”
That was a good reminder: taste comes first.
Sure, everyone loves to see a lovely pie, but I’d rather make one that people love to eat, not just look at. One day I’ll learn how to make my pie gorgeous, too, but never at the expense of taste.
 Matthew Christensen
Weekly Newsletter Contributor since 2023
Email the author! matthew@dvo.com
