An Idea That Saves Time, Energy, and Space!
I teach cooking and healthy eating classes at our local food storage store, Sage & Plow (American Fork, UT), every 1st and 3rd Thursday mornings (10:30 am for you locals—come join us). This Thursday’s class is “The Kitchen That Measures Up.”
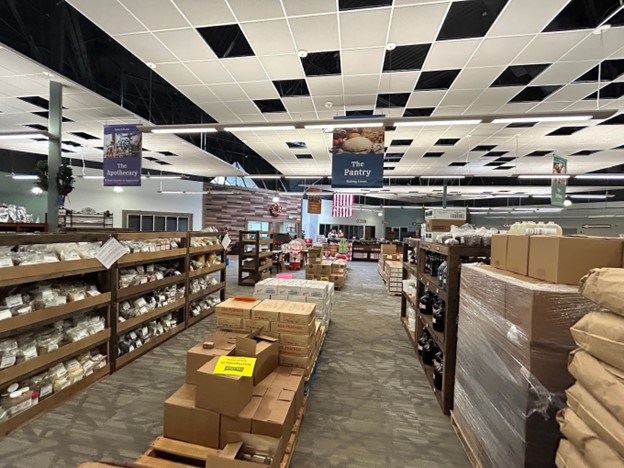
As I’ve been prepping for it, I realized the class offers an idea you might appreciate. It applies to all of you who are blessed with a small kitchen. I say “blessed” because when set up properly, small kitchens can be wonderful “step-savers” (thus saving you time and energy).
Typically, the challenge with small kitchens is not just limited counter space, but limited drawers as well. This reality brings me to the idea you might appreciate: If possible, consider “double-decking” your drawers. It can put order and control into what is so often a jumbled mess. I’ll explain this concept using my own kitchen drawers.
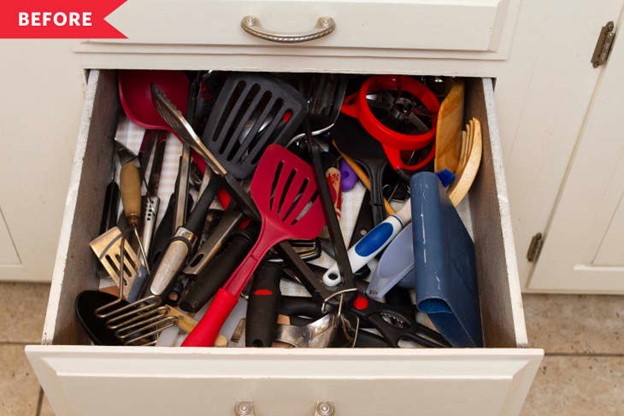
This idea worked well for me back in the day when I had a kitchen the size of a phone booth. Twenty-five years later, I’m in a kitchen with ample counter and drawer space, but I still practice the “double-decker drawer” principle because I don’t like a lot of stuff on my counter top.
For instance, I wanted that proverbial container of kitchen utensils to go someplace else. Instead of taking space on my countertop, they sit nicely under my counter on the corner turntable.
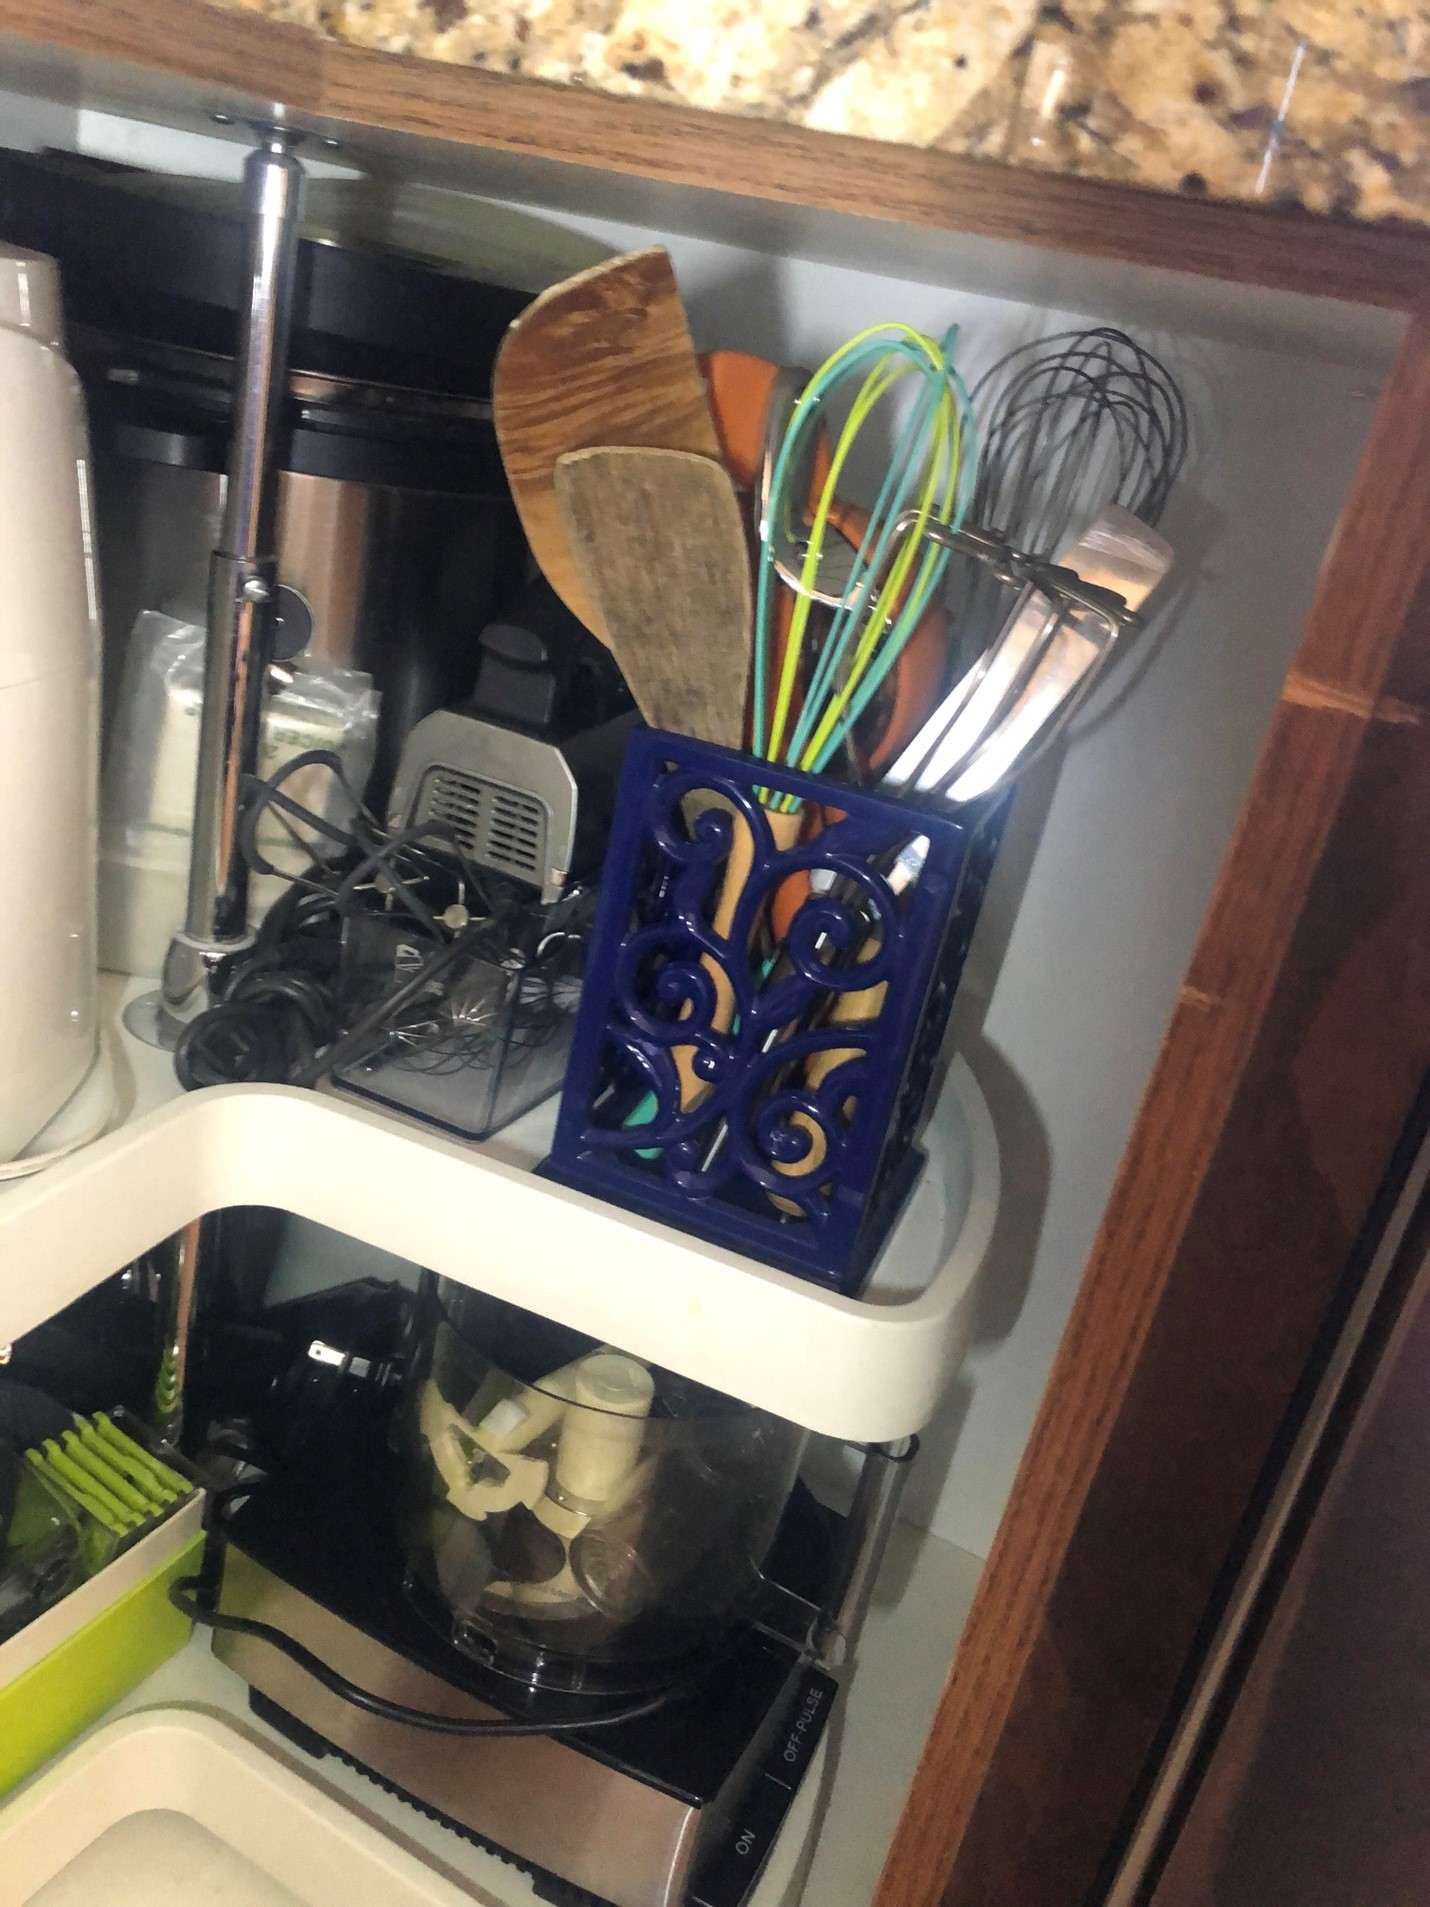
These aren’t all my utensils, though. Before I placed what you see here under my counter, I gathered all my utensils together and sorted through them with the idea of whittling the collection down to the best of the best. To do this, I asked myself, “Do I like this?” “Do I use this?” “Do I need this?” “Do I still want this?” and the clincher—“Do I even have room for this?” These are my “keeper questions” and I use them in every room or area in our home as a way to keep a balance between stuff and spaces (closets, cupboards, and drawers). BTW: several items ended up in the charity bag.
Once I found my keeper utensils, I then sorted them according to use, with 3 categories in mind: COOKING, BAKING, and MISCELLANEOUS (keepers I don’t handle on a daily basis.)
With all utensils sorted, here’s where the double-deckering comes in. To do this, you need plastic flatware trays—the kind with rolled edges. This allows the tray to sit in the drawer, resting on the drawer’s sides. You’ll typically find all sorts in your local thrift stores. No need to buy a new one. (TIP: be sure to measure the width of your drawer and the width of the plastic tray to be sure the tray will fit.)
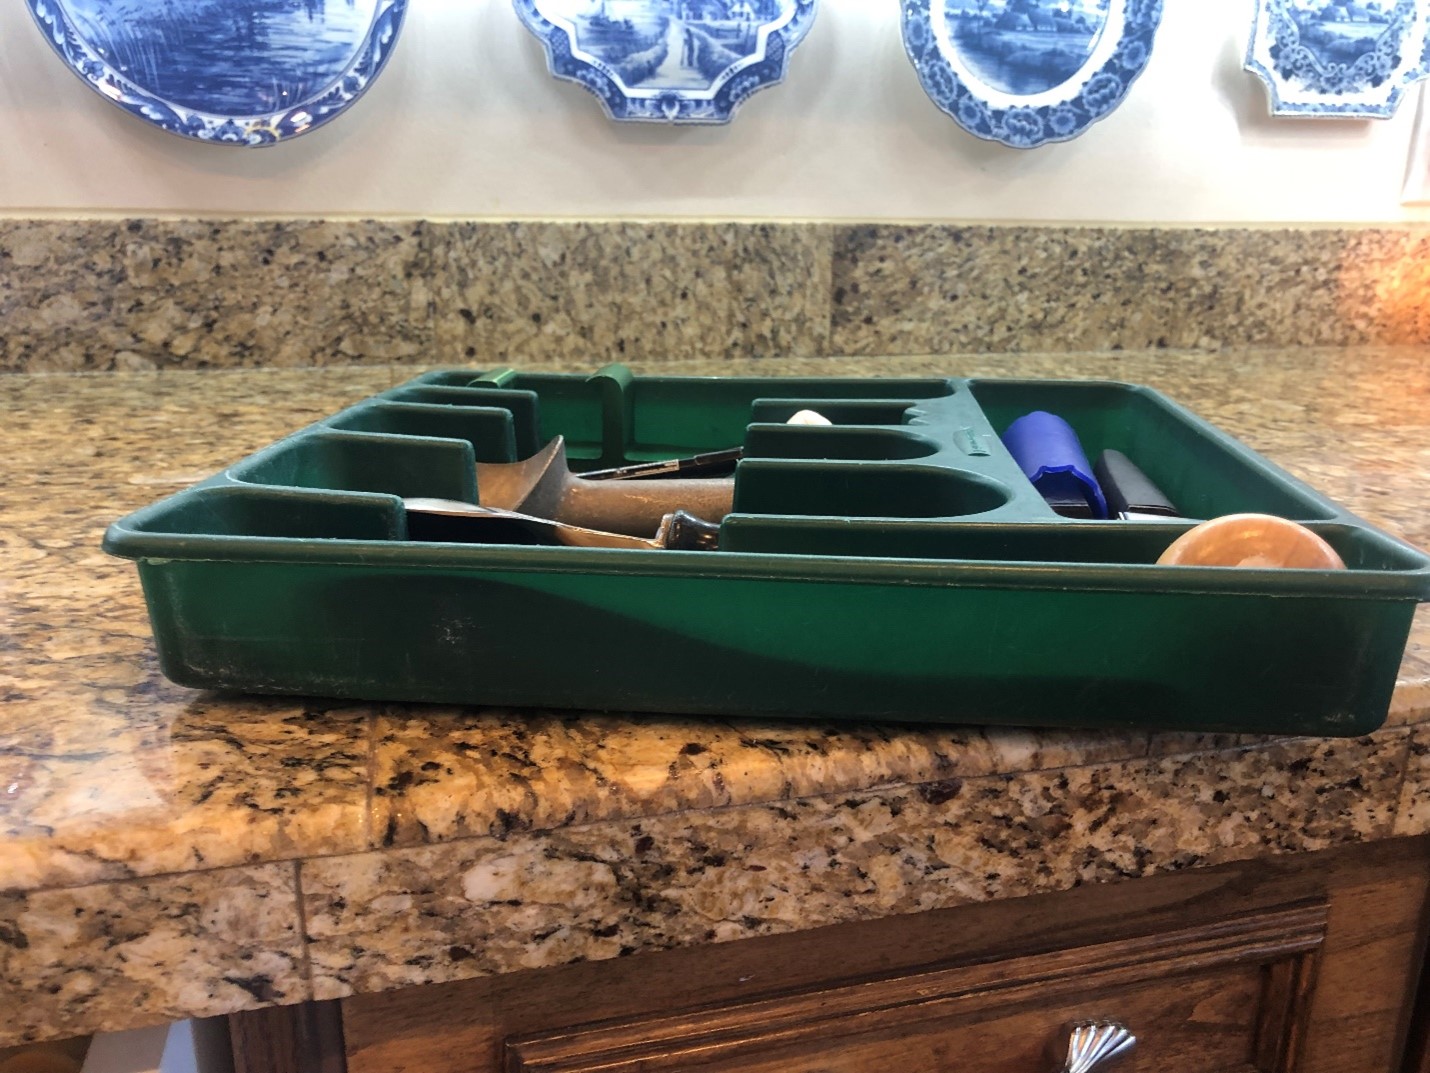
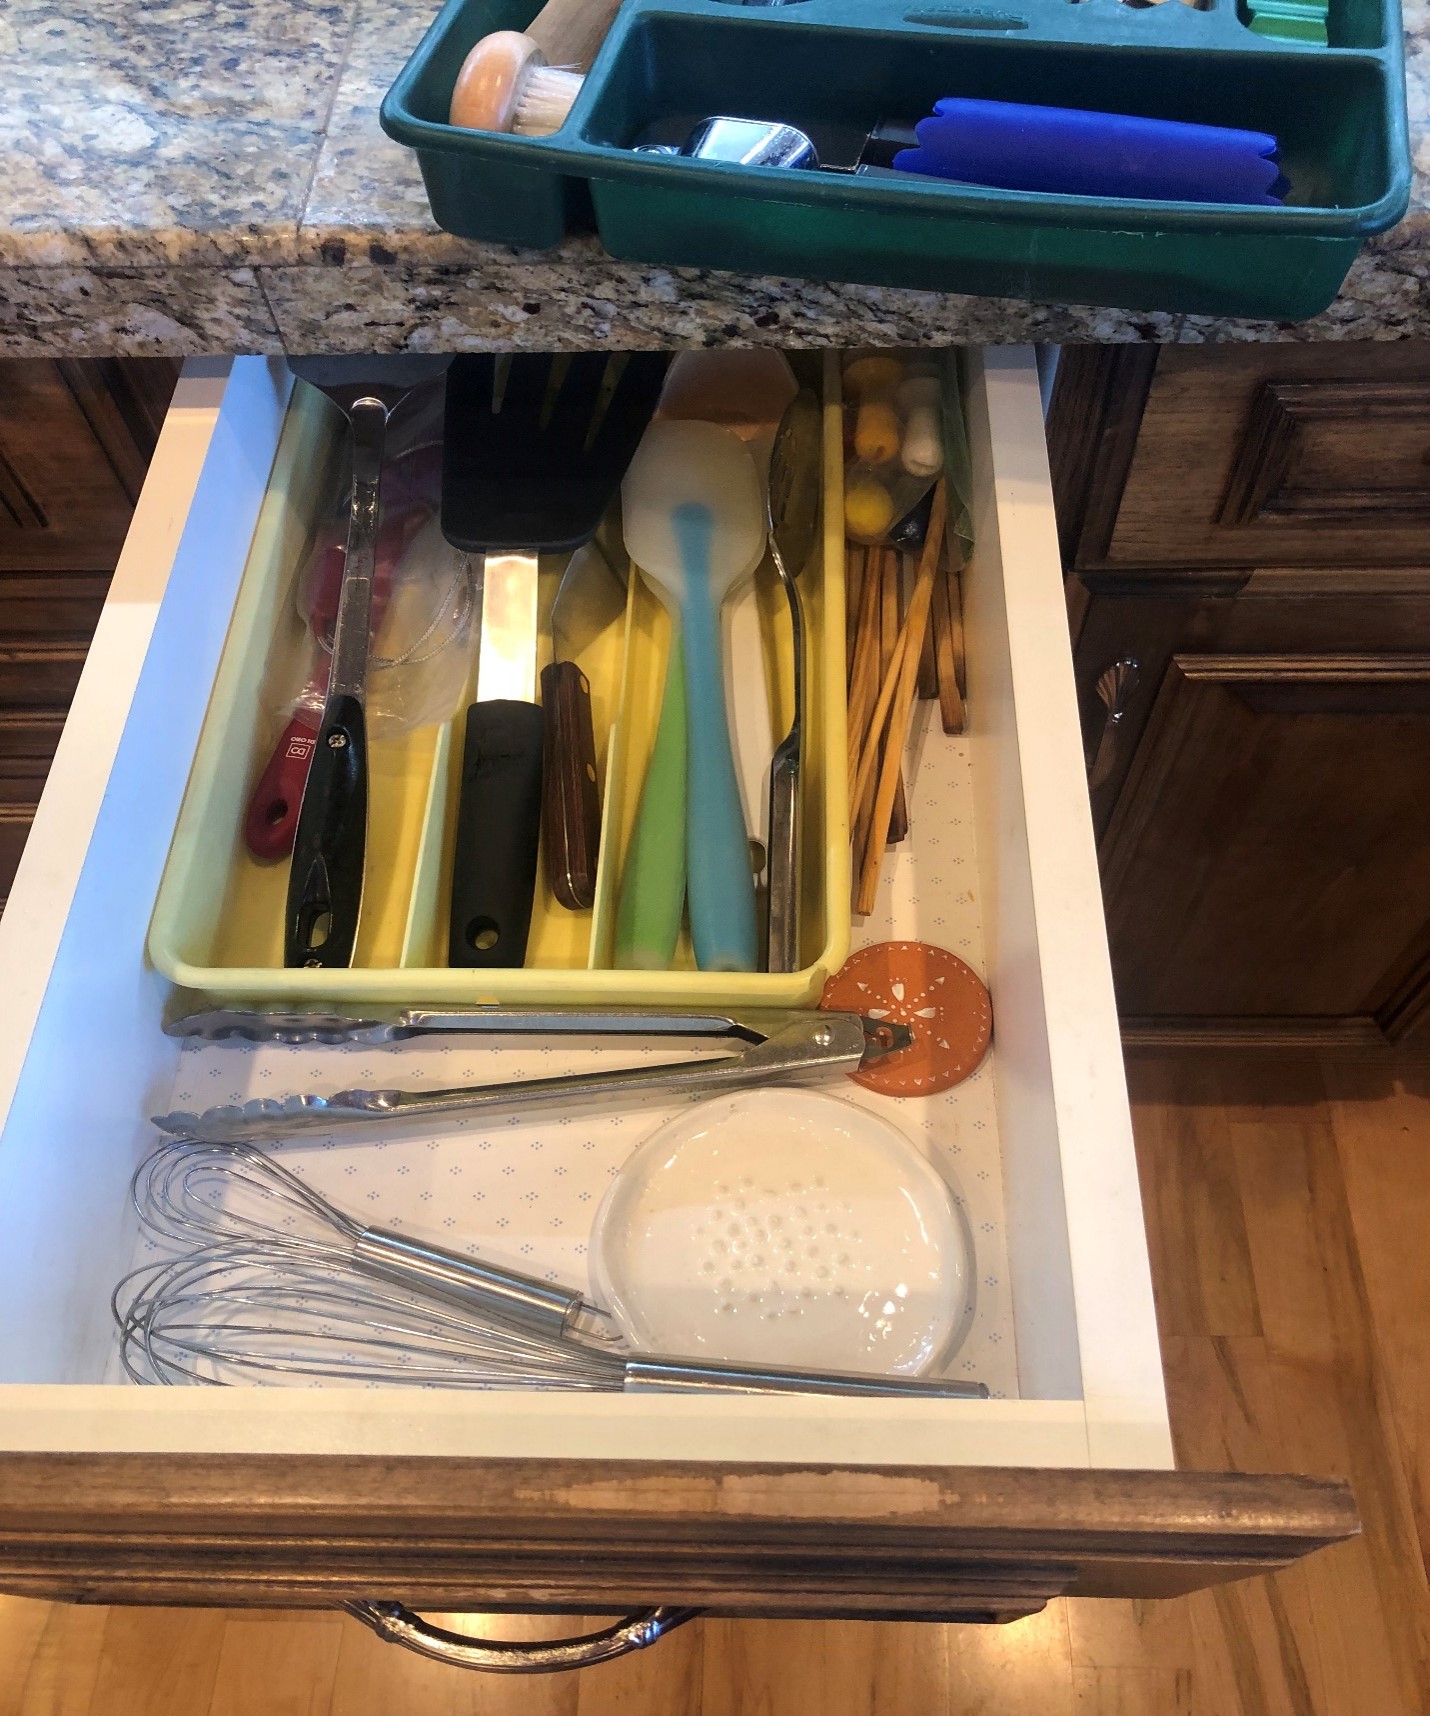
You then assign most-often used utensils to the tray, and place the rest on the drawer bottom. My tray shapes dictated what would go where. This yellow tray (below) held my spatulas and cooking spoons best. Here’s how the bottom of my cooking utensils drawer looks:
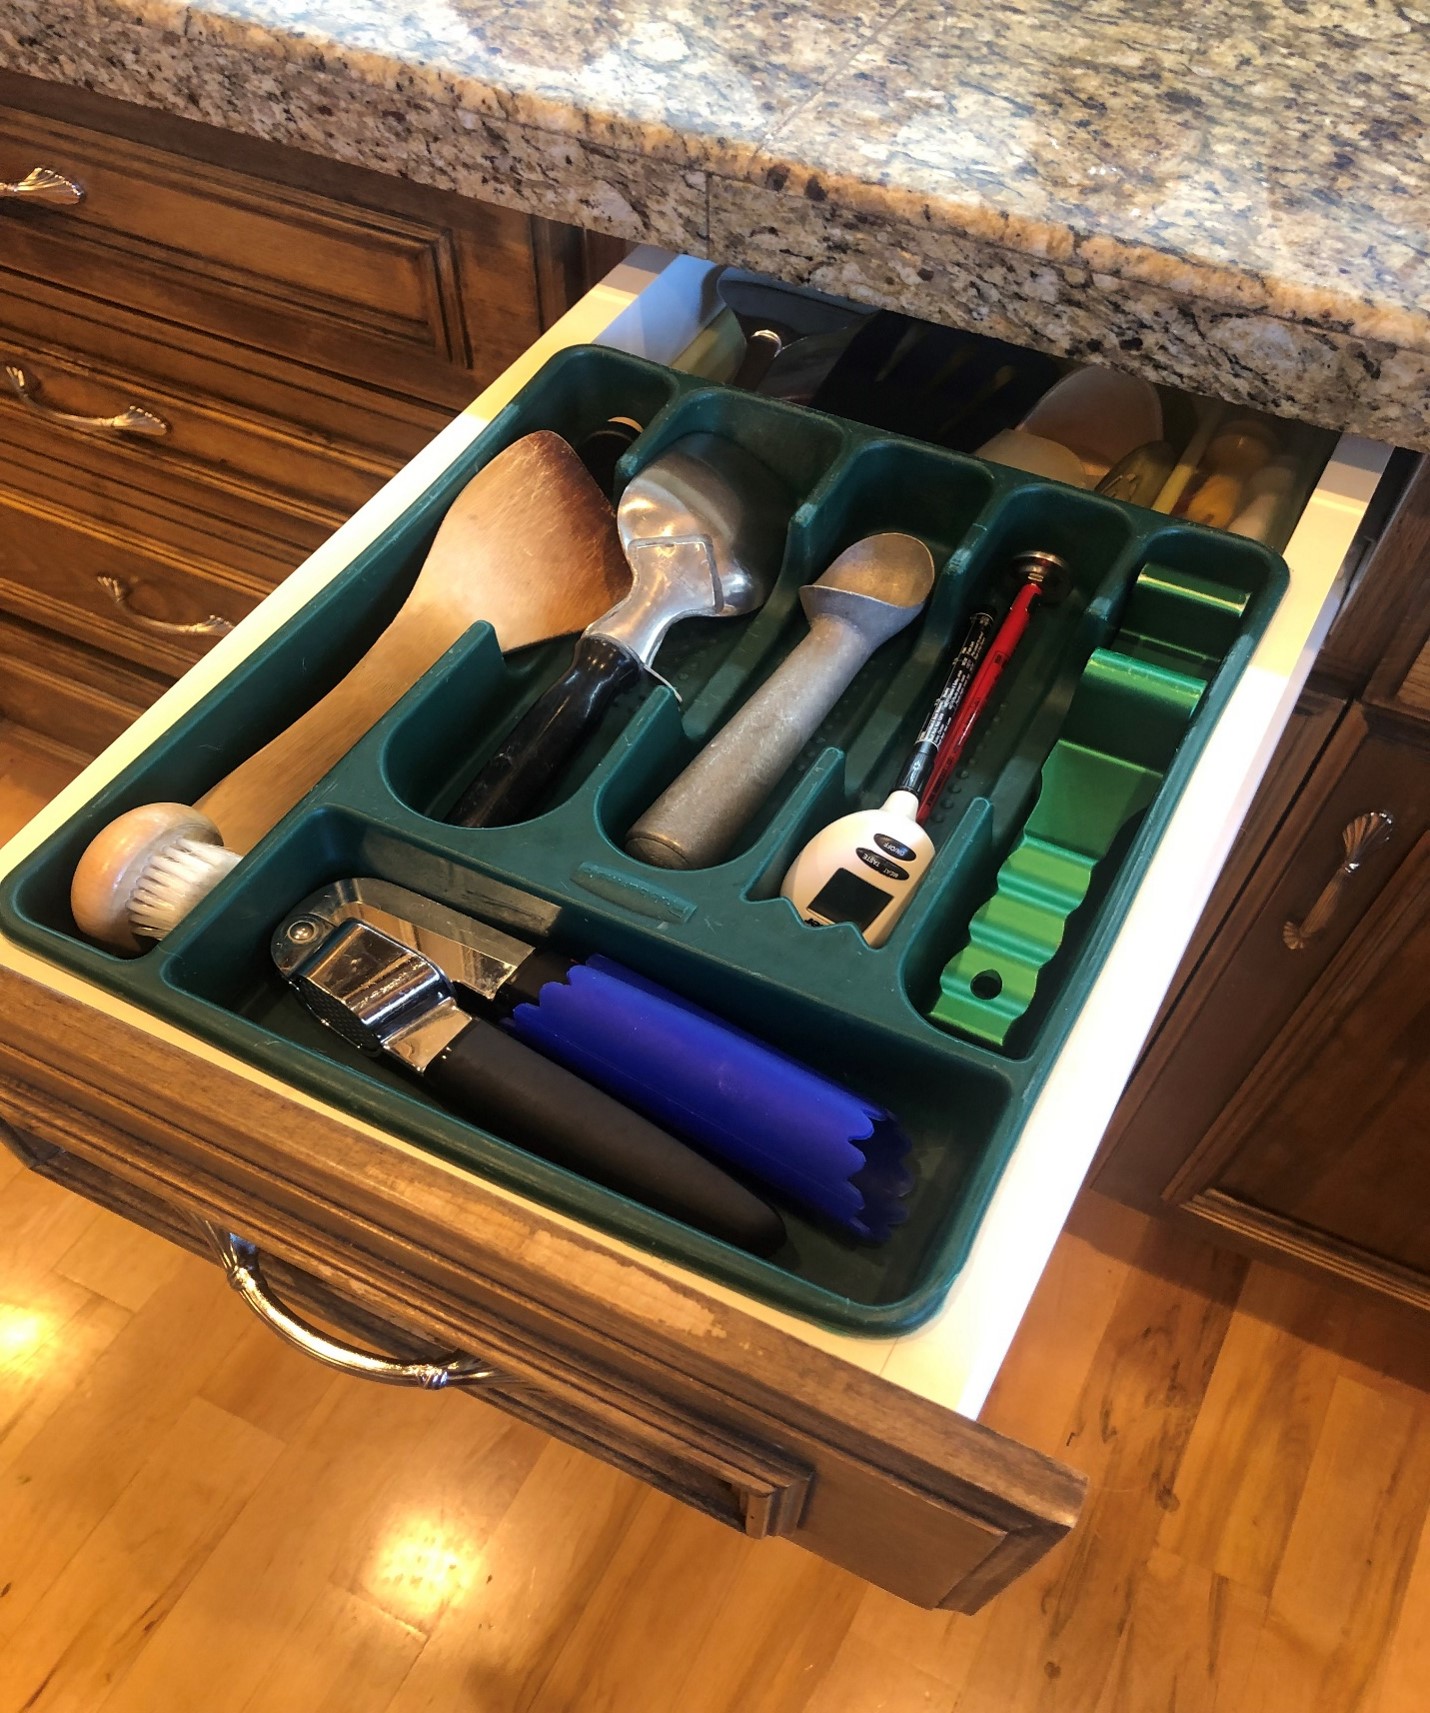
Then the green tray with the remaining frequently-used utensils went on top. You’ll notice ice cream scoops included with cooking utensils. This is because I also wanted to consider my husband’s needs and preferences. While I don’t actually cook with ice cream scoops, they fit the tray spaces and Rich likes them there rather than in the under-the-counter utensil container. He tends to use these every evening (much to my chagrin). And the green bucket-lid remover is there because I do use it often and truthfully, it didn’t fit well in the utensil container.
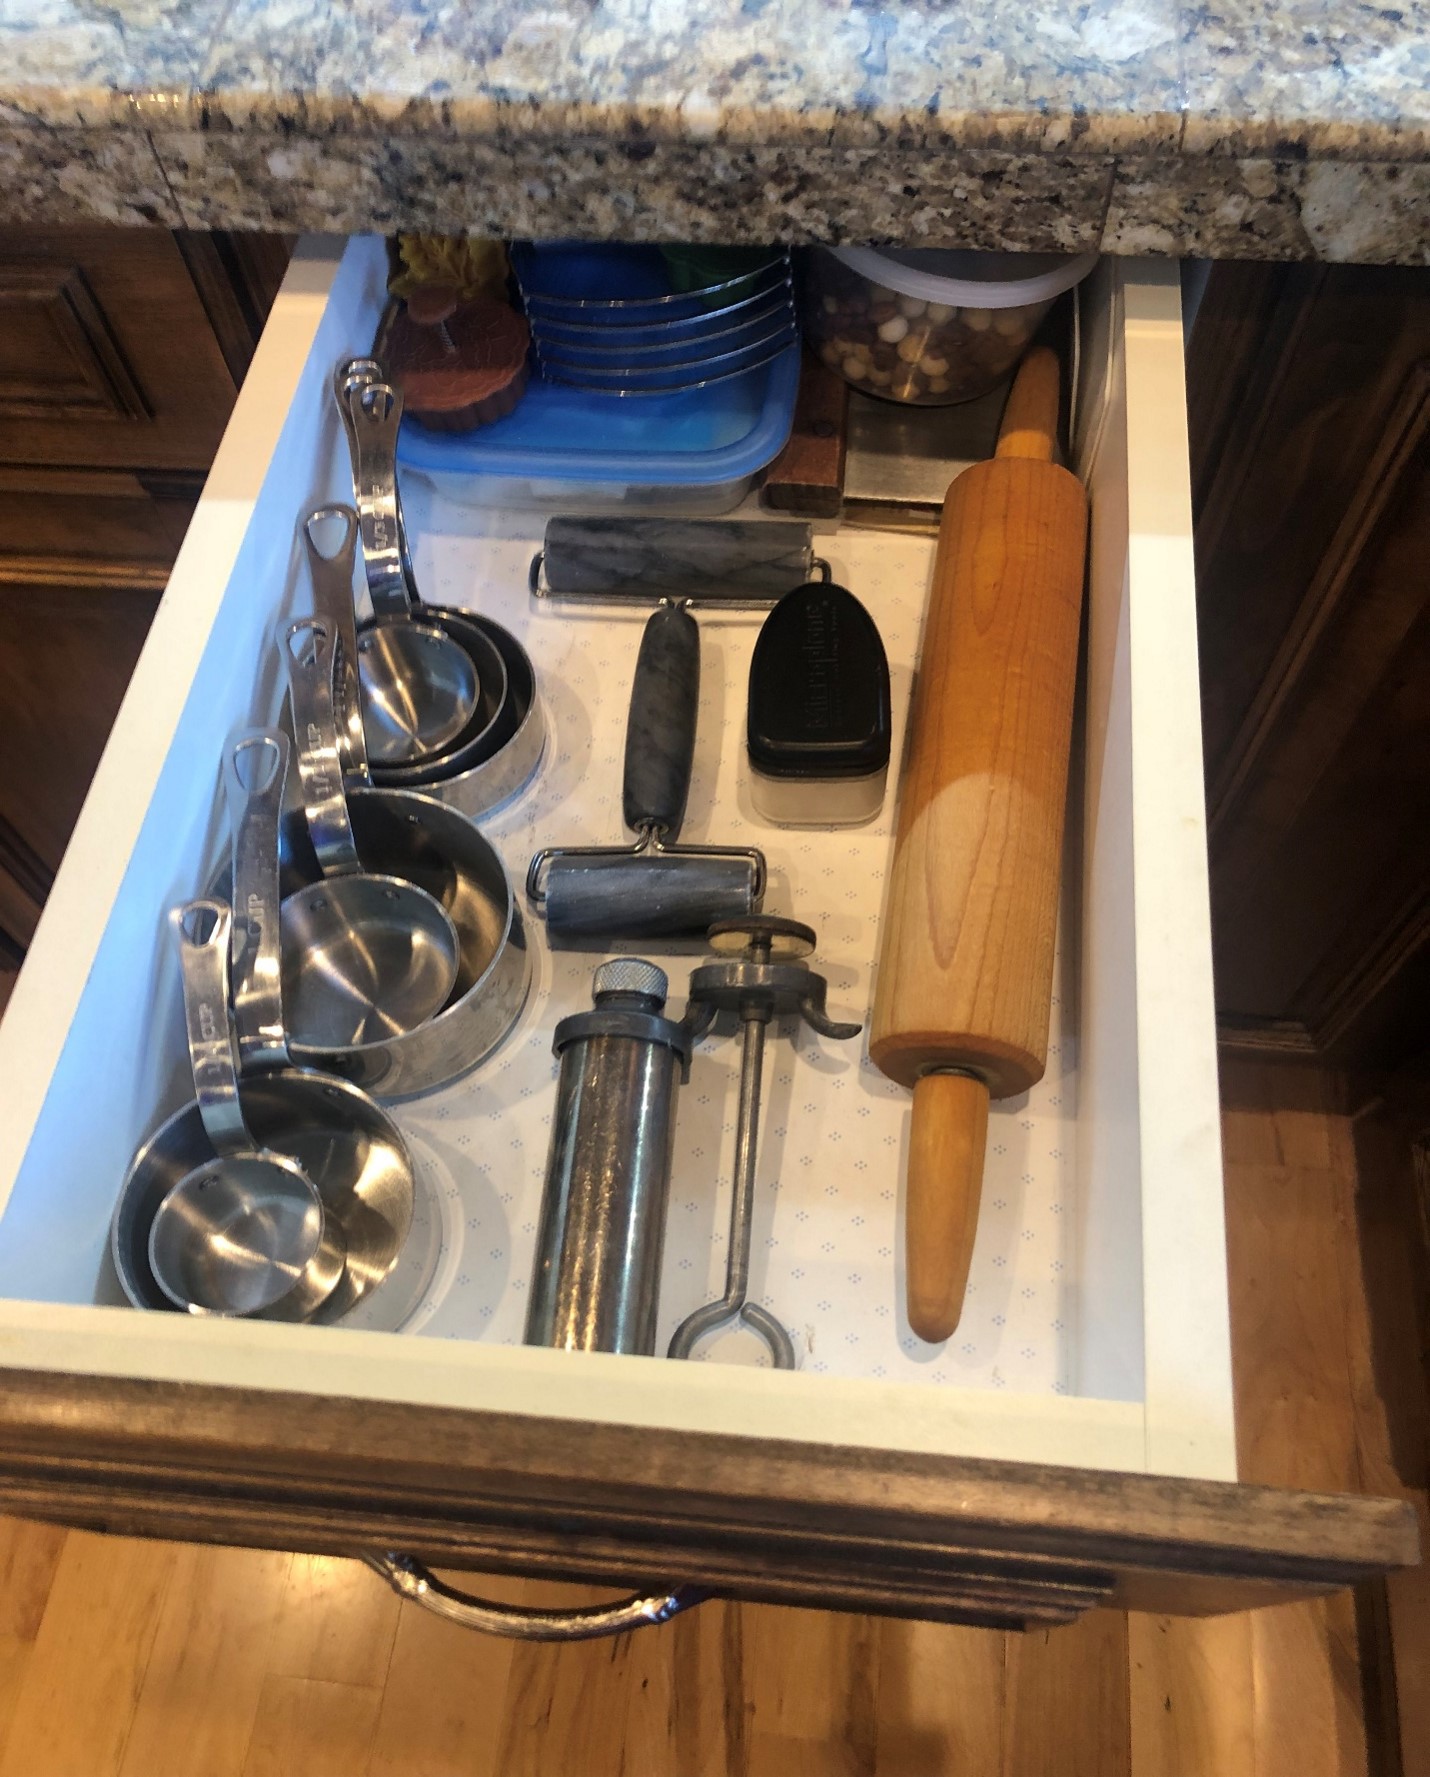
Next, I outfitted the baking utensil drawer. Again, the tray shapes determined what keepers went where. Here’s the baking utensil drawer bottom:
All remaining baking utensils went into the baking utensil tray. Only things I actually use for baking get space:
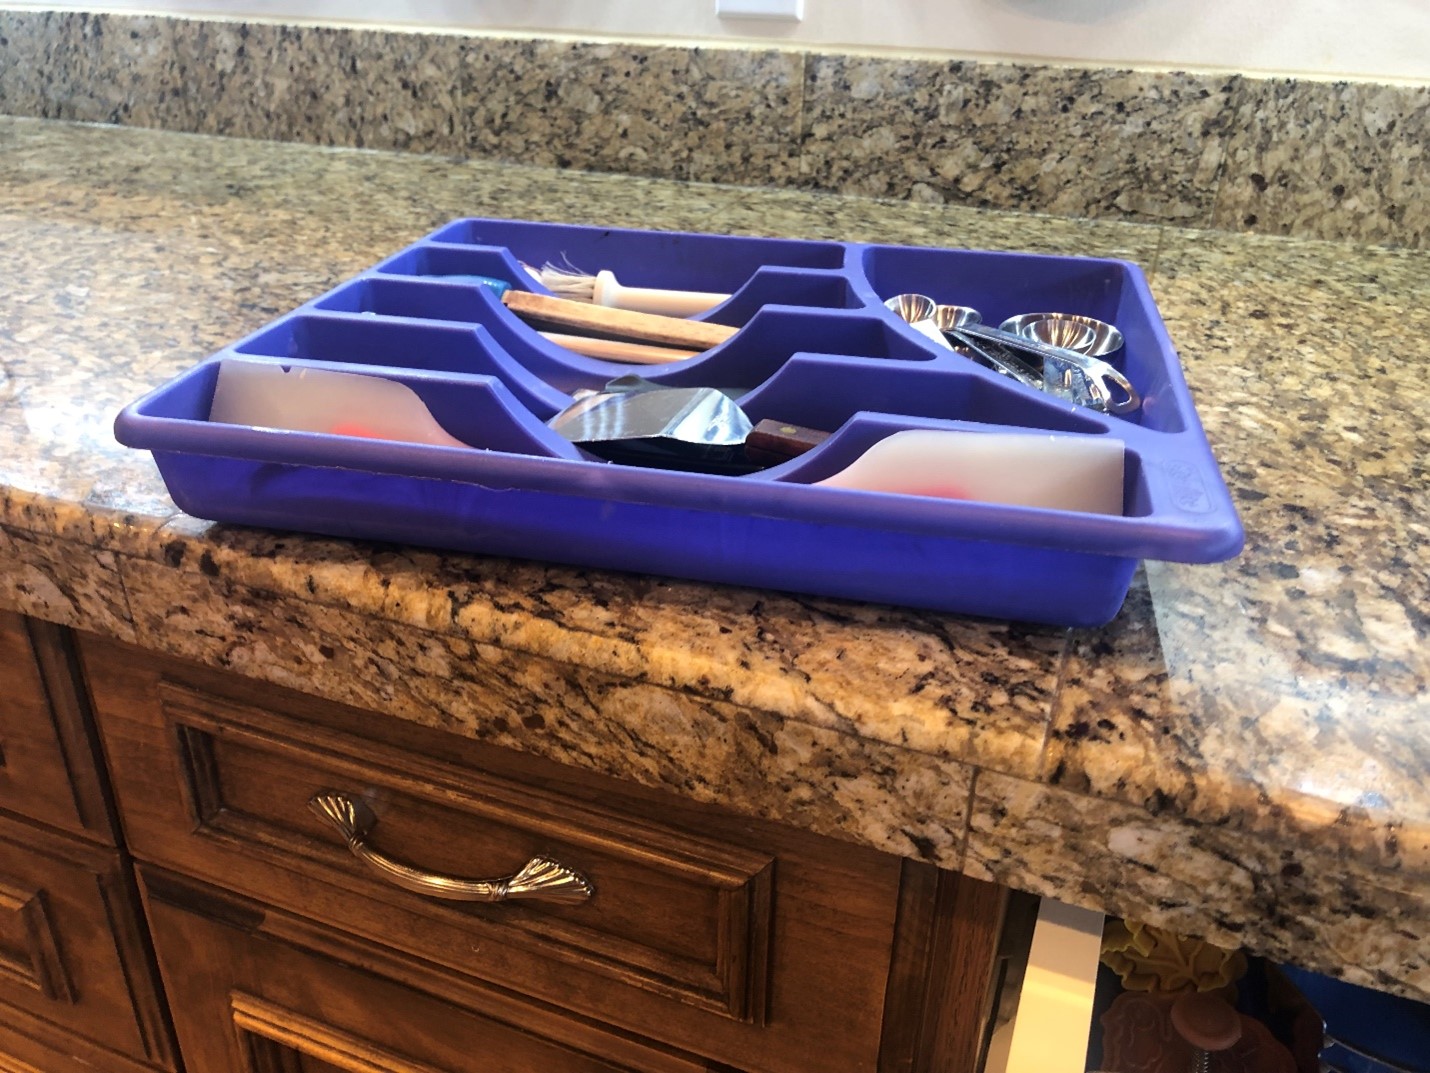
Then I set this tray atop the bottom of the baking drawer, with the tray edges resting on the drawer edges.
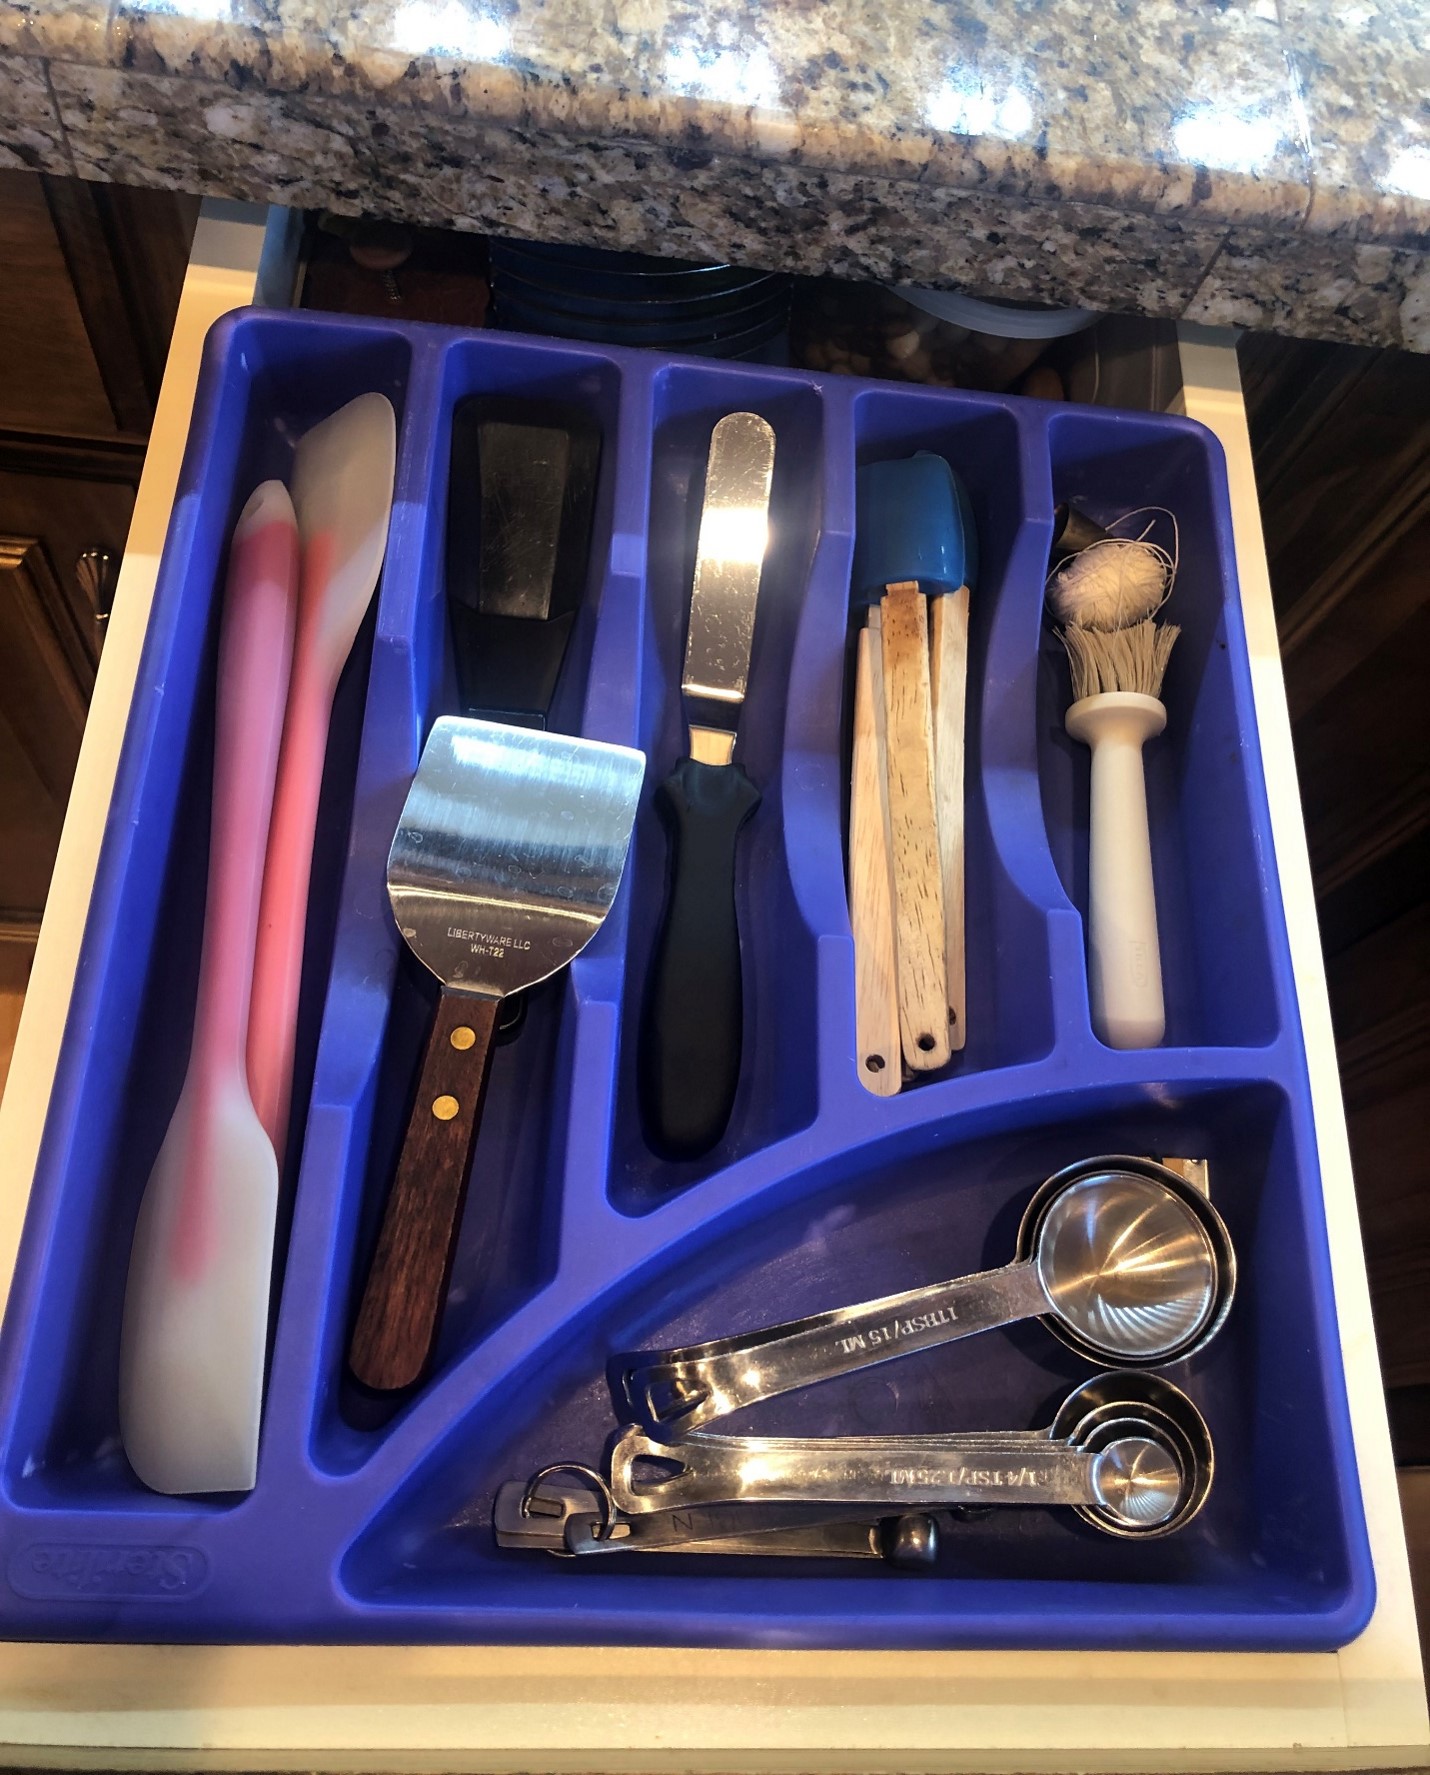
So now back to those of you without lots of drawer space. Here’s what you do. You live the Law of Household Physics, which states “The space is fixed, the stuff is the variable. So adjust the amount of stuff to efficiently fit the fixed space. This is necessary because only so much stuff will fit into a fixed space and still allow you order and control.” Over-stuffed spaces are not user-friendly—they’re counter productive and tremendous energy thieves (when pawing through drawers looking for what you really DO like, use, need, or want).
Therefore, if you only have one drawer for both baking and cooking utensils, you whittle your collection down to fit the space you have. Perhaps keeper baking utensils sit on the bottom of the drawer and keeper cooking utensils sit in the tray that’ll go atop the baking utensils.
Now I know there are folks out there that simply don’t have a draw for utensils of any sort. This is when a container or two of utensils on your countertop is a life-saver. BUT it’s a life-saver ONLY if that container is holding utensils that are truly liked, truly used, truly needed and truly wanted.
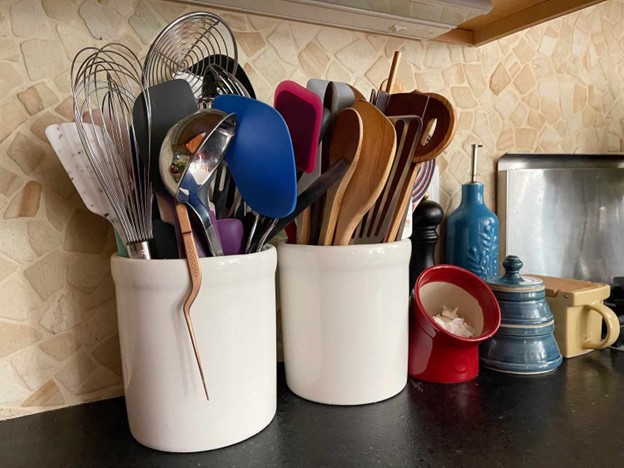
It’s amazing how much you can eliminate from your physical world when you ask, and honestly answer, these questions!
(If you like this idea, let me know in the comment section below. If the idea bugs you, don’t hit the ANGRY button, send me an email and we’ll talk.)

As I’ve been prepping for it, I realized the class offers an idea you might appreciate. It applies to all of you who are blessed with a small kitchen. I say “blessed” because when set up properly, small kitchens can be wonderful “step-savers” (thus saving you time and energy).
Typically, the challenge with small kitchens is not just limited counter space, but limited drawers as well. This reality brings me to the idea you might appreciate: If possible, consider “double-decking” your drawers. It can put order and control into what is so often a jumbled mess. I’ll explain this concept using my own kitchen drawers.

This idea worked well for me back in the day when I had a kitchen the size of a phone booth. Twenty-five years later, I’m in a kitchen with ample counter and drawer space, but I still practice the “double-decker drawer” principle because I don’t like a lot of stuff on my counter top.
For instance, I wanted that proverbial container of kitchen utensils to go someplace else. Instead of taking space on my countertop, they sit nicely under my counter on the corner turntable.

These aren’t all my utensils, though. Before I placed what you see here under my counter, I gathered all my utensils together and sorted through them with the idea of whittling the collection down to the best of the best. To do this, I asked myself, “Do I like this?” “Do I use this?” “Do I need this?” “Do I still want this?” and the clincher—“Do I even have room for this?” These are my “keeper questions” and I use them in every room or area in our home as a way to keep a balance between stuff and spaces (closets, cupboards, and drawers). BTW: several items ended up in the charity bag.
Once I found my keeper utensils, I then sorted them according to use, with 3 categories in mind: COOKING, BAKING, and MISCELLANEOUS (keepers I don’t handle on a daily basis.)
With all utensils sorted, here’s where the double-deckering comes in. To do this, you need plastic flatware trays—the kind with rolled edges. This allows the tray to sit in the drawer, resting on the drawer’s sides. You’ll typically find all sorts in your local thrift stores. No need to buy a new one. (TIP: be sure to measure the width of your drawer and the width of the plastic tray to be sure the tray will fit.)

You then assign most-often used utensils to the tray, and place the rest on the drawer bottom. My tray shapes dictated what would go where. This yellow tray (below) held my spatulas and cooking spoons best. Here’s how the bottom of my cooking utensils drawer looks:

Then the green tray with the remaining frequently-used utensils went on top. You’ll notice ice cream scoops included with cooking utensils. This is because I also wanted to consider my husband’s needs and preferences. While I don’t actually cook with ice cream scoops, they fit the tray spaces and Rich likes them there rather than in the under-the-counter utensil container. He tends to use these every evening (much to my chagrin). And the green bucket-lid remover is there because I do use it often and truthfully, it didn’t fit well in the utensil container.

Next, I outfitted the baking utensil drawer. Again, the tray shapes determined what keepers went where. Here’s the baking utensil drawer bottom:

All remaining baking utensils went into the baking utensil tray. Only things I actually use for baking get space:

Then I set this tray atop the bottom of the baking drawer, with the tray edges resting on the drawer edges.

So now back to those of you without lots of drawer space. Here’s what you do. You live the Law of Household Physics, which states “The space is fixed, the stuff is the variable. So adjust the amount of stuff to efficiently fit the fixed space. This is necessary because only so much stuff will fit into a fixed space and still allow you order and control.” Over-stuffed spaces are not user-friendly—they’re counter productive and tremendous energy thieves (when pawing through drawers looking for what you really DO like, use, need, or want).
Therefore, if you only have one drawer for both baking and cooking utensils, you whittle your collection down to fit the space you have. Perhaps keeper baking utensils sit on the bottom of the drawer and keeper cooking utensils sit in the tray that’ll go atop the baking utensils.
Now I know there are folks out there that simply don’t have a draw for utensils of any sort. This is when a container or two of utensils on your countertop is a life-saver. BUT it’s a life-saver ONLY if that container is holding utensils that are truly liked, truly used, truly needed and truly wanted.

It’s amazing how much you can eliminate from your physical world when you ask, and honestly answer, these questions!
(If you like this idea, let me know in the comment section below. If the idea bugs you, don’t hit the ANGRY button, send me an email and we’ll talk.)
 Alice Osborne
Weekly Newsletter Contributor since 2006
Email the author! alice@dvo.com
