Fresh Apples 101 Plus a Wonderful Apple Recipe!
If you like to eat your apples out-of-hand, and you like them sweet, juicy, and crisp, then it’s important to know how to store them to protect these features.

They simply won't maintain that optimal state unless you store them properly. In researching this topic, I found that dozens of states have their own apple growers’ organization, association, or commission. There’s also a national apple growers association. These entities are manned by food scientists, nutritionists, marketers, and of course, growers. Each site I visited had the same advice.
Since I happen to be from Washington state (Spokane—yay!), I naturally turned to the Washington Apple Commission (www.waapple.org) for THE word on how to keep apples fresh for as long as possible, including whether refrigeration—or the countertop—is the best storage method.

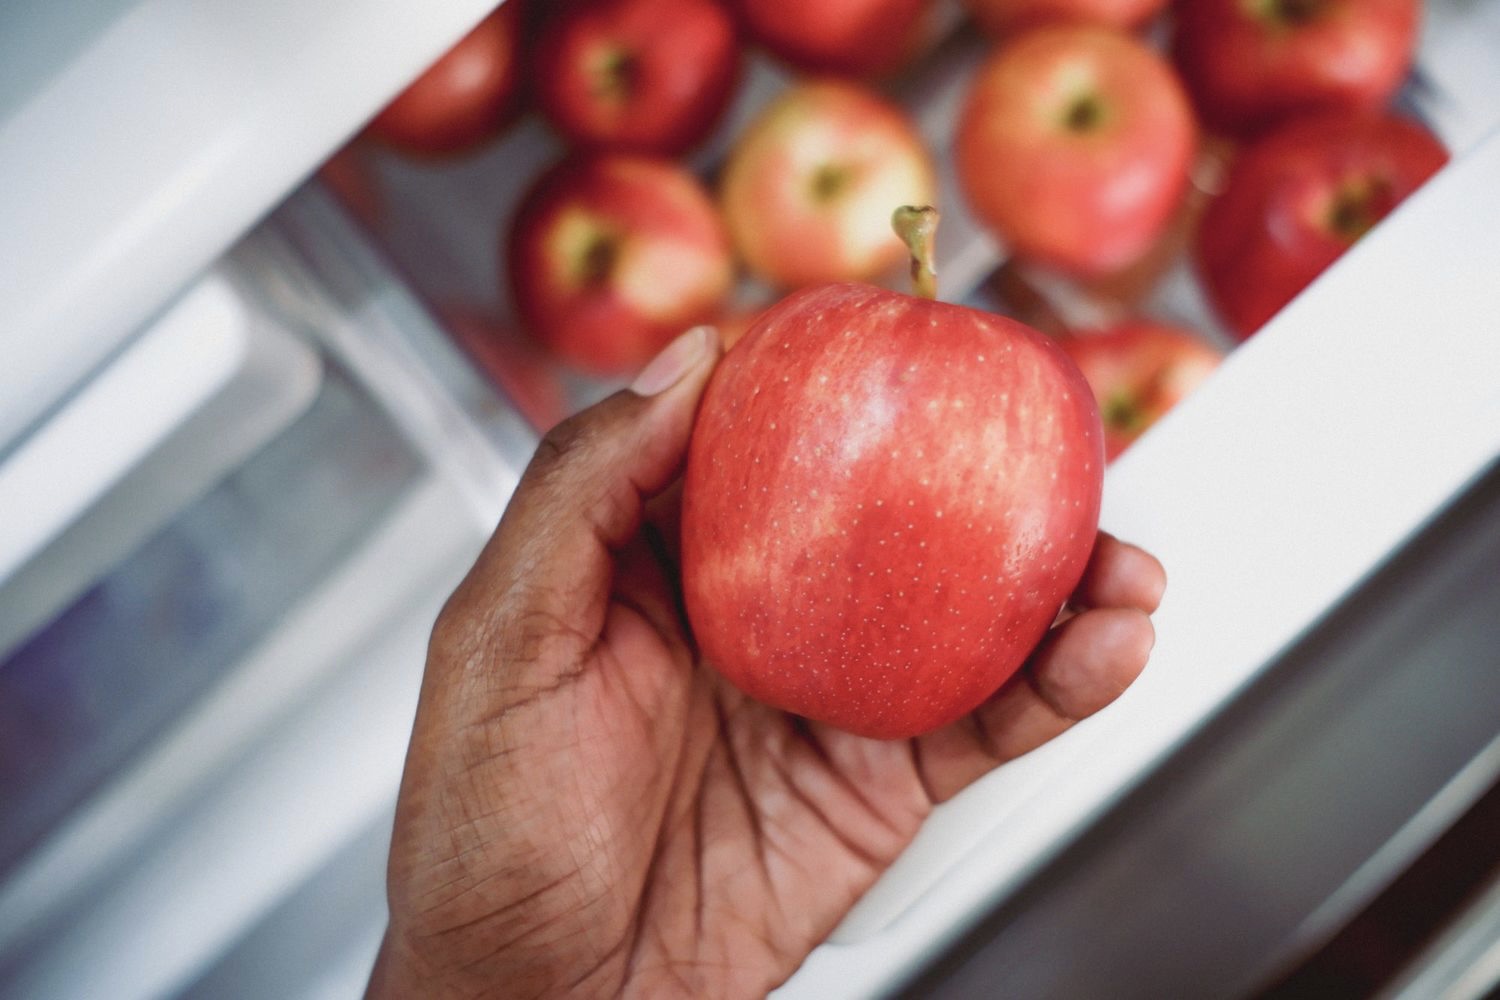
According to the experts at Washington’s Apple Commission, you want to look for apples with shiny skin — that means they’ll be crisp and tasty. They should feel firm when you give them a gentle squeeze, and not have any bruises or punctures.
Now here’s the storage advice: Definitely DO NOT store them on the counter. Always pop them in the refrigerator. Apples stay freshest when they are kept at about 32 degrees Fahrenheit/0 degrees Celsius.
When ready munch into one, make sure to wash it under cool running water — no need for soap or other detergents. Scrub vigorously with your clean hands, especially near the stem and star-shaped calyx on the bottom.
Have you ever wondered about that waxy coating on your apples? What’s that waxy coating? While still growing in the orchard, Mother Nature sees to it that apples naturally develop this coating as a protection. During the packing process, they’re washed to remove any dirt, then re-coated with a natural wax — either carnauba wax from the leaves of the palm Copernicia prunifera, or shellac, which is derived from the lac beetle, similar to honey from bees.
Just FYI: The FDA has carefully reviewed all wax components and has assured the public that they are completely safe. And by the way, even organic apples come with a wax coating.
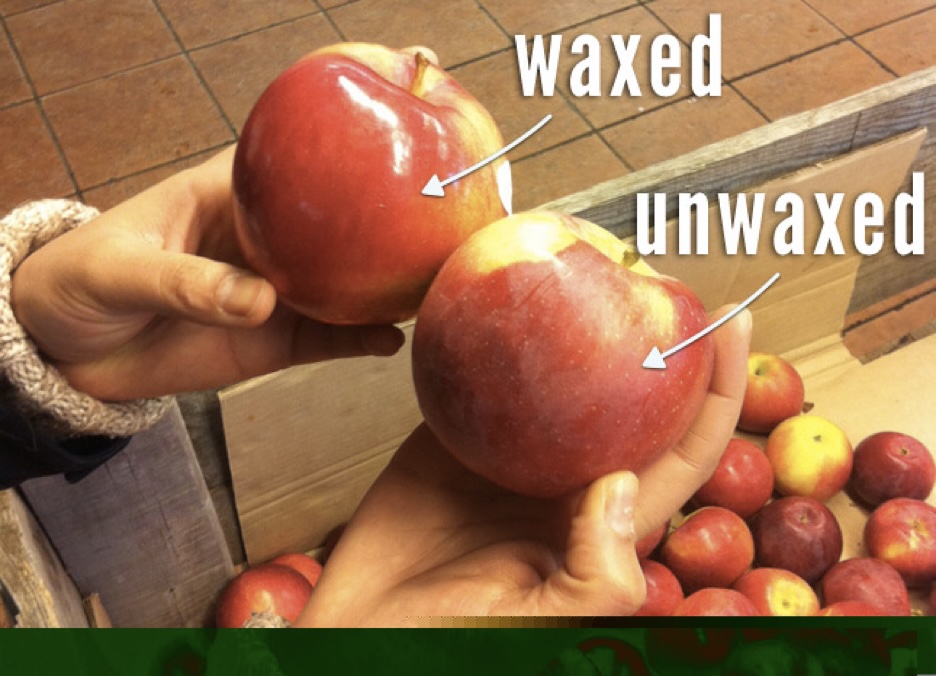
This natural coating protects the apple from losing moisture, flavor, and crunch, and also gives it an appealing shine similar to what you would get if you rubbed a just-picked apple on your sleeve.
You probably all know that dipping a cut apple in a solution of one part citrus and three parts water will keep it from browning (oxidation). You probably also know that there’s a ton of nutrients in apple skin, so it’s best to incorporate it into your recipe when baking or cooking with apples, if you can.
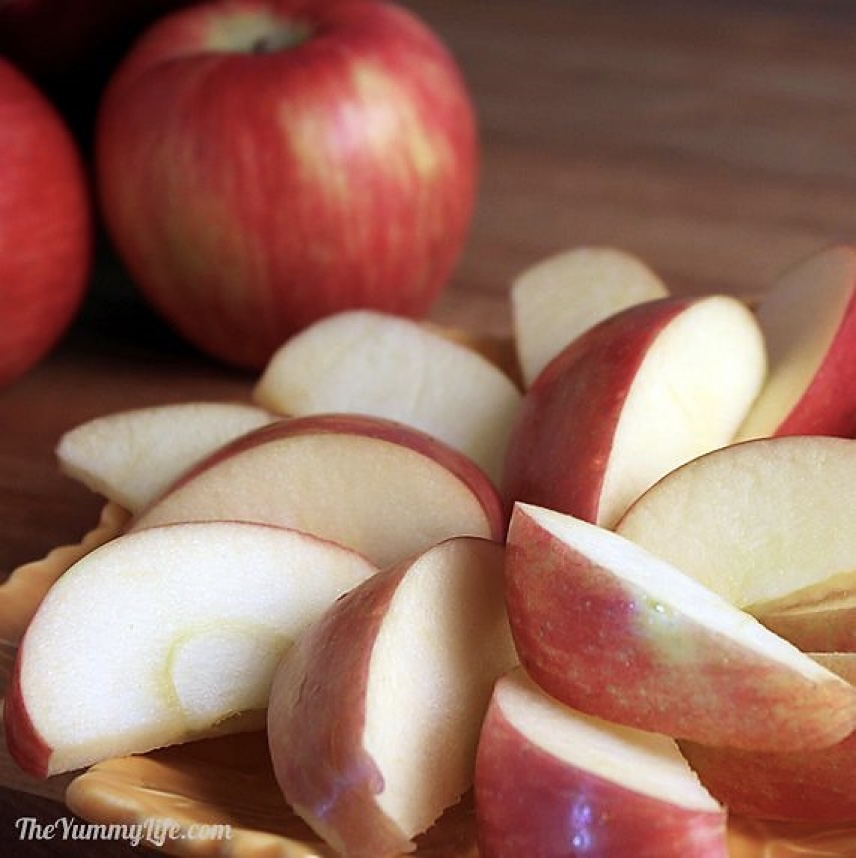
Understanding this, I figured out how to include the skins when making applesauce. I wash, core, and cut my apples and slowly cook them all down in my stock pot. When mushy, I puree them (skins and all) in my Vitamix. You don’t even see or taste the skins. Then I ladle this sauce into pints and water bath them for 25 minutes. It’s delicious.
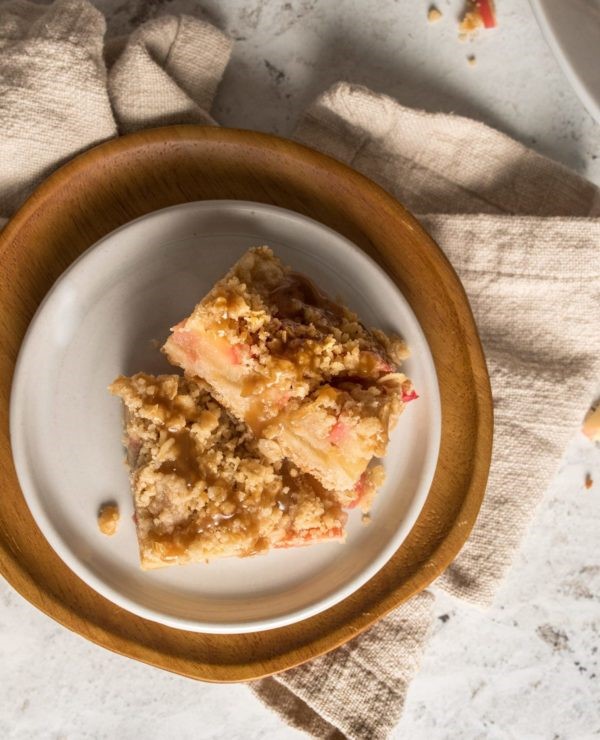
To conclude, here’s one of the Washington Apple Commission’s recipes for a truly delicious dessert. Their recipe developers say, “Apple crisp meets caramel apple pie to make these caramel apple pie bars. Tender cooked apples top a simple shortbread cookie and are then finished with leftover shortbread ingredients.” This is divine when served with vanilla ice cream. See what you think:
Caramel Apple Pie Bars
SHORTBREAD CRUST
2 cups all-purpose flour
1 cup cold butter
1/2 cup sugar
1/2 teaspoon (heaping) salt
1/4 teaspoon cinnamon
FILLING
2 apples
3 tablespoons all-purpose flour
2 tablespoons sugar
2 teaspoons lemon juice
1 teaspoon cinnamon
1/8 teaspoon ground nutmeg
1/2 cup caramel sauce
TOPPING
1/2 cup old fashioned oats
1/4 cup packed dark brown sugar
1/4 cup cold butter
Directions:
1. Preheat oven to 350 degrees F. Cube butter and line a 9×13-inch pan with parchment paper, spray with cooking spray. Set aside.
2. Add all crust ingredients to stand mixer or food processor; mix until butter is evenly distributed. Mixture will be sandy.
3. Pour ½ crust mixture into baking pan, press down with the flat bottom of a 1 cup measuring cup. Bake for 10-12 minutes, until shortbread crust looks like a cookie, as in it looks like it’s forming a crust. It may not brown, that’s fine.
4. While crust is cooking, add topping ingredients to remaining crust ingredients, mix until it begins to crumble. Refrigerate until ready to use.
5. Next, prepare filling by coring apples and thinly slicing them. Add thinly sliced apples to medium mixing bowl, add remaining filling ingredients (minus caramel sauce) to bowl and mix until all apples are coated. Set aside.
6. Once crust is cooked, spread apple mixture into an even layer on top of crust. Sprinkle topping over apples and bake for 25-30 minutes until topping is golden brown. Let cool at least 10 minutes before you cut and serve them. Drizzle with caramel sauce prior to serving. Refrigerate, covered for up to 4-5 days.
Recipe formatted with the Cook'n Recipe Software from DVO Enterprises.
 Alice Osborne
Weekly Newsletter Contributor since 2006
Email the author! alice@dvo.com
Sources:
- www.mashed.com
- www.southernliving.com
- www.aestheticblasphemy.com
- www.theyummylife.com
- www.waaple.org